
Front door drop glass
Removal
1. Lower the glass to the middle, then disconnect the ground wire from the battery.
2. Remove the door trim panel and water-deflecting membrane as described in paragraph 17.
3. Draw a marker around the glass clips to make reinstallation easier.
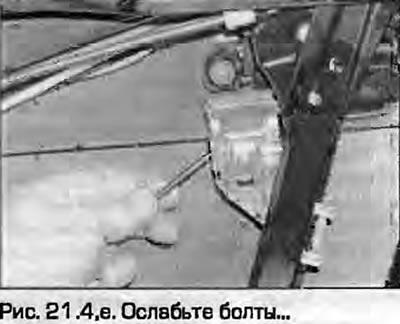
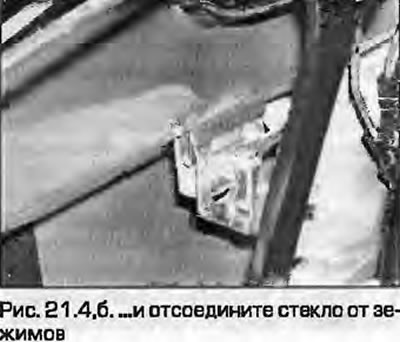
4. Loosen the bolts and remove the glass from the clamps (fig. 21.4, a, b).
 |
 |
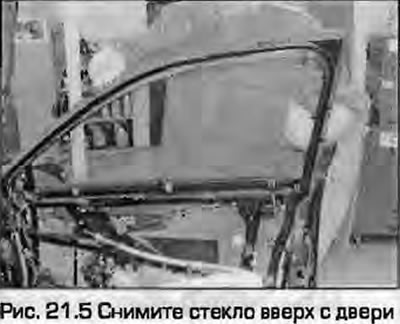
5. Remove the glass upwards from the door (Fig. 21.5).
Installation
6. Installation - reverse procedure.
Rear door drop glass
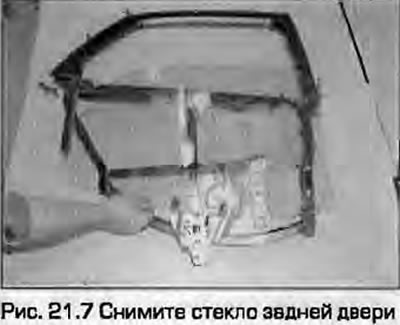
7. Remove the window lift carriage from the rear door as described below. Loosen the clamps and remove the glass as described above (Fig. 21.7).
Window lift carriage
Removal
8. Lower the window halfway, disconnect the ground wire from the battery.
9. Remove the door trim panel and water-resistant membrane - see paragraph 17.
10. Disconnect the wiring connector from the window lift motor (if provided), release the wiring from the window regulator carriage.
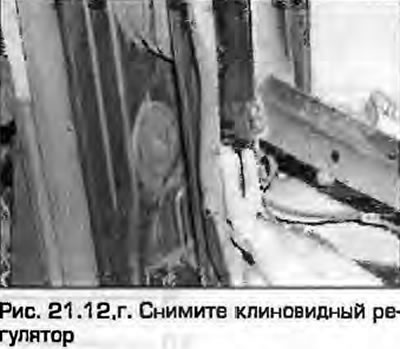
11. Use a marker to mark the position of the wedge adjuster in relation to the door and carriage. The adjuster is installed between the lower front edge of the door and the carriage.
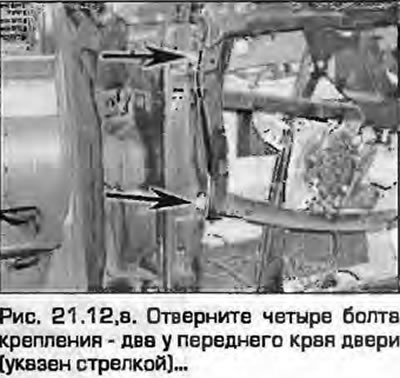
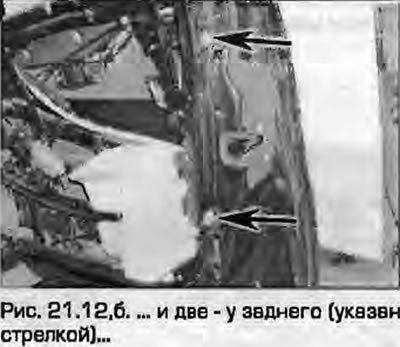
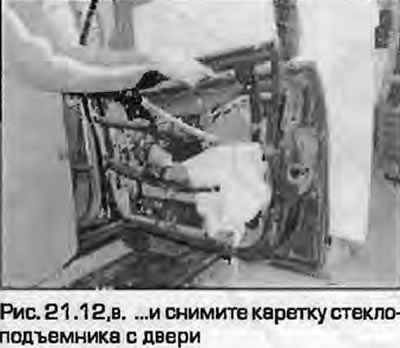
12. Unscrew the four mounting bolts (two at the front edge of the door and two at the back) and remove the window lifter carriage from the door. Remove the wedge-shaped regulator (fig. 21.12, a-g).
 |
 |
 |
 |
13. Place the window regulator carriage on a clean table.
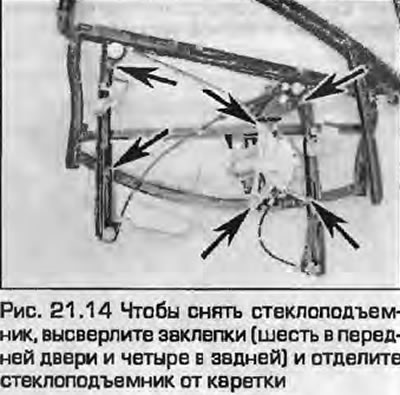
14. To remove the window regulator, drill out the rivets (six in the front door and four in the back) and unhook the window regulator from the carriage (fig. 21.14).
Installation
15. Installation - reverse procedure. Please note the following:
- a) Install new rivets.
- b) When installing the carriage, install the wedge adjuster using the pre-applied marks to maintain the glass installation in relation to the B-pillar and roof line.
- c) Check that the inner handle control cable passes between the guide groove and the vertical part of the carriage.
- d) Tighten threaded connections to the specified torques.
This article was copied from the website AudiManual.ru