
Table of contents: Removal ↓ Installation ↓
Removal
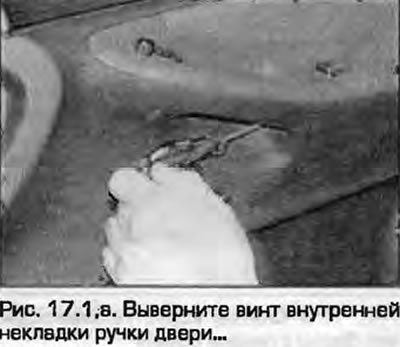
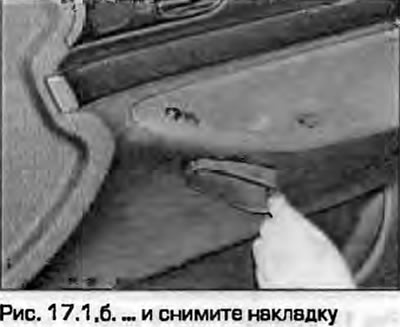
1. Open the door and remove the screw of the inner door handle trim. Remove the trim (fig. 17.1, a, b).
 |
 |
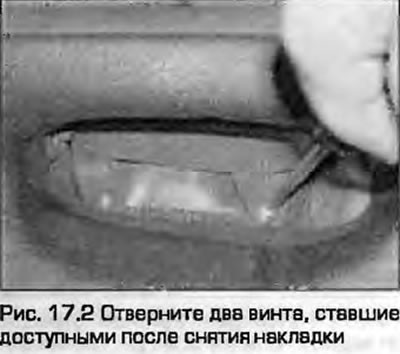
2. Unscrew the two screws that became accessible after removing the cover (Fig. 17.2).
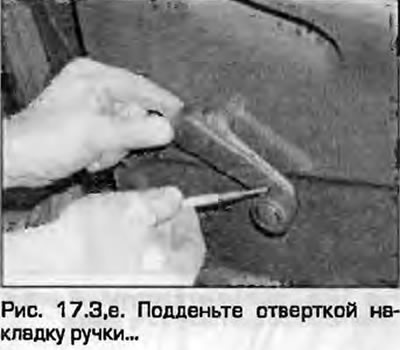
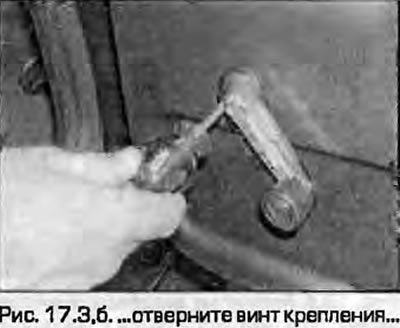
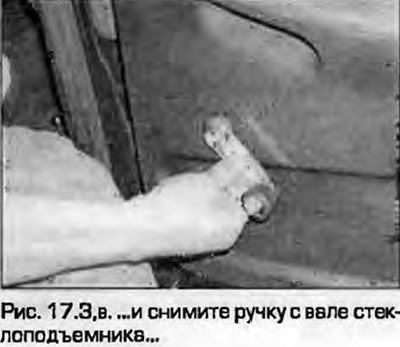
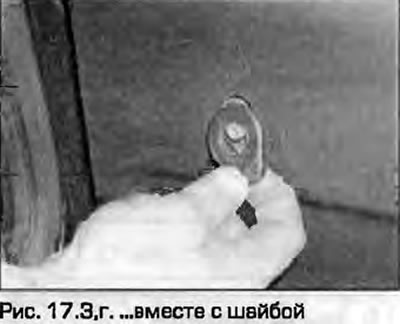
3. On models with manual front windows, carefully pry up the handle cover with a screwdriver, unscrew the mounting screw and remove the handle from the window lifter cable together with the washer (Fig. 17.3).
 |
 |
 |
 |
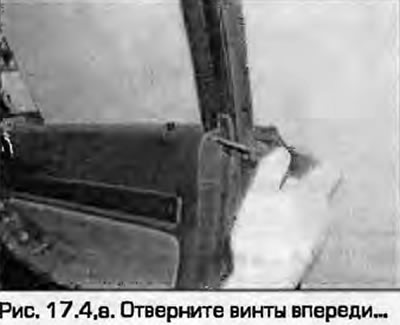
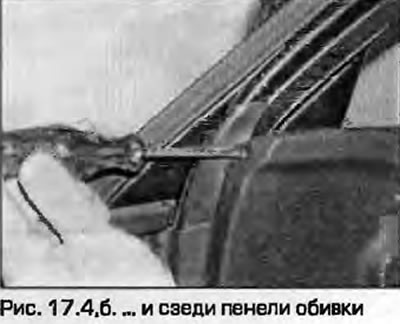
4. Remove the screws at the front and back of the trim panel (Fig. 17.4).
 |
 |
5. Remove the trim panel evenly by detaching the hooks at the rear of the panel from the door.
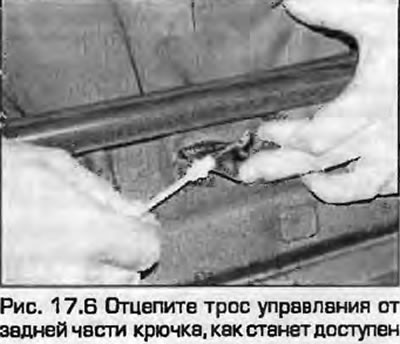
6. Unhook the control cable from the rear of the hook once it is accessible (Fig. 17.6).
7. Disconnect the wiring connector from the power window, power mirror/central lock switches (if any), from the bass speaker (subwoofer) and the high-frequency speaker (tweeter). Release the wiring from all fasteners at the rear of the door panel (Fig. 17.7).

8. Remove the trim panel from the door, noting the position of the moldings along the top edge of the door (Fig. 17.8).

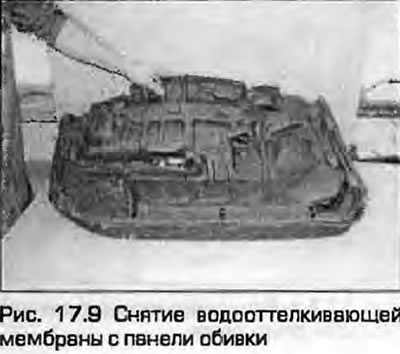
9. If required, the water-repellent membrane can be removed by carefully pulling the wiring through it and releasing it from the hooks on the back of the trim panel (Fig. 17.9).
Installation
10. Installation is the reverse procedure. Pass the door lock button through the hole in the trim panel. Route the wiring correctly so that it does not interfere with the window lifter and lock mechanisms.