



Table of contents: Lock ↓ Lock cylinder ↓
1. If necessary, remove the lid trim as described in detail in paragraph 12.
Lock
Removal
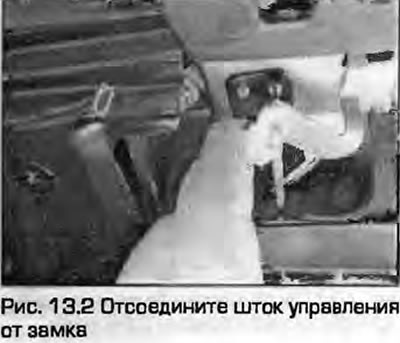
2. Disconnect the control rod from the lock (Fig. 13.2).
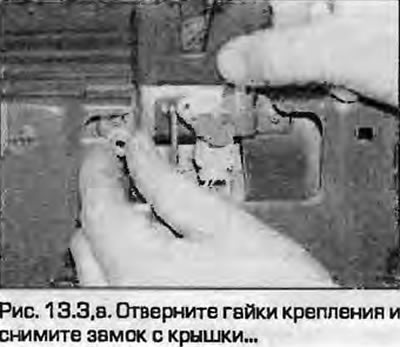
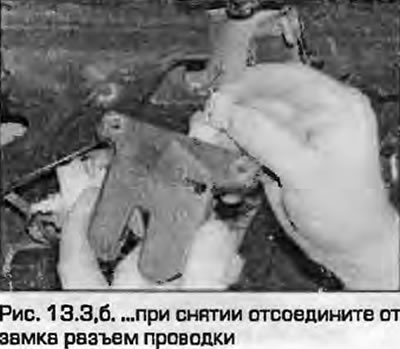
3. Circle the lock with a marker, unscrew the mounting nuts and remove the lock from the cover. When removing, disconnect the wiring connector from the lock (fig. 13.3, a, b).
 |
 |
Installation
4. Installation - reverse procedure.
Lock cylinder
Removal
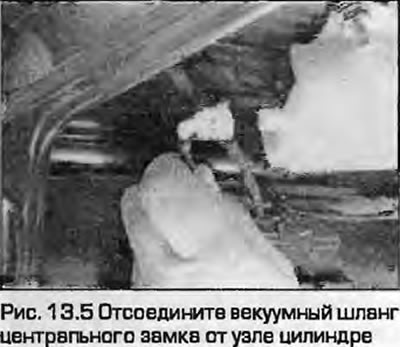
5. Carefully disconnect the central lock vacuum hose from the cylinder unit (Fig. 13.5).
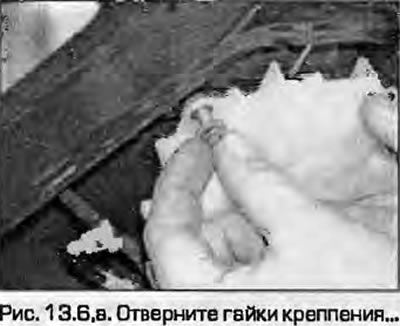
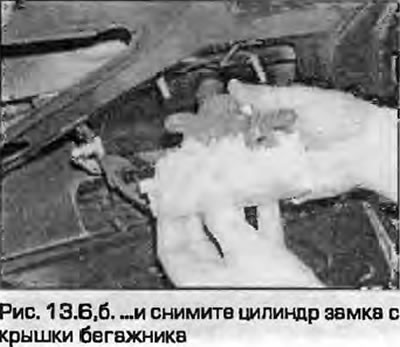
6. Loosen the mounting nuts and remove the lock cylinder from the trunk lid (fig. 13.6, a, b).
 |
 |
7. On models with central locking, disconnect the control rod by first unhooking the plastic clip and unfolding the connection, pulling the rod out of the lever.
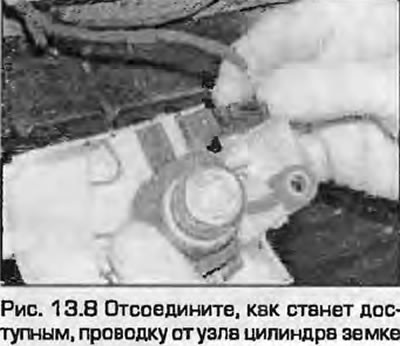
8. Disconnect the wiring from the lock cylinder assembly as soon as it is accessible (Fig. 13.8).
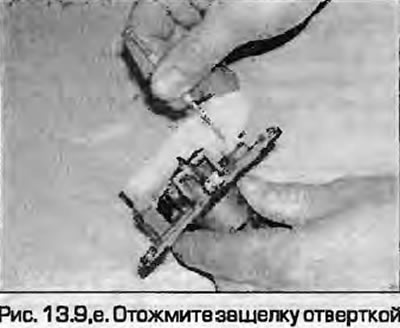
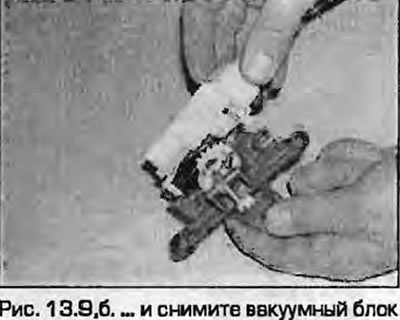
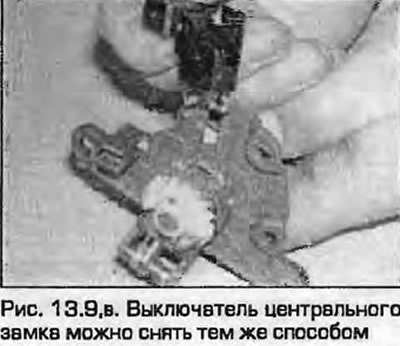
9. If required, the vacuum unit can be removed by first pressing the latch with a screwdriver. The central lock switch can be removed in the same way (fig. 13.9, a-c).
 |
 |
Installation
10. Installation - reverse procedure.