
Table of contents: Removal ↓ Installation ↓
Removal
1. Lift the trunk lid and remove the warning triangle from it (triangle).
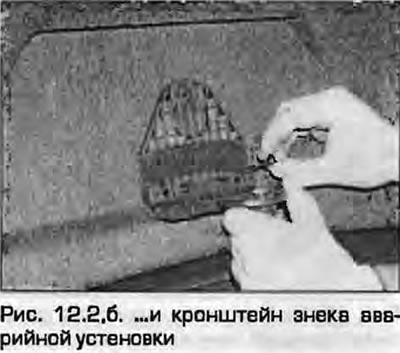
2. Loosen the mounting screws, remove the hazard warning sign bracket and handle (fig. 12.2, a, b).
 |
 |
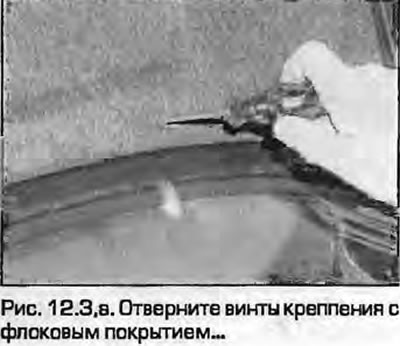
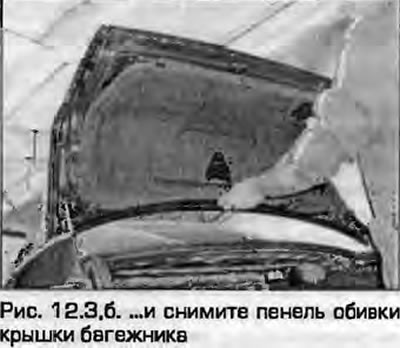
3. Loosen the flocked mounting screws and remove the trunk lid trim panel (fig. 12.3, a, b).
 |
 |
4. Disconnect the wiring connectors from the lock switch and taillights, release the seal and remove the wiring from the trunk lid. Then release the wiring from the trunk lid hinge groove.
5. Disconnect the central locking vacuum hose from the linear connector and release it from the trunk lid hinge groove.
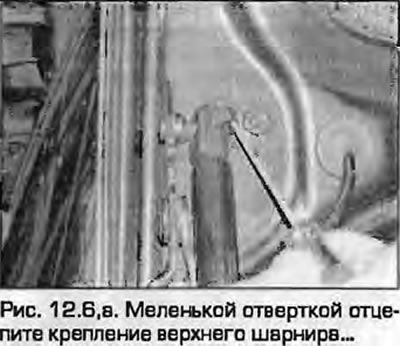
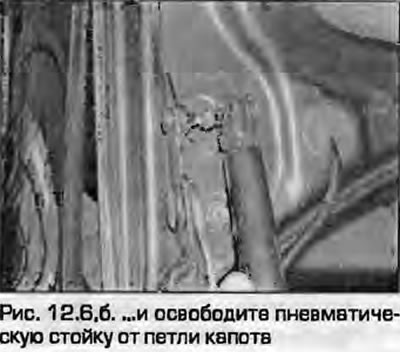
6. Using a small screwdriver, unhook the upper hinge mount and release the air strut from the hood hinge.
 |
 |
7. Trace the hinges with a marker or pencil to make reinstallation easier. Place rags or cardboard on the fenders to avoid damaging the polish when removing.
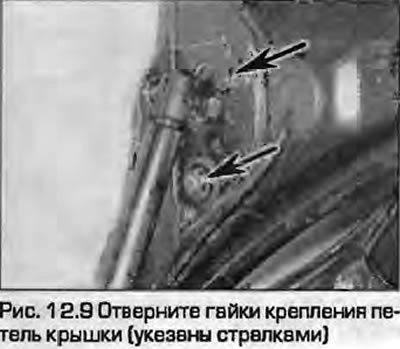
9. Ask an assistant to support the lid, unscrew the nuts securing the lid hinges (Fig. 12.9) and release the lid from the hinges.
Installation
10. Installation is the reverse procedure. Check the installation of the cover in the body opening. The necessary adjustment is made by moving the hinges, having previously loosened the fastening nuts. There should be a uniform gap of approximately 3 mm between the cover and the body in the opening. The height of the hood installation is adjusted by moving the rubber buffers in the rear lower corners of the cover.