
Table of contents: Removal ↓ Installation ↓
Removal
1. Raise the window completely. Remove the door trim panel and water-deflecting membrane as described in paragraph 17.
2. Remove the window lift carriage from the door as described in paragraph 21.
Note: On early models where anti-theft panels were not installed above the lock mechanism, it is not necessary to remove the window lift carriage to access the lock.
3. Unfasten and remove the anti-theft panel of the lock mechanism (if installed).
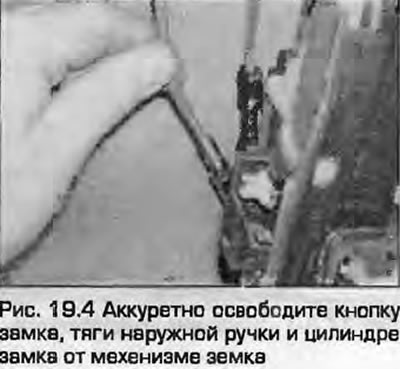
4. Carefully release the lock button, the outer handle rods and the lock cylinder from the lock mechanism (Fig. 19.4). Remember the location of the rods.
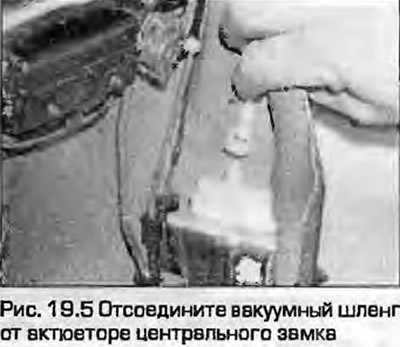
5. Disconnect the vacuum hose from the central lock actuator (Fig. 19.5).
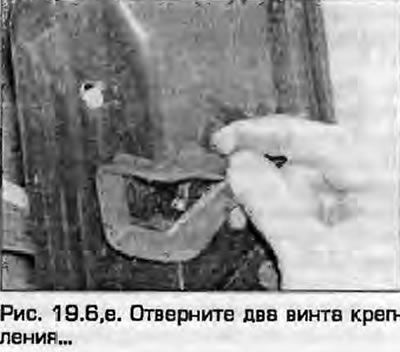
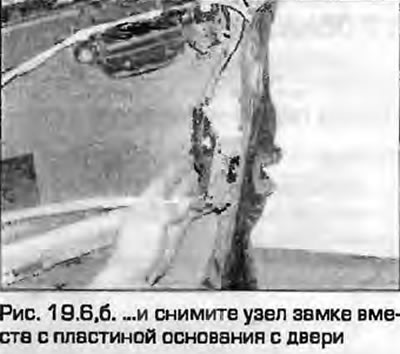
6. Loosen the two mounting screws and remove the lock assembly together with the base plate from the door (fig. 19.6, a, b).
 |
 |
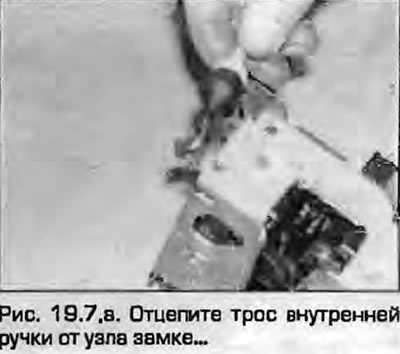
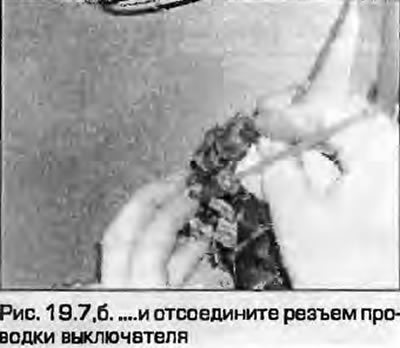
7. Disconnect the inside handle cable from the lock assembly and disconnect the switch wiring connector (fig. 19.7, a, b).
 |
 |
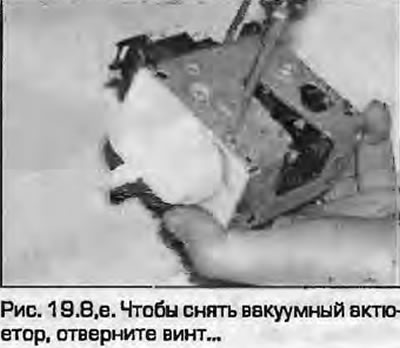
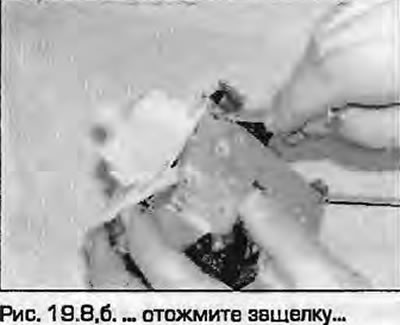
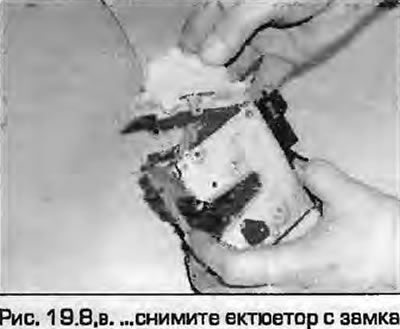
8. If necessary, the vacuum drive (actuator) can be removed by unscrewing the screw that secures it and pressing the latch with a screwdriver (fig. 19.8, a-c).
 |
 |
Installation
9. Installation - reverse procedure (Fig. 19.9).
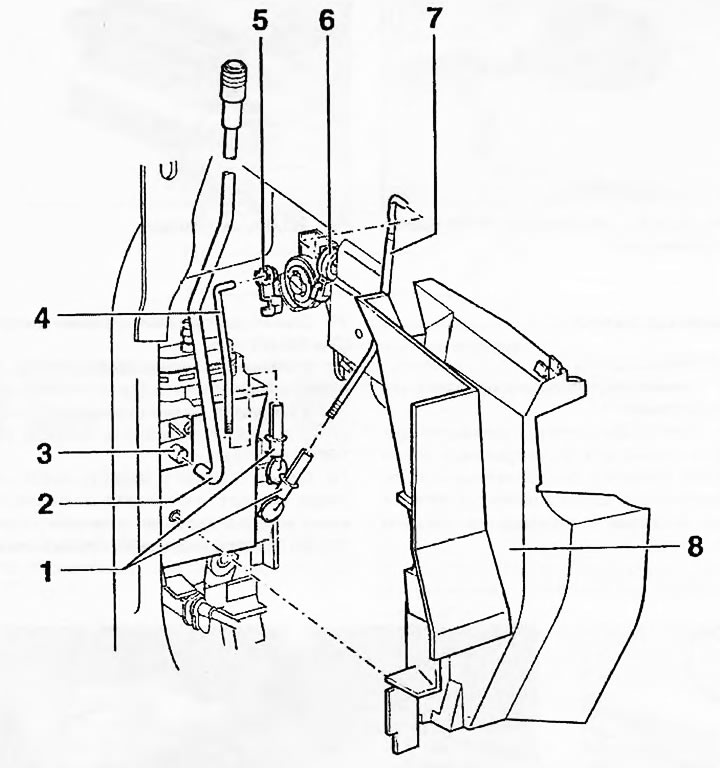
Fig. 19.9. Door lock and control rod components: 1. Fixators; 2. Button pull; 3. Retainer; 4. Lock cylinder rod; 5. Bushing; 6. Bushing; 7. Lock rod; 8. Anti-theft panel
The original article is located on the online resource AUDImanual.ru