



2. The thickness of the outer front brake pads can be checked through the holes in the wheels. The inner pads can be checked through the holes at the rear of the brake calipers using a mirror.
3. If any pad is worn to the specified minimum thickness, all front brake pads must be replaced together. If the pads are not worn to the limit, their thickness can be used to roughly estimate how long they will last. For every 1000 km of mileage, the pads wear by 1 mm.
4. If the thickness of the pads cannot be determined, remove both front wheels for a more complete examination (photo).
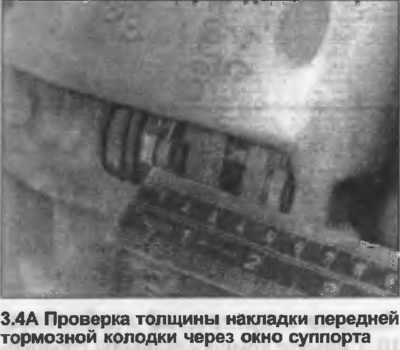
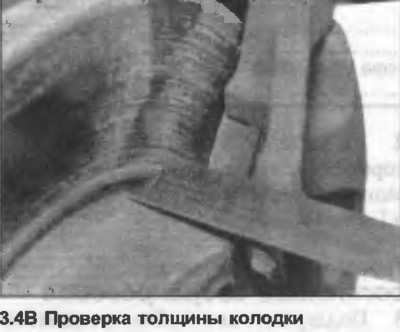
5. Before removing the pads, remove the wheels first. If the pads are to be reused, mark their position to ensure installation in the original position.
Teves support
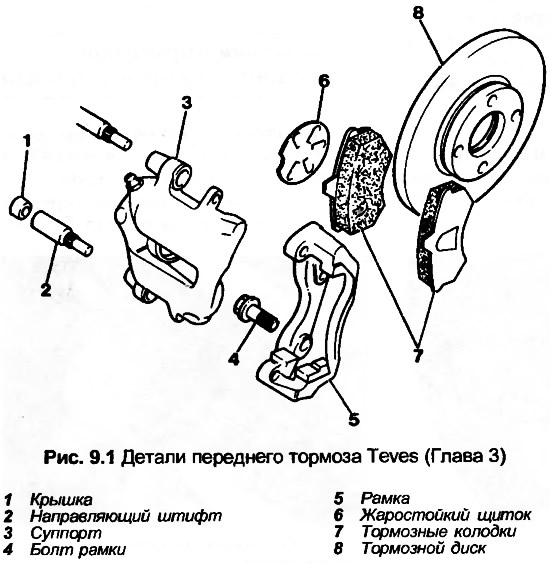
6. Remove the cover from the inner end of the lower guide pin.
7. Using a socket wrench, loosen and remove the lower guide pin.
8. Unclip the brake system flexible pipe from the wheel bearing housing, then rotate the caliper upward and tie it to the coil spring.
9. Remove the brake pads from the caliper frame.
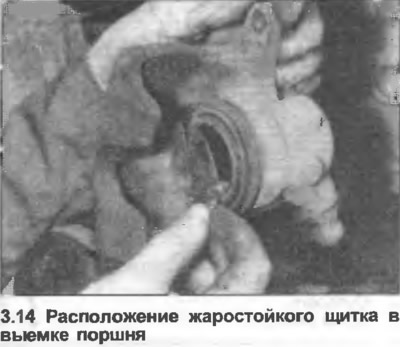
10. Check that the heat shield cover is correctly positioned in the piston recess. Push the piston fully into the cylinder to allow the new pads to be installed.
Girling support
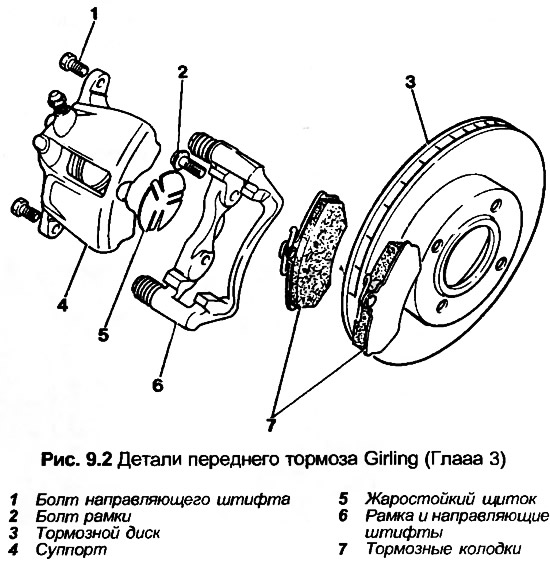
11. Secure the lower guide pin with a double-ended wrench, loosen the clamp bolt (photo).
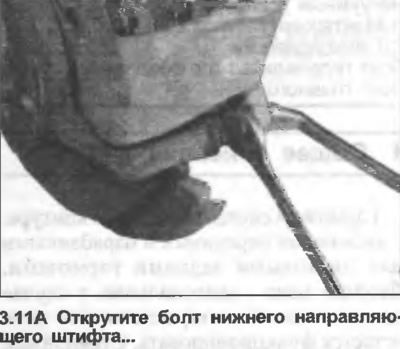
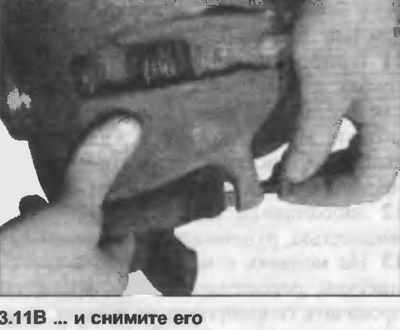
12. Turn the caliper up and tie it to the coil spring (photo).
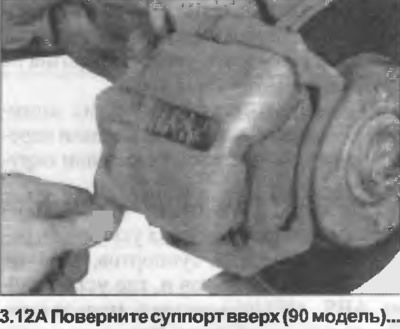
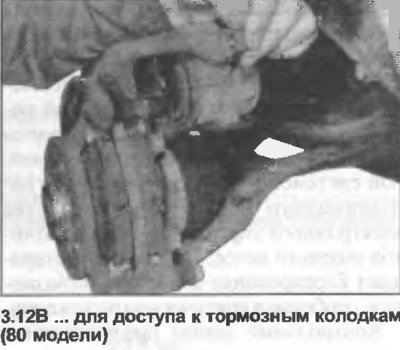
13. Remove the brake pads from the caliper frame (photo).
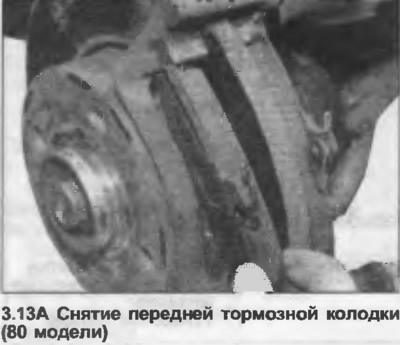
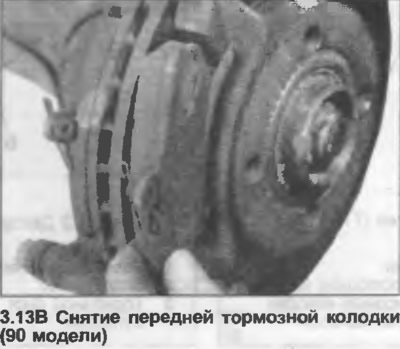
14. Check that the heat shield cover is correctly positioned in the piston recess (photo). Push the piston all the way into the cylinder to allow the new pads to be placed.
Teves and Girling calipers
15. Clean the caliper, piston, disc and pads from dust and dirt. Clean the pad and disc support plates from rust.
16. The new brake pad set includes two self-locking bolts that are only used with Girling calipers.
17. Reassemble in reverse order. Tighten the guide pins or bolts to the tightening torque specified in the Specification. Finally, with the vehicle stationary, press the brake pedal several times to set the brake shoes to their normal operating position. Also check the brake fluid level as described in Chapter 2.
(The original text of the material can be found on the website: «AUDImanual»)