



Radiator frame, serv. position
Note: For the service position, do not disconnect or open lines or circuits, such as engine cooling, air conditioning, etc. When installing the radiator frame, ensure that the lines and cables are not compressed or pinched at the attachment points.
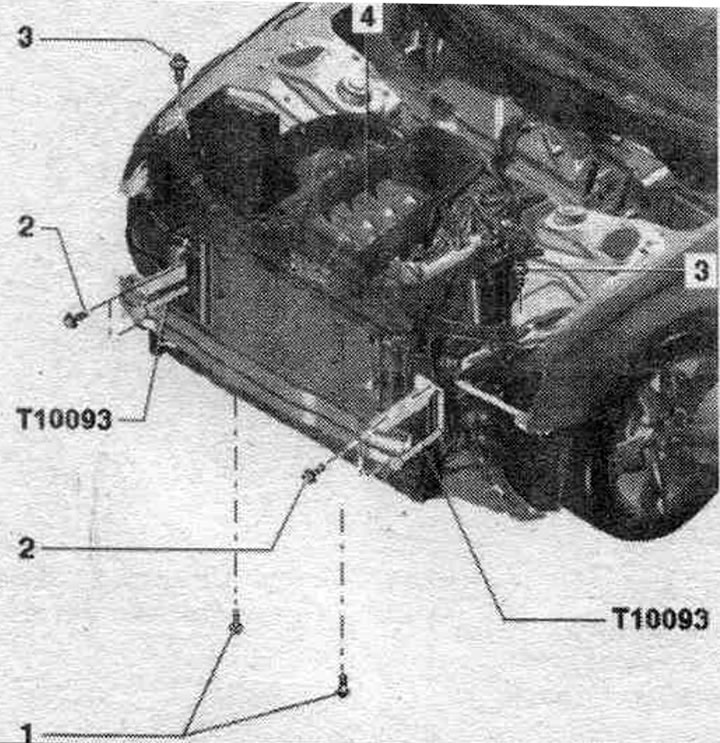
1. Radiator frame. For vehicles with adaptive cruise control (ACC), the following should be taken into account. If the radiator frame is removed and reinstalled, or modifications have been made to the ACC bracket, the adaptive cruise control must be adjusted. Disconnect the battery. Remove the front bumper. Remove the upper radiator frame trim. Unscrew the bolts of the lower noise insulation screen on the bumper. Disconnect the cable from the hood casing at the attachment point. Loosen the expansion bolts. tank. Remove the expansion tank. the tank from the mount upwards. Disconnect the headlight plug connectors. For cars with an additional intercooler. disconnect the pressure hoses. Unscrew the lower bolts on the right and left of the side member. Screw the guide rods "T10093" from the left and right outside into the free threaded holes. Remove the remaining bolts. Move the radiator frame forward together with the extension. tank, without stretching the lines, onto the guide rods. Installation in reverse order. After installation, check the headlight adjustment and adjust the headlights if necessary.
2. Bolt: 6 Nm; do not unscrew for service position.
3. Bolt: screw the guide rods "T10093" into the free threaded holes on the left and right from the outside; 30 Nm.
4. Bolt.
Screw in the guide rods "T10093"
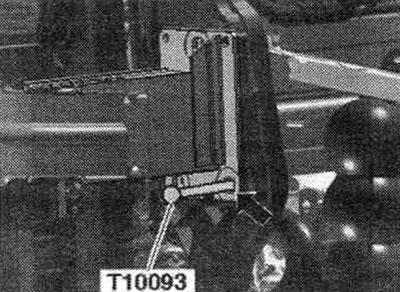
As shown in the figure, screw the guide rods from the bottom of the bracket into the side member.
Loosen the expansion bolts. tank
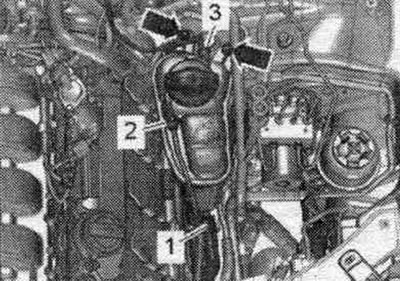
Before moving the radiator frame forward, unscrew the expansion tank "arrow" nuts and move it from the bottom up out of the bushing. When installing, tighten the bolts to 5 Nm.
(Content source: the specified website: audimanual.ru)