
1. Disconnect the negative battery cable.
2. Using pliers and a spacer, carefully remove the heater control knobs.
3. Remove the screws and remove the panel.
4. Remove the screws securing the heater control handles.
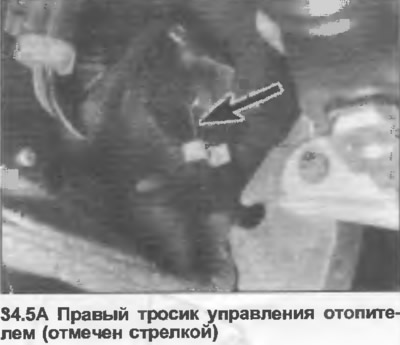
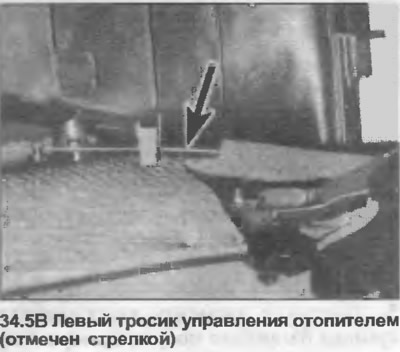
5. Using a screwdriver, pull the control cables out of the heater and disconnect the inner cables from the control levers (photo).
6. Remove the center of the instrument panel (Chapter 30).
7. Remove the heater control knobs, radio and central vent housing.
8. Disconnect the electrical wiring harness from the fuse box and the board by first removing the fuse box as described in Section 12.
9. Remove the bolts from the central air system and the defrost system.
10. Remove the instrument panel as described in Chapter 29.
11. Drain the cooling system as described in Section 2.
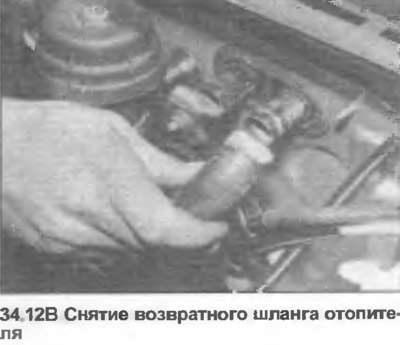
12. Loosen the clamps and disconnect the heater hoses at the bulkhead in the engine compartment (photo).

13. Remove the left collection chamber cover from the bottom of the windshield in the engine compartment.
14. Remove the heater vent (two screws) and remove the gasket.
15. Unscrew the mounting nuts located in the center of the partition.
16. Lower the control unit, then remove the heater from inside the vehicle.
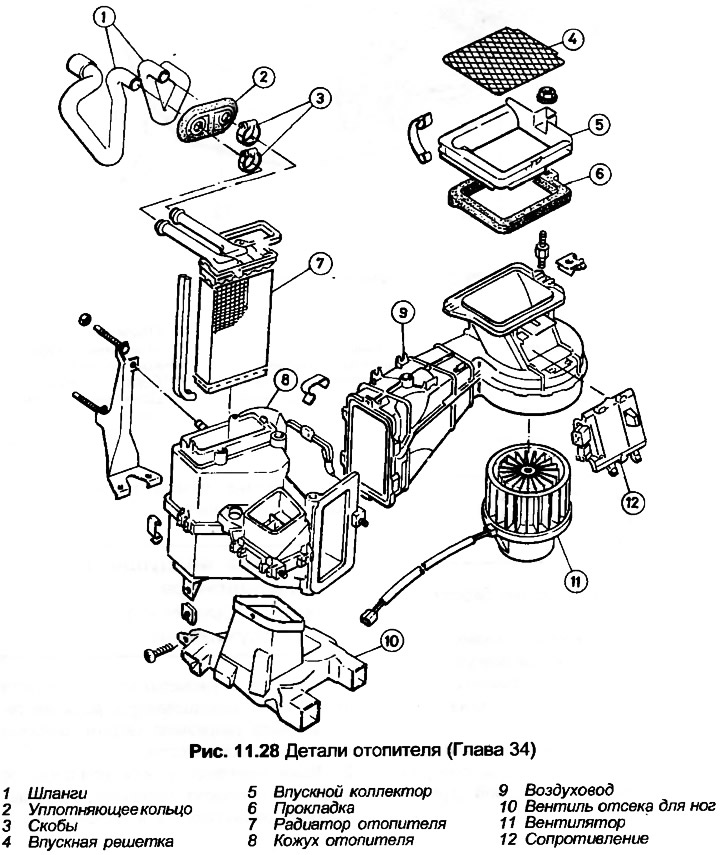
17. The heater core can be removed by pulling it off the retaining devices and, if necessary, the shrouds can be removed by removing the brackets. Remove the fan as described in Chapter 35.
18. Installation is carried out in reverse order, but note the following: If the radiator is not installed on the locking devices, use two self-tapping screws to secure it. Check that all gaskets are correctly placed. Make sure that the control cables operate smoothly.