
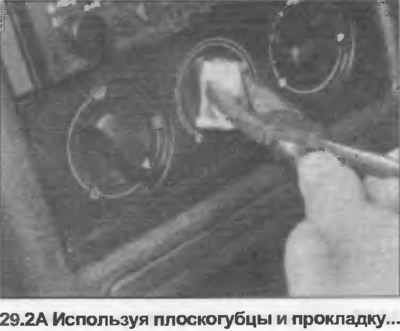
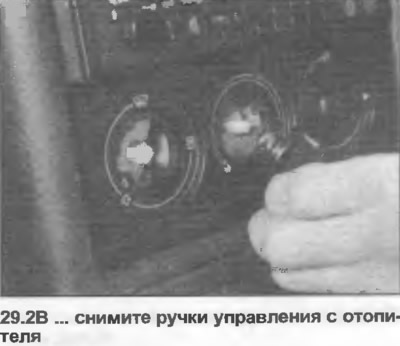
2. Using pliers, carefully remove the heater control knobs (photo).
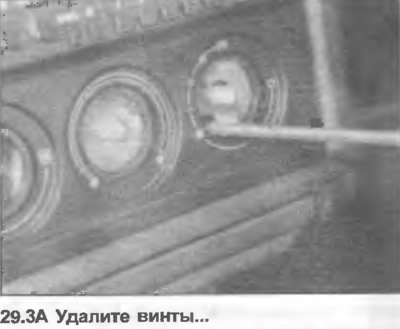
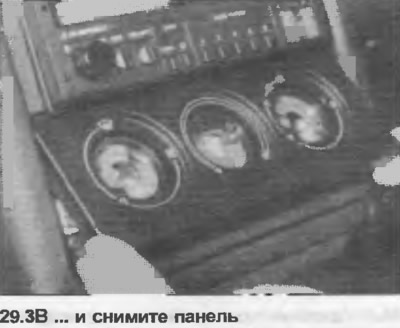
3. Loosen the screws and remove the surround (photo). On models with air conditioning, the panel is inserted with clips.
4. Remove the screws securing the air conditioner or heater control knobs. Disconnect the multi-plug from the air conditioner.
5. Remove the radio (Section 12).
6. Remove the cover from the passenger side trim panel.
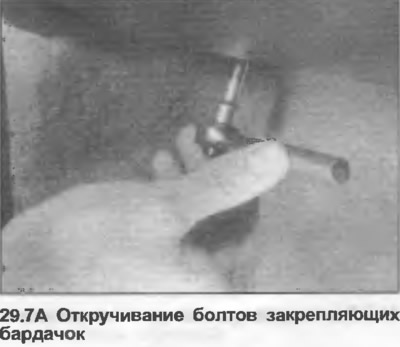
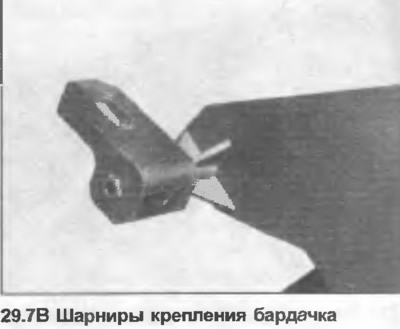
7. Unscrew the bolts from the bottom of the glove box, then remove the glove box (photo). On models equipped with air conditioning, unscrew the mounting strips, then press the glove box in the center and remove it.
8. Unscrew the lower trim panel on the driver's side.
9. On manual choke models, squeeze the tab at the base of the choke button and remove the button from the cable. Unscrew the choke control lever from the instrument panel.
10. Unscrew and remove the shelf (where it is equipped).
11 Then disconnect the negative battery cable.
12. Disconnect the multi-pin plugs under the steering column.
13. Disconnect the ground wire harness at the fuse box. The harness may remain connected to the switches if desired.
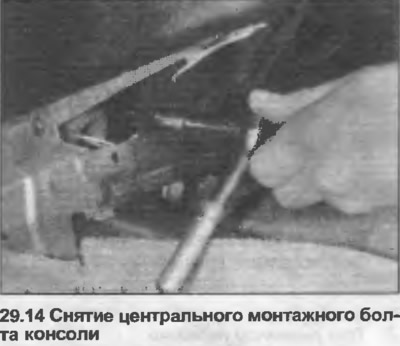
14. Using a pry bar, remove the plastic covers from the ends of the instrument panel and unscrew the bolts. Then unscrew the mounting bolts in the center (photo).
15. Unscrew the nuts from the heater casing and remove the screw from the heater channel.
16. Lift the heater duct slightly, then remove the instrument panel from the bulkhead and remove it from the vehicle.
17. Installation is carried out in the reverse order. Disconnect the heater duct, then attach it to the casing holder. Before tightening the mounting bolts, make sure that the instrument panel is aligned correctly. The gap between the panel and the windshield should be approximately 7.0 mm and the top of the panel should be flush with the door trim panels when the doors are closed.
A link to the original source is available on the website: AUDIMANUAL.ru