
2. Before installing new pistons, check the clearance in the track lock as follows.
3. Lay out the piston rings and pistons with connecting rods in order so that they do not get mixed up during assembly and end up in their cylinders. Place the block on the workbench with the crankcase down so that there is access to the cylinders from above and below.
4. Insert the first top piston ring into the first cylinder and push it down with the first piston, thus positioning the ring perpendicular to the cylinder walls at the bottom of the cylinder. Remove the piston.
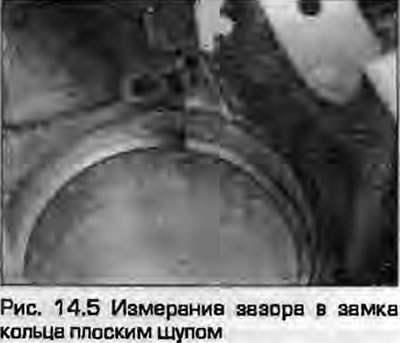
5. Measure the gap in the lock using flat feeler gauges and compare with the values given in Specifications. A properly selected feeler gauge should come out of the lock with slight friction. Make sure the ring is installed correctly before deciding that the gap is incorrect. Repeat the operation with the remaining cylinder rings.
6. If the gap is too small (as if spare parts from non-professional manufacturers were used), it needs to be widened, otherwise during engine operation the ends of the ring will close, causing serious damage. Ideally, new piston rings should provide the necessary clearance in the locks and be ready for installation. At worst, you can increase the clearance by removing a lot of metal from the end of the ring with a thin file. Clamp the file in a vice with soft jaws and move the end of the ring along the file, holding it strictly perpendicular, removing the required amount of metal. Be careful, the ring is sharp and fragile.
7. Now that the rings have been checked and the clearances adjusted, they can be installed on the pistons. The same technology is used to install the rings as when removing them. First install the oil scraper ring spring in the third groove, then install both thin oil scraper rings along the edges of the groove. The second and first rings are different from each other, they can be distinguished by their ends; the top one has a square cross-section, and the second one is trapezoidal. Install both rings in their grooves with the TOP mark facing up.

8. Open the ring locks at an angle of 120°.
Note: When installing tracks, always follow the manufacturer's instructions - different manufacturers may provide different instructions.
The original article is posted on the resource audimanual.ru