



Table of contents: Removal ↓ Installation ↓
The front trim consists of four parts: the middle and lower parts, the right and left lock crossbars. The removal of the trim as a set is described. Each of its parts can be removed separately.
Removal
Remove the bumper.
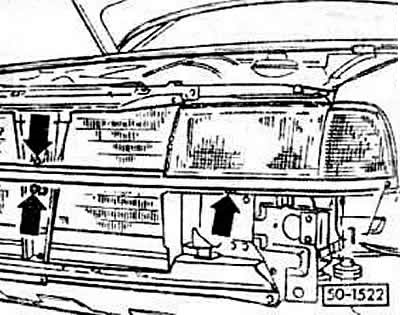
Unscrew the cover, left and right, and remove it from the nozzle.
Remove the headlight.
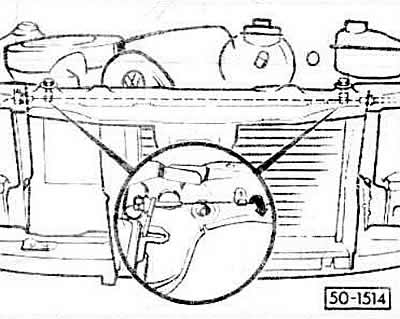
Disconnect the hood release cable. To do this, release the clamping nipple from above through the mounting hole and disconnect the cable.
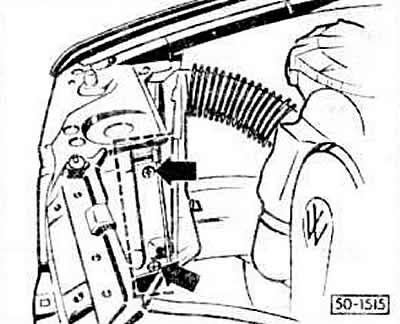
Unscrew the air intake casing.
Unscrew the middle part. To do this, unscrew one bolt on the left and right at the top and one bolt at the front. Then unscrew one bolt at the bottom in the center of the middle part and remove the middle part with the side radiator trims.
4-cylinder engine: disconnect the electrical wires of the thermal switch and fan. Unscrew the two rubber-metal radiator supports, carefully move them back and place them on the engine with the cooling system hoses attached.
Unscrew 5 trim bolts from the body on the left and right.
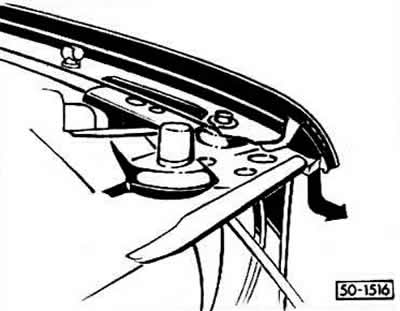
Remove the trim on the side below the wing.
Installation
Insert the trim and screw it in place with 6 bolts from the front with a torque of 23 Nm.
Tighten 4 self-tapping screws from above with a torque of 7.5 Nm.
Caution: Do not tighten the screws too much, as they can easily come loose. The screws can be tightened with a lever-less replaceable head by hand.
4-cylinder engine: install the radiator on the supports and screw it in place. Connect the connectors of the thermal switch and the radiator.
Install and screw the middle part.
Screw on the air intake casing.
Connect the hood cable.
Install headlights.
Install the bumper.
Adjust the hood lock.