
1. The rear of the right headlight assembly can be accessed by removing the air cleaner inlet hose. To access the left assembly on 90 models, remove the radiator top cover.
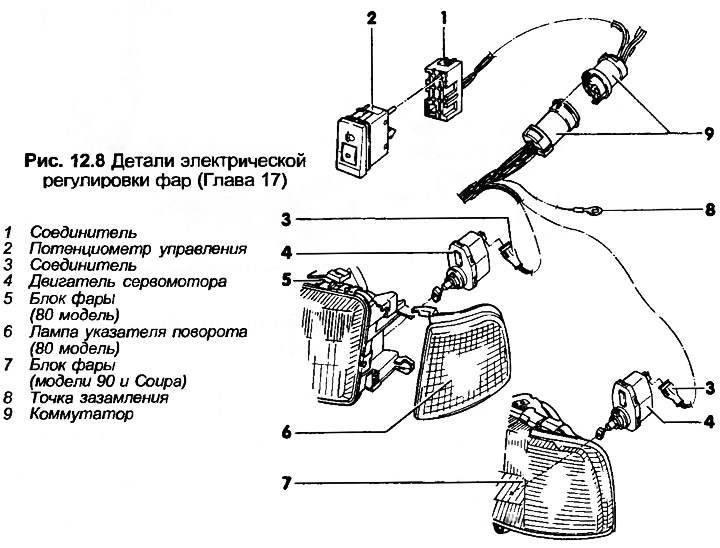
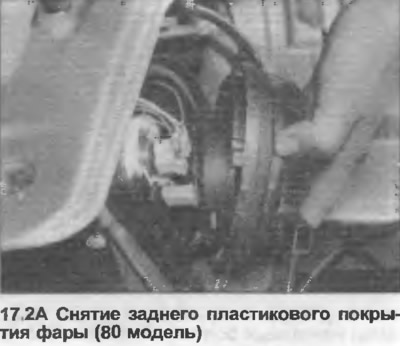
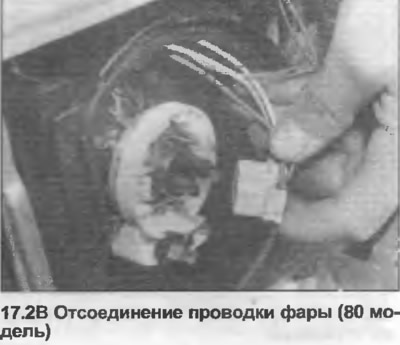
2. To remove the bulb on 80 models, turn the rear plastic cover counterclockwise and lift it off, then disconnect the wiring from the bulb terminals (photo).
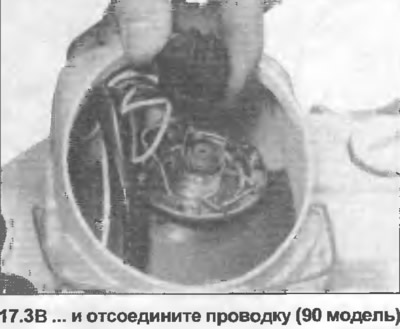
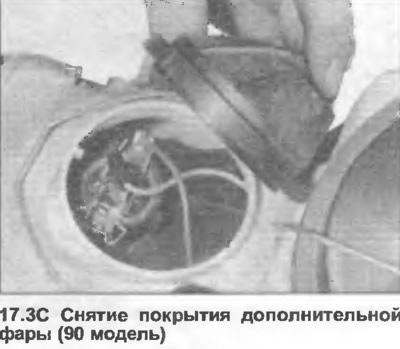
3. On 90 models, release the spring clip, remove the rear plastic cover, then disconnect the wiring from the bulb terminals (photo).

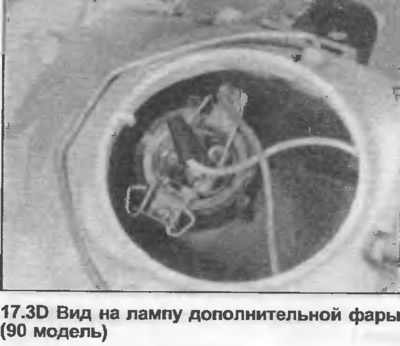
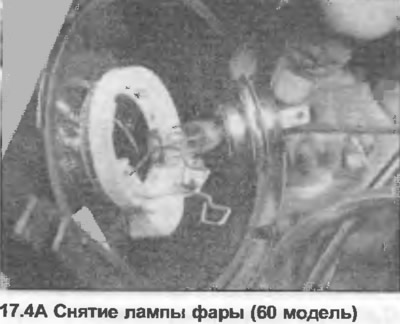
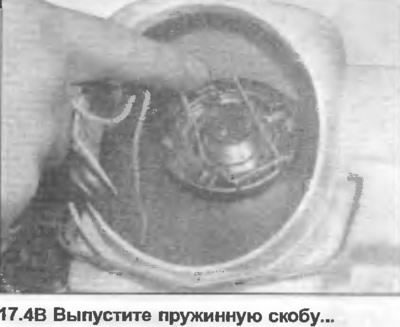
4. Release the spring clip and remove the bulb from the headlight (photo).
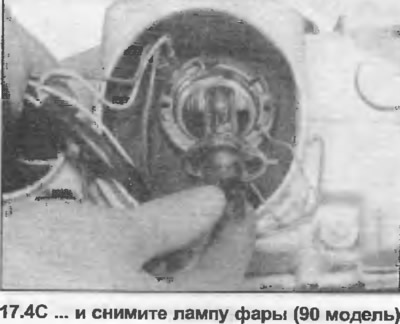
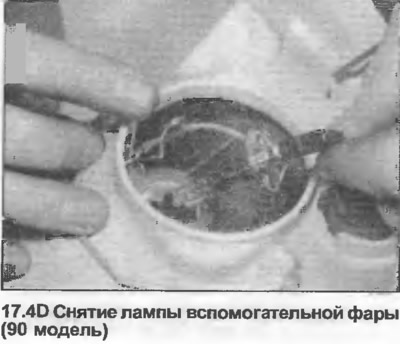
5. If the lamp is to be reused, do not touch the glass with bare hands. If you accidentally touch the incandescent lamp, clean it with methyl alcohol.
6. To remove the headlight, first remove the washers (if any). If there is an electric headlight adjustment system, also disconnect the corresponding electrical wiring.
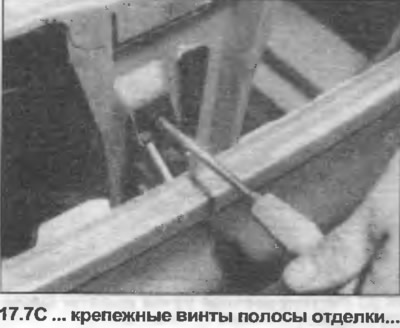
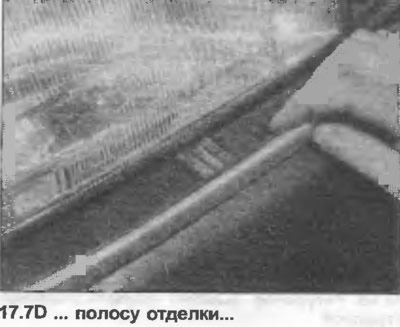
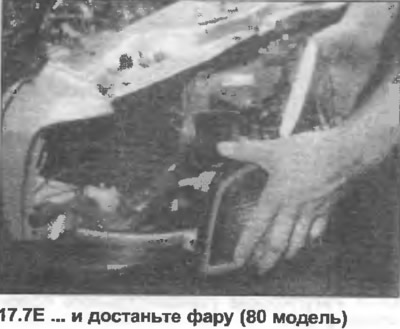
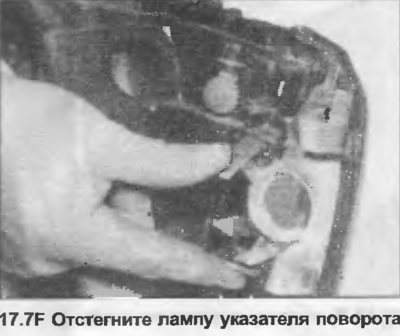
7. On 80 models, disconnect the wiring from the back of the headlight. If necessary, you can remove the turn signal bulb first. Unscrew the upper and lower mounting screws and remove the headlight. For better access, you can remove the narrow trim strip from under the headlight. If not already removed, unclip and remove the turn signal bulb (photo).
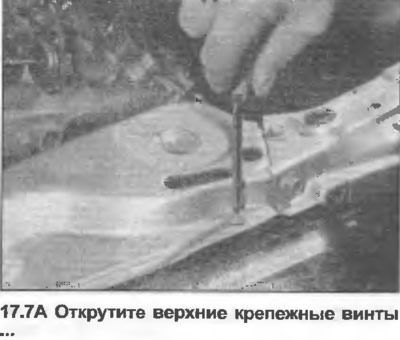
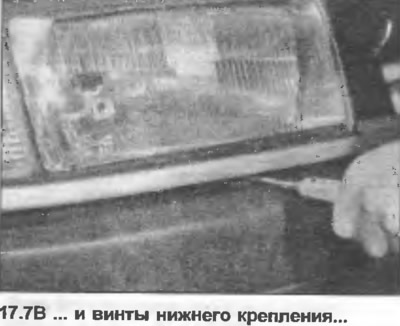
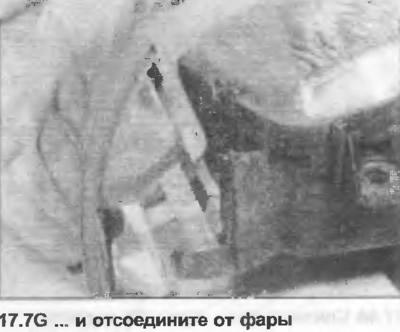
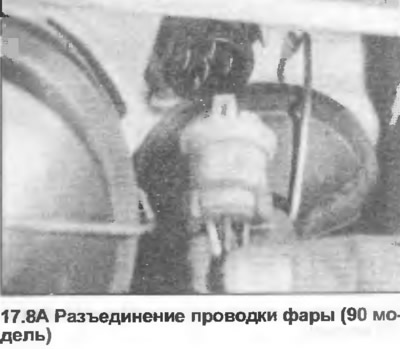
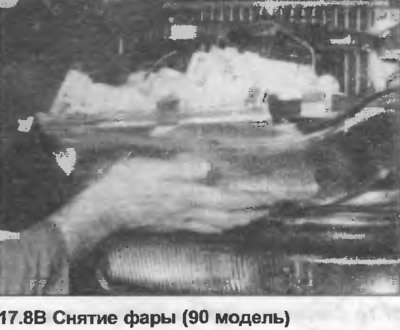
8. On 90 models, disconnect the wiring from the rear. Unscrew the upper and lower mounting screws, remove the headlight forward (photo).
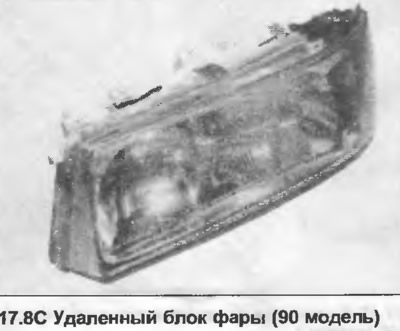
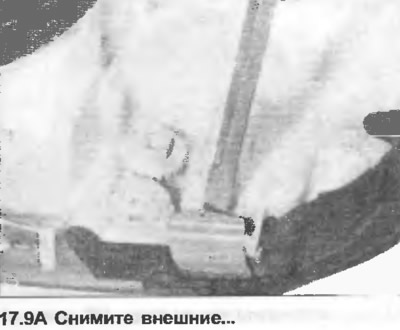
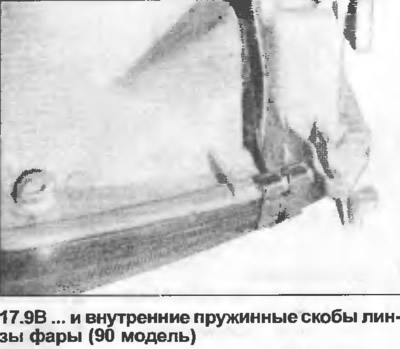
9. If necessary, the lens can be removed by removing the spring clips with a screwdriver (photo).
10. Reassembly is done in reverse order. When installing the headlight, tighten the upper mounting screws, then the lower screws. Adjust the headlight as described in the next Chapter. When installing the bulb, make sure that one of the three clips is placed at the top center so that the projections of the bulb frame are correctly engaged. If the plastic cover has an "Oben" mark, it should be at the top.
The original article is posted on the resource AUDIMANUAL.ru