
Table of contents: Dashboard switch ↓ Interior light switch ↓ Trunk light switch ↓ Handbrake indicator ↓
Dashboard switch
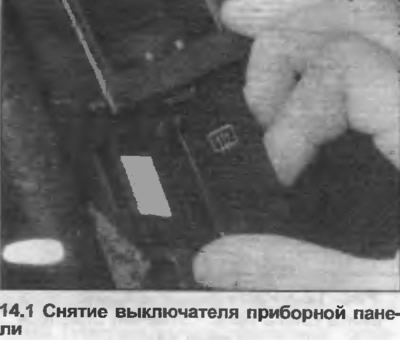
1. Using a small screwdriver, remove the switch from the instrument panel (photo).
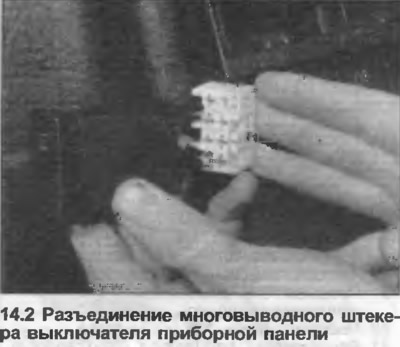
2. Disconnect the multi-pin plug from the back of the switch (photo).
3. Installation is carried out in reverse order.
Interior light switch
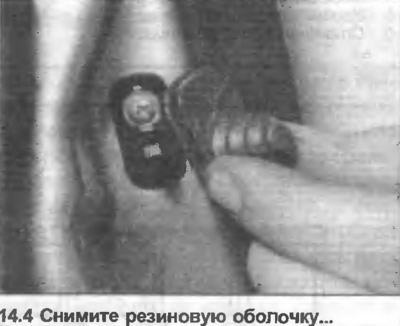
4. Remove the rubber new casing (photo).
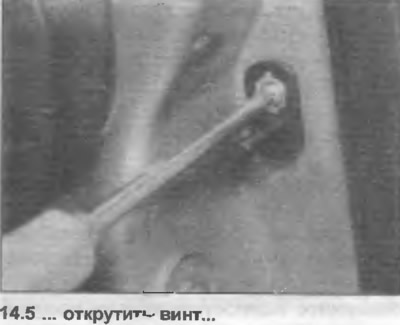
5. Unscrew the screw (photo).
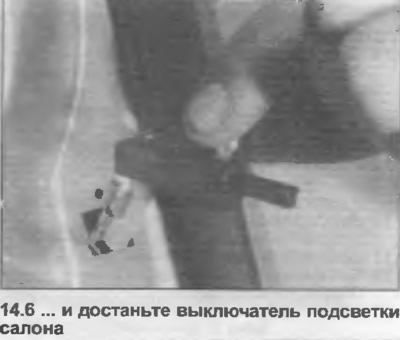
6. Carefully remove the switch from the door pillar (photo). Disconnect the wiring, remove the switch. Secure the wiring so that it does not fall inside the door pillar.
7. Installation is carried out in reverse order.
Trunk light switch
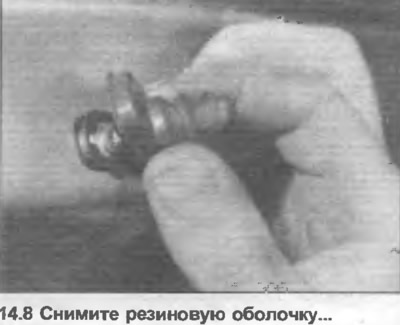
8. Remove the rubber shell (photo).
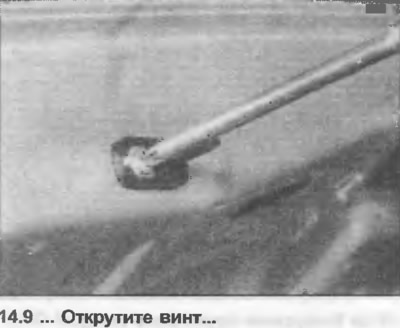
9. Unscrew the screw (photo).
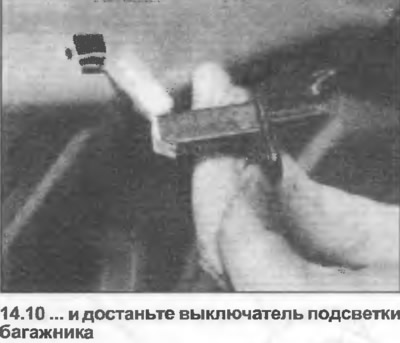
10. Remove the switch and disconnect the wiring (photo).
11. Installation is carried out in reverse order.
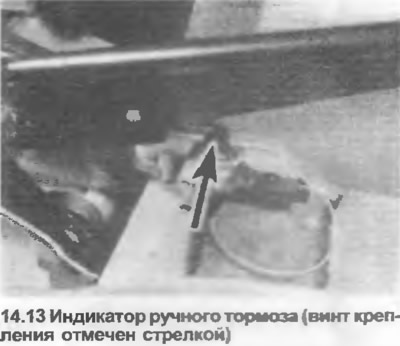
Handbrake indicator
12. Remove the center console (Section 11).
13. Remove the screw securing the switch to the floor, below the parking brake (photo).
14. Disconnect the electrical wiring.
15. Installation is carried out in reverse order.