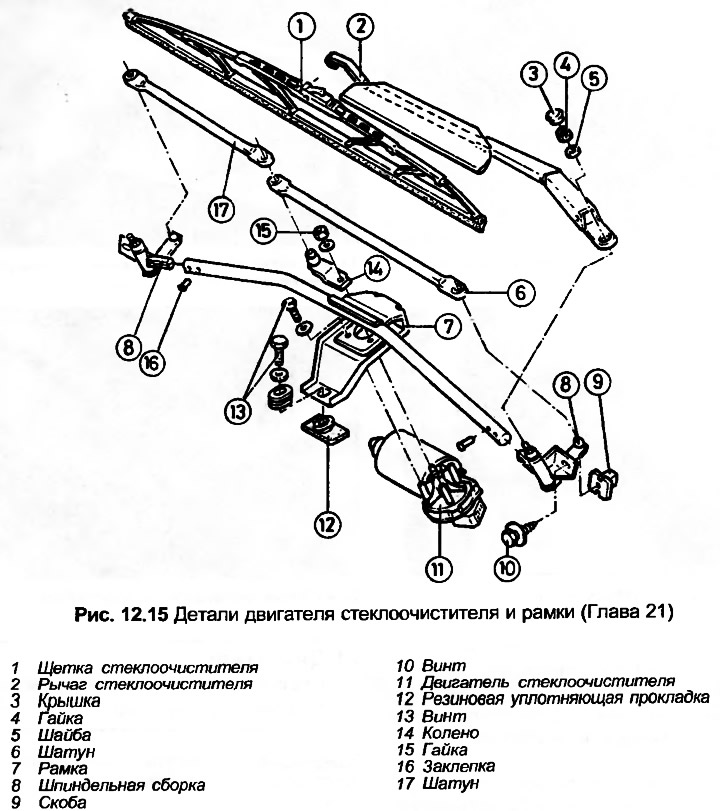
Note: It is not possible to remove the wiper motor separately from the frame.
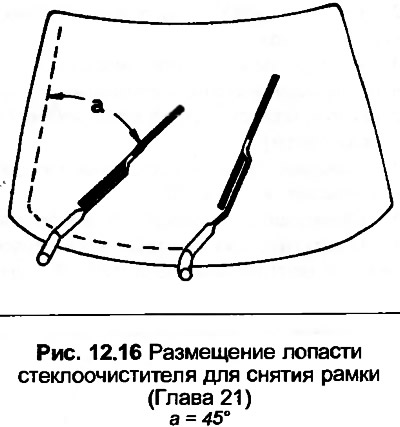
1. Turn on the ignition and windshield wipers, then turn off the ignition when the wiper blades are as shown in Fig. 12.16.
2. Disconnect the negative battery cable.
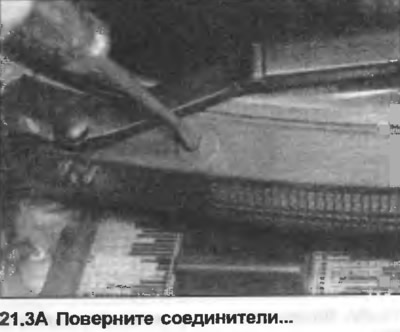
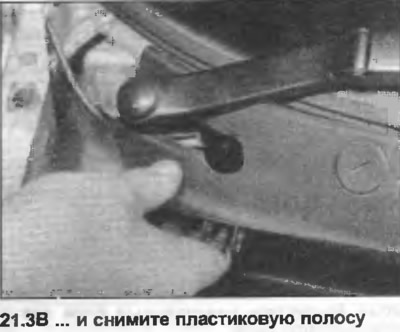
3. With the hood open, use a screwdriver to turn the connectors, then remove the plastic strip in front of and below the windshield (photo).
4. Remove the windshield wiper arms as described in Chapter 20.
5. Disconnect the wiring from the engine.
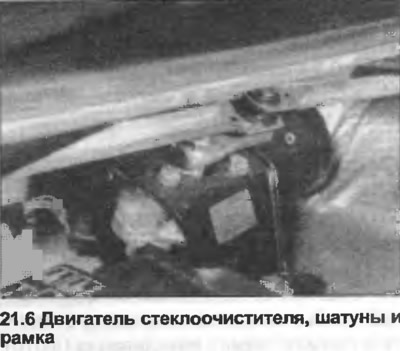
6. Unscrew the two side mounting screws and the central mounting bolt, remove the wiper frame (photo).
7. Lift the connecting rods off the engine knee and (if necessary) from spindle assemblies.
8. Mark the position of the knee relative to the engine spindle, then unscrew the nut and remove the knee from the axle.
9. Unscrew the three mounting bolts and remove the engine from the frame.
10. If the spindle assemblies are riveted to the frame, they can be replaced separately by filing down the heads and pressing out the rivets. If the assemblies are pressed in, they cannot be replaced separately.
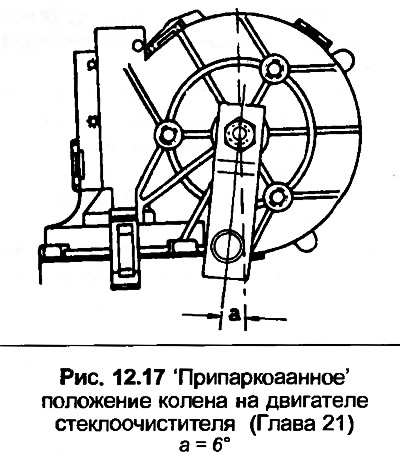
11. Reassemble in reverse order. Lubricate the connecting rod with molybdenum grease. If a new wiper motor is being installed, install the crank on the axle in the position shown in Fig. 12.17, with the motor in the "parked" position.