
Table of contents: Drain the oil. Remove the subframe. ↓ Installation ↓
Drain the oil. Remove the subframe.
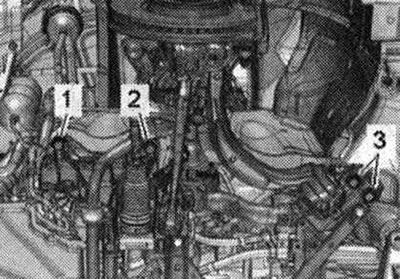
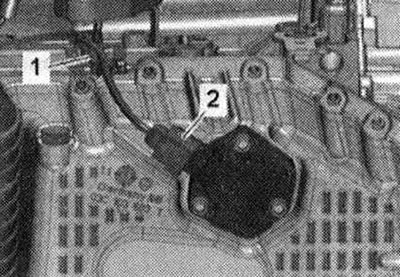
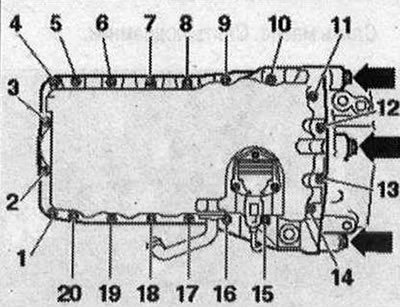
Unscrew the "arrow" nut on the right side member and release the ground wires.
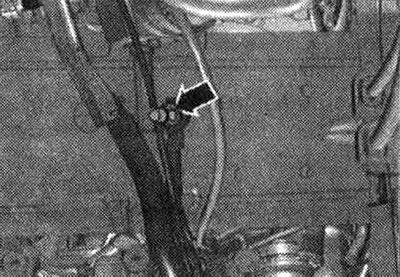
Disconnect the electrical plug connection "2" of the oil level and temperature sensor "G266".
Front-wheel drive vehicles: Remove the front engine mount.
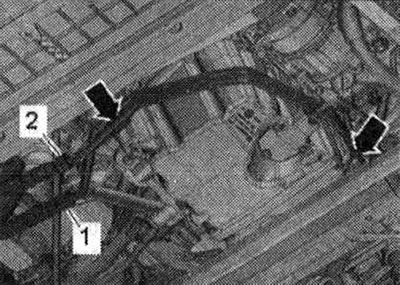
Cars with dual-clutch transmission 0B5: Unscrew the bolts "arrows". "Pos. 1., 2" do not take into account.
All
Unscrew the bolts "arrows" connecting the oil pan to the gearbox. Loosen the bolts "1...20" crosswise and unscrew them. Carefully peel off the oil pan.
Installation
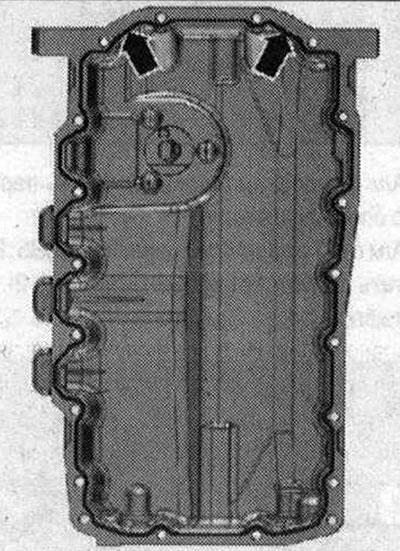
Risk of contamination of the lubrication system and bearings. Cover open engine parts. Remove sealant residues from the oil pan and cylinder block, e.g. with a rotating brush attachment with plastic bristles. Clean the mounting surfaces; there should be no oil or grease on them. Take into account the expiration date of the sealant. Cut off the tube tip along the front mark (hole diameter approx. 2mm). Risk of clogging the lubrication system channels with excess sealant. The sealant strip must not be thicker than the specified size. Apply a strip of sealant to the clean seating surface of the oil pan, as shown in the figure. Sealant strip thickness: 2...3 mm. In the area of the rear sealing flange "arrows" apply the sealant especially carefully. Install the oil pan within 5 minutes after applying the sealant.
Install the oil pan and tighten the bolts. When installing the oil pan with the engine removed, make sure that the oil pan is tightly (hermetically sealed) fits on the flywheel side of the cylinder block. After installing the oil pan, allow the sealant to harden for approx. 30 minutes. Only then can you fill in the oil. Install the subframe. Install the electric wires. Fill in the oil and check its level.