
Table of contents: Removal ↓ Installation and adjustment ↓
Removal

1. Remove the injection pump housing.
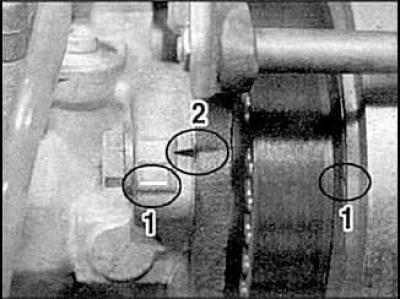
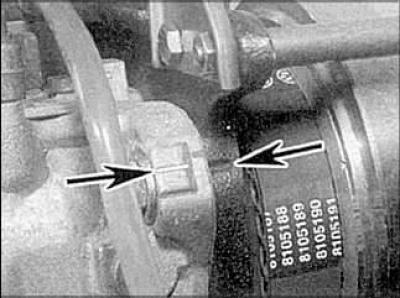
2. Set the N1 cylinder piston to TDC. Mark the position of the TDC mark on the pump pulley/sprocket (1) in relation to the pump housing. Mark the position of the housing in relation to the TDC mark on the mounting bracket (2).
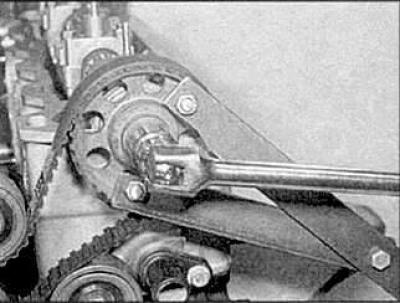
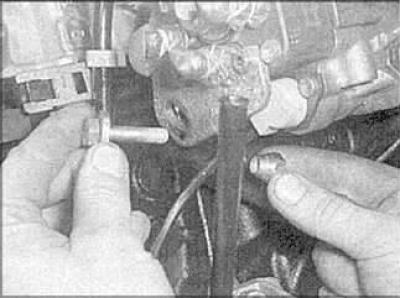
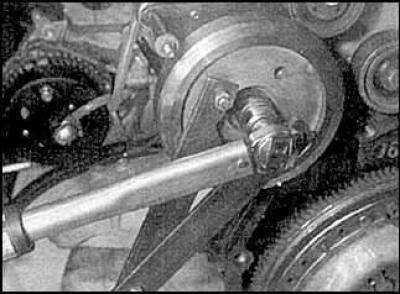
3. Loosen the mounting bolt while holding the sprocket.
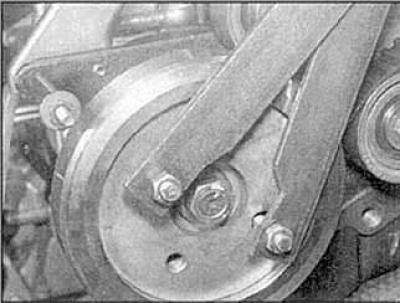
4. Hold the injection pump pulley still using a similar tool.
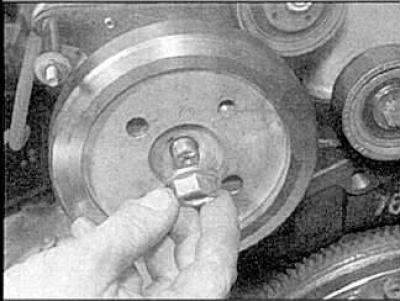
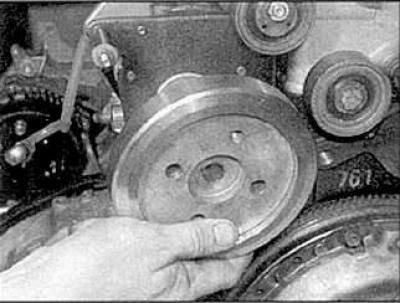
5. Loosen the nut and remove the sprocket/pulley.
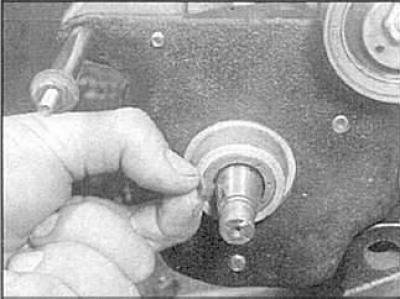
6. Remove the key.
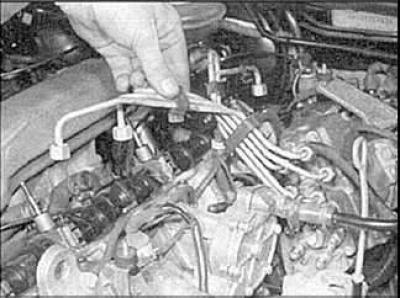
7. Unscrew the connection nuts and remove the fuel pipes.
8. Close the ends of the tubes.
9. Disconnect the fuel hoses from the pump.
10. Mark and disconnect the wires from the injection pump.
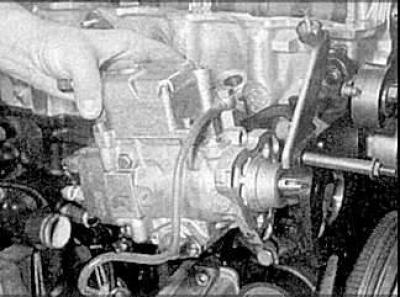
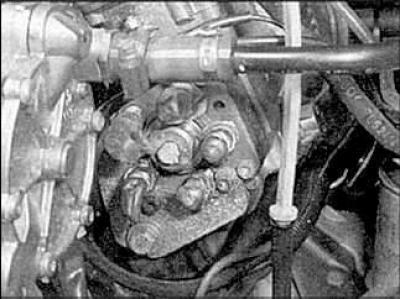
11. Loosen the mounting bolts and remove the injection pump from the mounting bracket.
Installation and adjustment
1. Install the injection pump onto the mounting bracket, aligning the alignment marks (arrows).
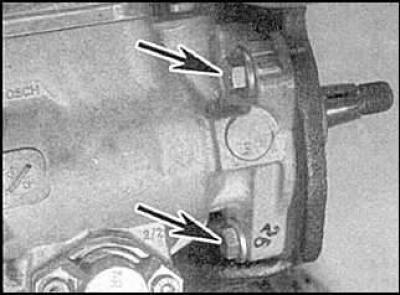
2. Tighten the mounting bolts (arrows).
3. Install the sprocket/pulley and tighten the mounting nut.
4. Install the drive belt.
5. Set the crankshaft and pump to TDC.
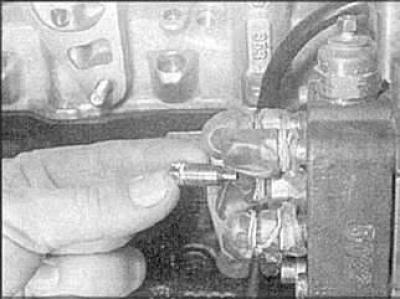
6. Remove the mounting plug from the pump.
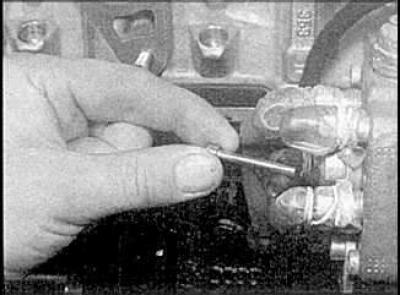
7. Install the adapter.
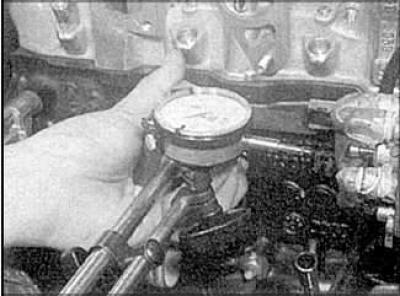
8. Install the dial gauge.
9. Set the gauge pointer to 2 mm, then set the pump piston before the TDC position by rotating the pump pulley.
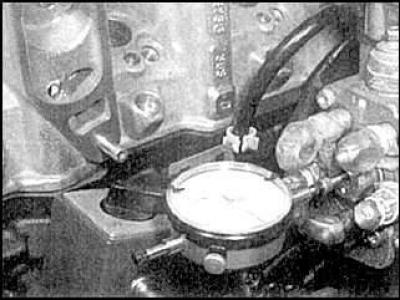
10. Zero the sensor. Slowly turn the rear pump sprocket counterclockwise until the sensor reads 0.42 mm (aVR engine) or 0.32 mm (aAT engine). This is a preliminary value.
11. Check that the TDC mark on the flywheel/drive plate is aligned with the hole in the transmission case. While holding the sprocket, tighten the sprocket mounting bolt to the specified torque.
12. Rotate the engine crankshaft two revolutions and again align the marks on the flywheel/drive plate and gearbox.
13. Check that the sensor shows 0.35±0.02 mm (aVR engine) or 0.25±0.02 mm (aAT engine). Repeat adjustment if necessary.
14. Connect the fuel lines, hoses and wires.