
Table of contents: Removal ↓ Installation ↓
Timing belt (AAE, ACE, ABK, AAD)
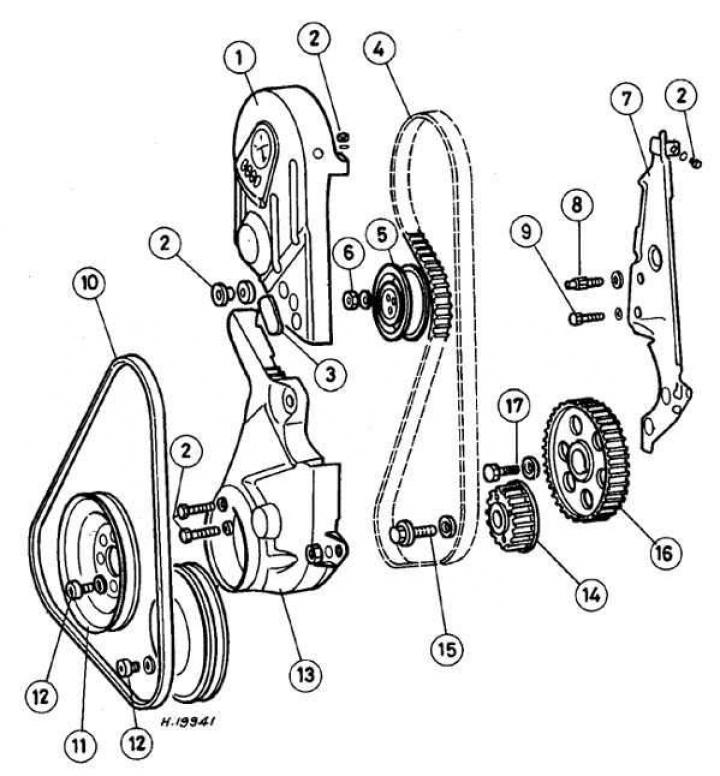
- 1. Upper belt cover
- 2. Nut
- 3. Plug
- 4. Timing belt
- 5. Tensioner
- 6. Nut
- 7. Back belt cover
- 8. Pin
- 9. Bolt
- 10. Drive belt
- 11. Pulley
- 12. Bolt
- 13. Lower timing belt cover
- 14. Crankshaft sprocket
- 15. Bolt
- 16. Intermediate shaft sprocket
- 17. Bolt
Removal
1. Disconnect the negative battery cable.
2. Raise and support the front of the vehicle.
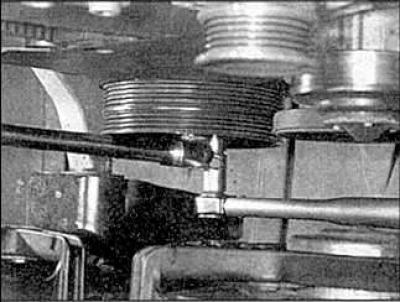
3. Remove the radiator and the alternator, power steering pump and air conditioning compressor belts.
4. Remove the lower engine shield and its upper cover.

5. If necessary, the generator, power steering pump and compressor can be removed without disconnecting the hoses from them. Remove the drive belt tensioner.
6. Remove the water pump pulley.
7. Remove the nut and bolt that secures the lower belt cover to the water pump.
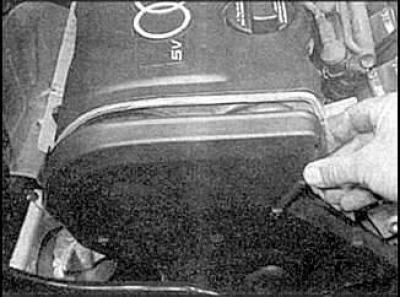
8. Remove the upper belt cover.
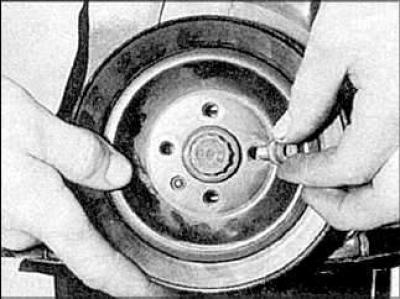
9. Mark the installation position of the crankshaft pulley and sprocket and remove the pulley.
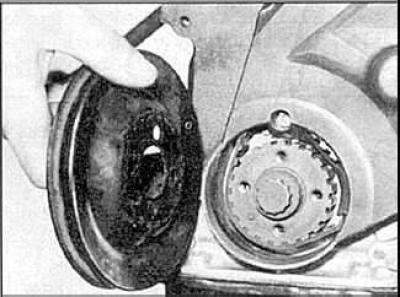
10. Remove the lower belt cover.
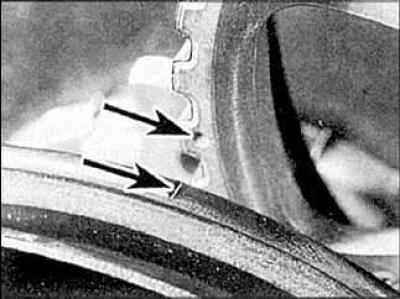
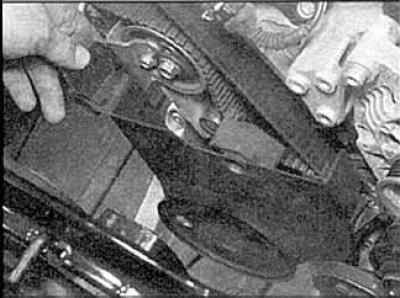
11. Turn the crankshaft clockwise and align the camshaft sprocket mark with the top of the cylinder head. For engines of a different type (not ADR), align the label on the crankshaft pulley with the label on the intermediate shaft sprocket
12. On ADR engines, turn the tensioner pulley counterclockwise and insert the pin into the hole located at the top of the tensioner.
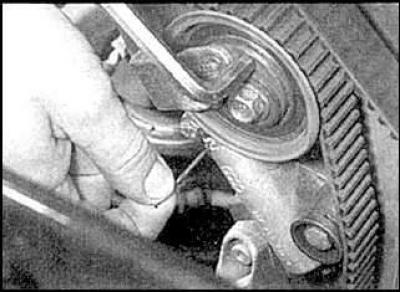
13. On AAE, ABK, AAD engines, loosen the bolt and turn the tensioner hub clockwise to relieve pressure on the belt.
14. On ACE engines, insert two pins into the holes in the hub to secure it and remove the nut to release the belt tension.
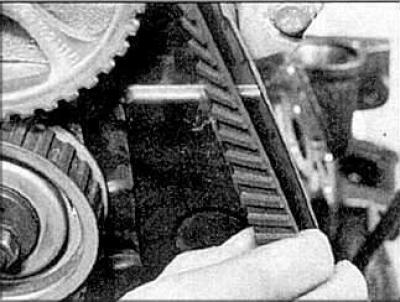
15. Remove the timing belt.
Examination
Inspect the belt for grease or oil contamination, wear or damage. Replace the belt if necessary.
Installation
1. Align the timing marks.


2. Put on the belt.
3. On ARD engines, turn the tensioner pulley counterclockwise and remove the pin so that the pulley tensions the belt.

4. On AAE, ABK, AAD engines, turn the tensioner counterclockwise to tighten the belt.
Warning: The belt should not be twisted more than 90°.
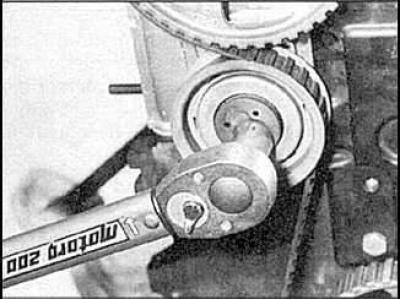
5. Tighten the tensioner nut.
6. On ACE engines, turn the hub counterclockwise to tighten the belt, then turn the hub clockwise to align the marks on the hub. Tighten the nut to the specified torque.
7. Turn the crankshaft two turns clockwise and align the timing marks.
8. Install the lower belt cover.
9. Install the shock absorber and tighten the bolts.
10. Install the remaining parts and lower the vehicle.
(This publication is borrowed from the resource: audimanual.ru)