Table of contents: Removal ↓ Installation ↓ Lower engine compartment protection ↓ Installation ↓ Stretcher ↓
Removal
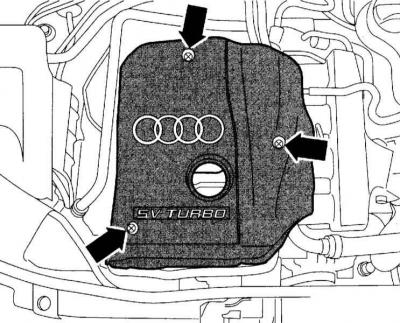
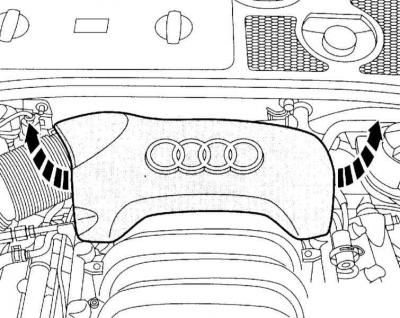
1. Unscrew the bolts and nuts (arrows in the accompanying illustration) remove the engine cover.
2. Remove the right upper engine cover, if necessary.
3. Disconnect the exhaust gas canister solenoid valve (1) at the air duct and set it aside.
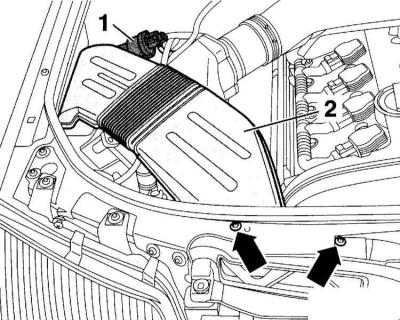
4. Unscrew the screws (arrows) and remove the air duct (2).
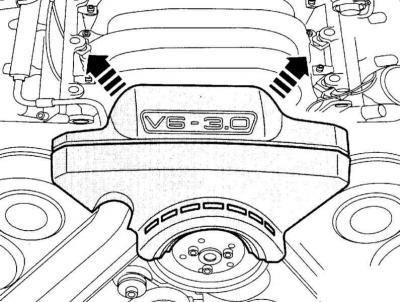
Petrol engines 2.4 and 3.0 l
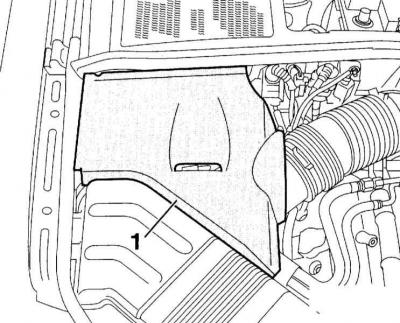
1. Remove the right engine cover (1) upwards in the engine compartment.
2. Remove the rear engine cover upward in the direction of the arrow.
3. Remove the front engine cover upward in the direction of the arrow in the accompanying illustration.
4. If necessary, disconnect and remove the side upper engine compartment cover.
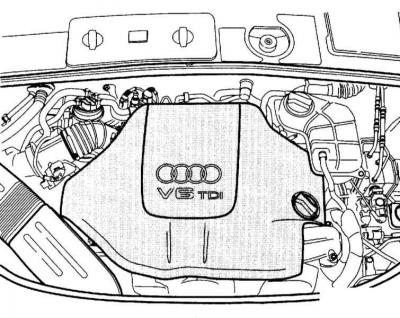
Diesel engine 1.9 l
1. Remove the oil level indicator from the guide pipe.
2. Remove the covers (arrows in the accompanying illustration) and unscrew the nuts lying underneath them.

3. Lift up the engine cover and then remove the noise damper located underneath it.
4. Insert the oil level indicator into the guide tube.
Diesel engine 2.5 l
1. Lift the engine cover up from the holders.
Installation
Installation is performed in the reverse order of removal.
Lower engine compartment protection
Removal
The operation of lifting and installing the car on stands is associated with danger! Therefore, before carrying out the operation, read the Section Jacking and towing.
1. Raise and support the front of the vehicle.
2. Remove the screws (1). To install the front panel to the maintenance position, only the three front screws need to be removed, refer to Section Setting the front panel to the maintenance position and accompanying illustration.

3. Remove the screws (2) and remove the front engine cover from the bottom.
4. Depending on the engine, unscrew the screws (3) and remove the rear engine cover from the bottom.
Installation
1. Installation is performed in the reverse order of removal.
2. Lower the car onto its wheels.
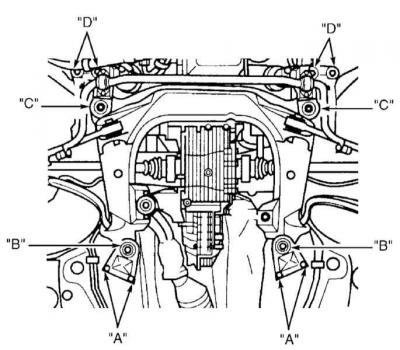
Stretcher
Subframe mounting bolts.