
Table of contents: Removal ↓ Installation ↓
Removal
Before disconnecting the battery, find out if you have a radio activation code.
Turn off the ignition and disconnect the ground wire from the battery.
Remove the expansion tank cap.
Remove the front wheels.
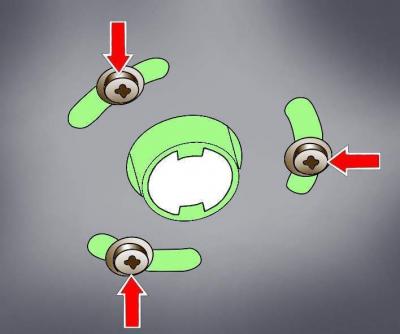
Fig. 3.4–15. Location of the exhaust pipe heater mounting screws and additional heater sound insulation
Loosen the screws securing the exhaust pipe heater and the additional heater sound insulation (Fig. 3.4–15).
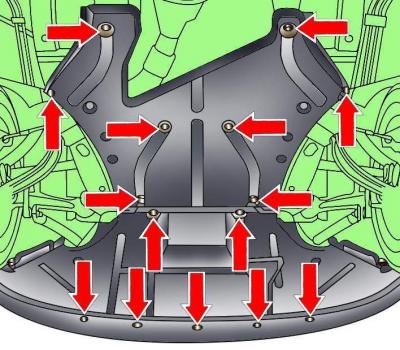
Fig. 3.4–16. Location of the engine compartment lower mudguard mounting fasteners
Release the fasteners and remove the front section of the lower engine compartment mudguard (Fig. 3.4–16).
Place a drip pan under the engine to collect the fluid.
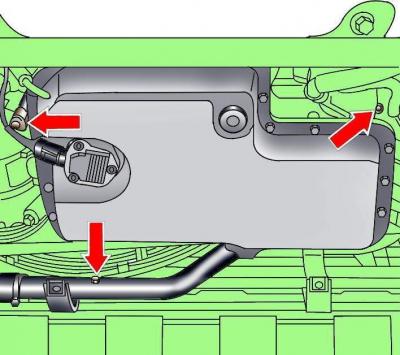
Fig. 3.4–17. Location of threaded plugs for draining coolant from the cooling system
Unscrew the three threaded plugs and drain the coolant from the cooling system (Fig. 3.4–17).
Release the clamp, loosen the hose clamp and remove the coolant hoses from the front of the engine compartment.
Remove the bolt and disconnect the automatic transmission cooling line from the bottom of the radiator.
Disconnect the electrical connector from the electromagnetic clutch, release the retainer and move the wires to the side.
Remove the front cover.
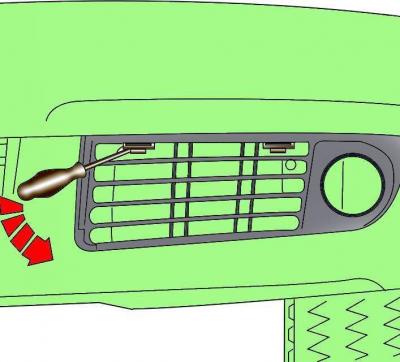
Fig. 3.4–18. Releasing the air intake grille fastening clips
Using a thin-bladed screwdriver, release the clips and remove the air intake grilles from the bumper (Fig. 3.4–18).
On vehicles with headlight wipers, disconnect the washer hose from the T-connector.
Through the opened holes, unscrew the bolts on both sides of the bumper and remove the bumper.
Release the clamps and separate the air intake and its pipe from the front crossmember.
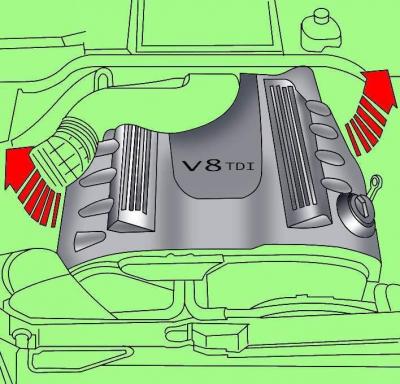
Fig. 3.4–19. Removing the engine casing
Remove the engine cover by pulling it upwards by the sides (Fig. 3.4–19).
Remove the screws and the additional left cover in the engine compartment.
Drain the fluid from the power steering hydraulic system at the steering wheel.
Loosen the clamps, unscrew the union nuts and disconnect the power steering hydraulic system pipes.
Release the hood release cable from the clamps.
Remove the bolt and disconnect the automatic transmission cooling line from the top of the radiator.
Loosen the clamps and remove the coolant hoses from the front crossmember.
Disconnect the coolant hose from the upper right side of the radiator.
Disconnect the electrical connectors from the left and right headlights.
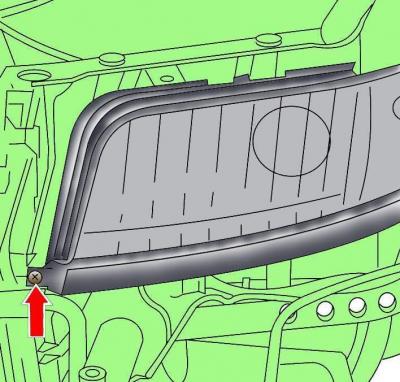
Fig. 3.4–20. Location of the headlight mounting screw
Remove one screw at a time and remove the headlights (Fig. 3.4–20).
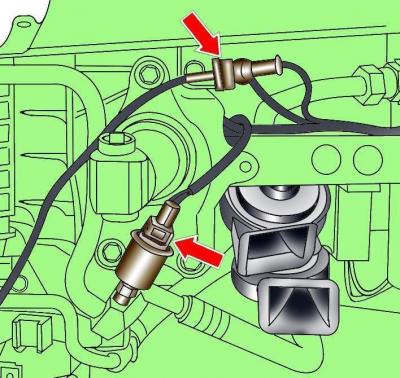
Fig. 3.4–21. Location of electrical connectors near the horn
Disconnect the electrical connectors located near the horn (Fig. 3.4–21).
Remove the air intakes on the left and right of the radiator.
Remove the screws and remove the power steering radiator.
Remove the lower radiator air intake.
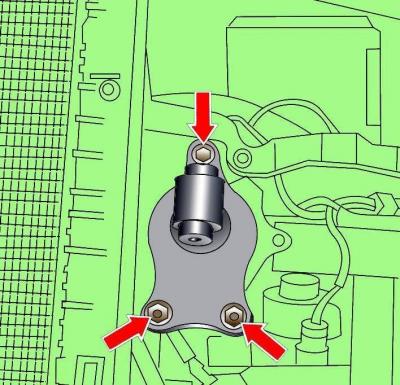
Fig. 3.4–22. Location of bumper bracket mounting bolts
Unscrew the bolts and remove the bumper brackets (Fig. 3.4–22).
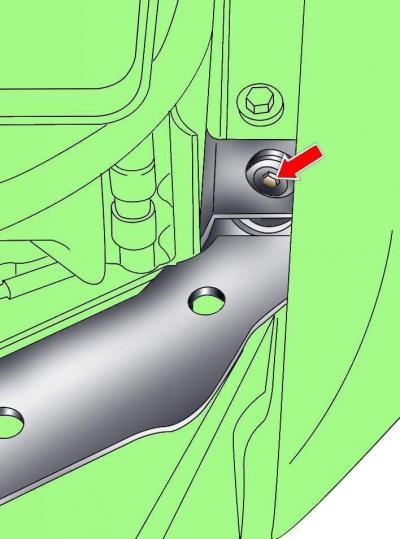
Fig. 3.4–23. Location of the front crossmember mounting bolt
Unscrew the bolts that secure the front cross member through the rubber bushings (Fig. 3.4–23).
Remove the front cross member with an assistant.
Installation
The engine is installed in the reverse order of removal, taking into account the following.
Install the front cross member.
Install the headlights.
Install front bumper.
Check and adjust headlights if necessary.