
Mirror glass
Replacement
Caution! Wear protective glasses and gloves when performing this operation.
1. Adjust the position of the mirror glass so that its lower edge protrudes from the mirror housing.
2. Cover the edges of the mirror housing with tape to avoid damaging them when removing the glass.
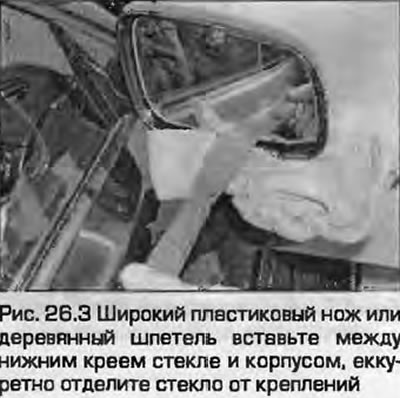
3. Using a wide plastic knife or a wooden spatula, carefully separate the glass from the fasteners by inserting it between the lower edge of the glass and the housing. As soon as you feel that the lower edge has come loose, move the spatula upwards and detach the upper edge of the glass. Do not apply force to avoid cracking the glass or housing (Fig. 26.3).
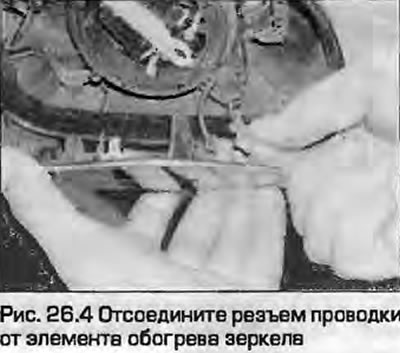
4. If present, disconnect the wiring connector from the mirror heating element (Fig. 26.4).
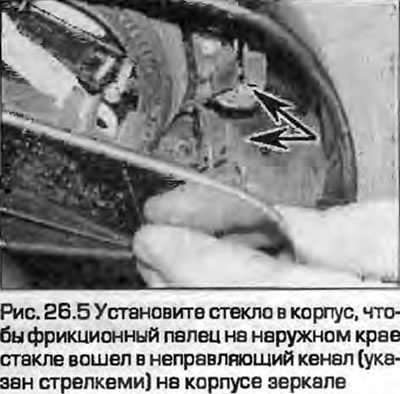
5. Connect the heating element wiring connector to the new glass and install the glass into the housing so that the friction pin on the outer edge of the glass fits into the guide channel on the mirror housing (Fig. 26.5). Press the middle of the glass to secure it to the retainer. Finally, check the operation of the electric drive.
Mirror housing
Replacement
6. The mirror housing, painted in the same color as the body, can be replaced without removing the entire mirror.
7. Remove the mirror glass - see above.
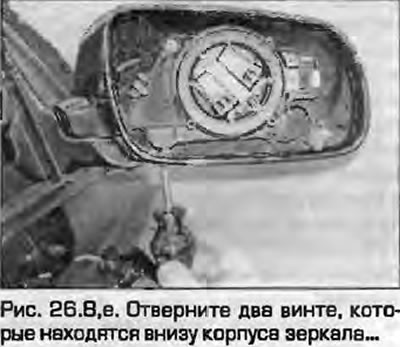
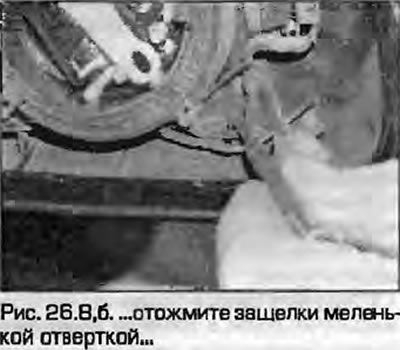
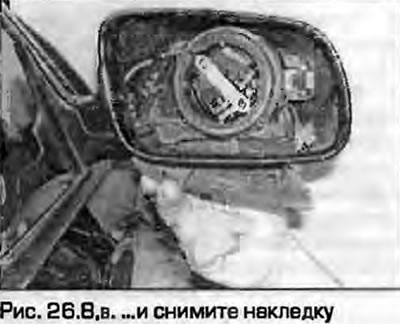
8. Unscrew the two screws located at the bottom of the mirror housing, press the latches with a small screwdriver and remove the cover (fig. 26.8, a-c).
 |
 |
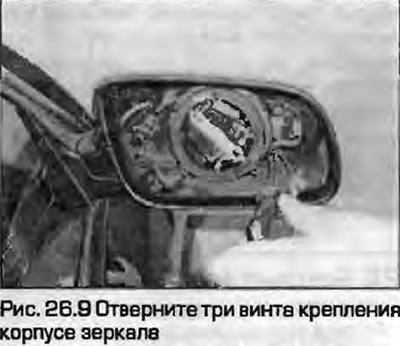
9. Unscrew the three screws securing the mirror housing (Fig. 26.9).
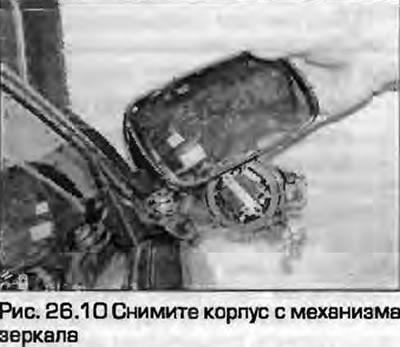
10. Remove the housing from the mirror mechanism (fig. 26.10).
11. Install the new housing in reverse order.
The entire mirror assembly
Removal
12. Remove the door trim panel as described in paragraph 17.
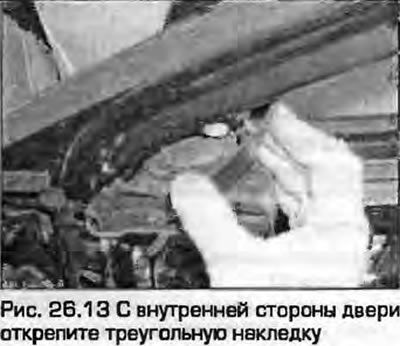
13. From the inside of the door, unfasten the triangular trim. Remove the foam seal (fig. 26.13).
14. Disconnect the mirror wiring connector (fig. 26.14).

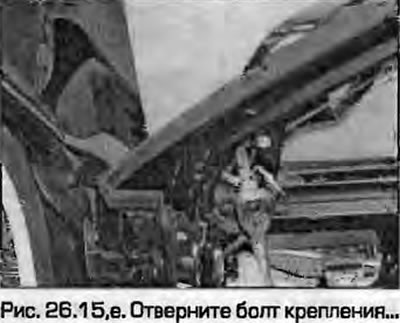
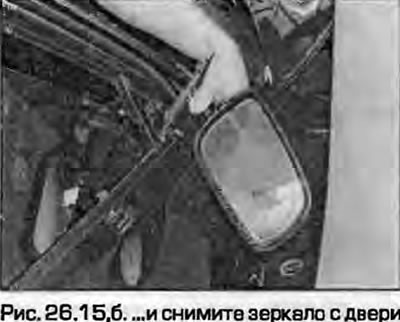
15. Loosen the mounting bolt and remove the mirror from the door (fig. 26.15, a, b). Route the wiring connector through the hole in the door and remove the seal.
 |
 |
16. To remove the mirror mechanism, remove the mirror glass as described above. Loosen the mounting screws and remove the mechanism from the housing.
Installation
17. Installation - reverse procedure. Check the operation of the adjustment mechanism.