



Table of contents: All ↓ Installation of the subframe… ↓
It is necessary to take into account that when performing further work requiring loosening the threaded connection of the drive shaft/wheel hub, the car must be standing on its wheels. Unscrew the bolts securing the drive shaft to the wheel hub. Before starting work, measure the distance "a" from the center of the wheel to the lower edge of the wheel arch with the car standing on its wheels.
Install the car on a lift. Remove the wheels. Remove the coil springs. Remove the exhaust system resonator.
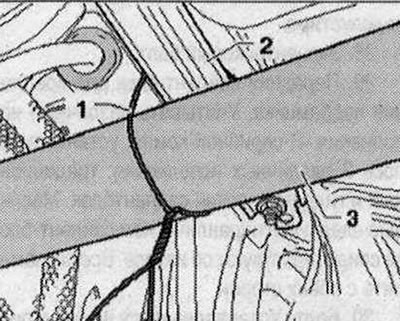
Applies to vehicles with all-wheel drive: Disconnect the propeller shaft from the rear main gear. Secure the propeller shaft "3" with wire "1" to the body "2". Move the rear tube of the propeller shaft towards the gearbox as far as possible.
On a car with a sports differential, unscrew the "arrow" bolts and remove bracket "1" from the rear main gear.
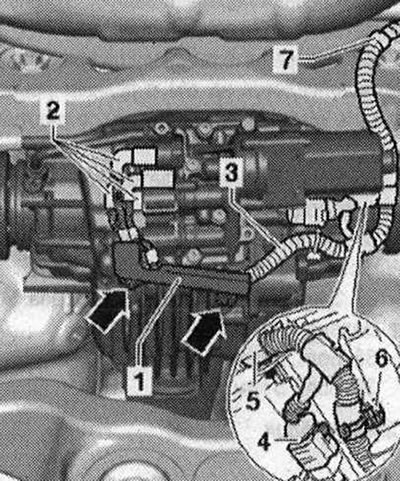
Mark connector "2" of the oil pressure and temperature sensor on the clutch valves. Disconnect connector "2" of the oil pressure and temperature sensors from the clutch valves. Then disconnect connector "4" from the all-wheel drive pump "V415". Finally, disconnect the wiring harness "3" from the main gear and subframe "5...7" and tie it up.
All
Unscrew bolt "2" on the right and left and remove bracket "1" with wires.
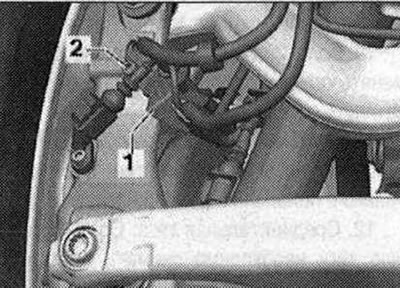
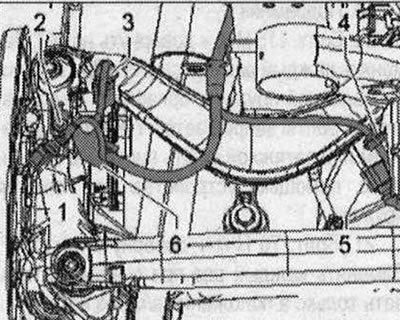
Unlock and disconnect plug connection "1" of the rear left speed sensor "G46" and the rear right speed sensor "G44". Unlock and remove connectors "3" of the electromechanical parking brake on the right and left. Unscrew bolt "2" on the right and left and remove bracket "6" with the wire. Disconnect plug connector "5" from the rear left ride height sensor "G76" and, if available, from the rear right ride height sensor "G77" and remove it. Unfasten wiring harness "4" on the left and, if available, on the right and release.
On vehicles with electronic damping control, disconnect the connector on the bumper and release the wiring harness. Unlock the locking tabs "1" and remove the stone protection "2".
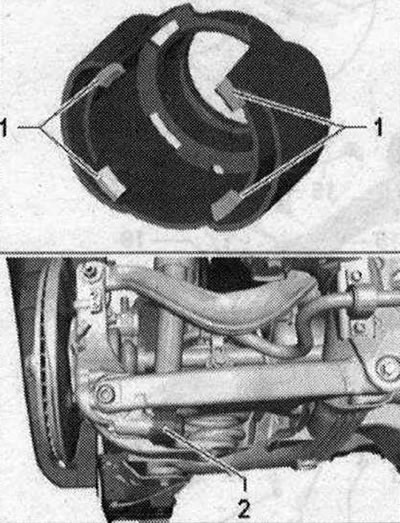
Unscrew bolt "2" and remove washer "1".
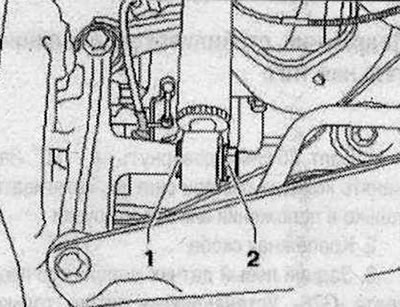
Disconnect bolt connection "1". Remove brake caliper. Guide caliper past suspension elements and secure it to the body so that the weight of the caliper does not press on brake hoses or lines, which can damage them. Screw upper wishbone to hub assembly "1" by hand.
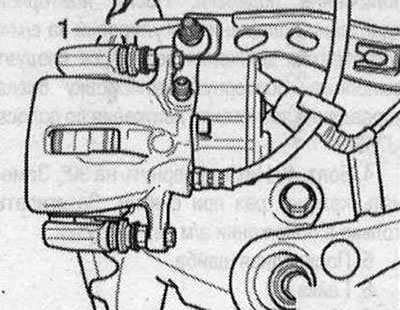
Remove the cover "1" and "2". Remove the fairings from the wheels.
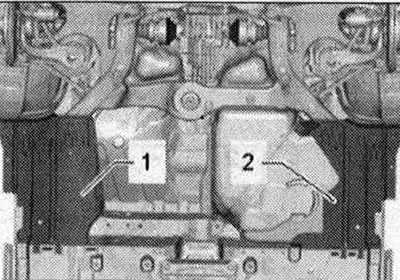
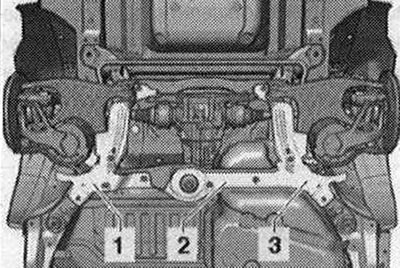
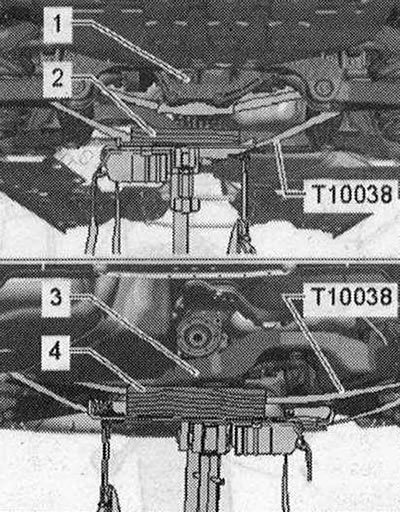
Remove stone guards "1", "2" and "3" if present. Place a tilter with a universal mount for the gearbox under the subframe "V.A.G 1359/2" and secure it with the tension belt "T10038". Put it under (if available) under the rear main gear "1" a suitable wooden block "2". Support the subframe from the front with a suitable wooden block "4" under the cross member "3". Pass the tension belt "T10038" around the subframe below the drive shaft and pass it behind the rear main gear.
Place the tension belt "T10038" under the universal transmission mount VAG 1359/2- and tighten it.
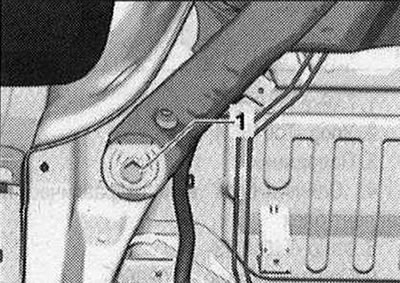
Unscrew bolt "1" on the left and right.
Loosen the arrow bolts.
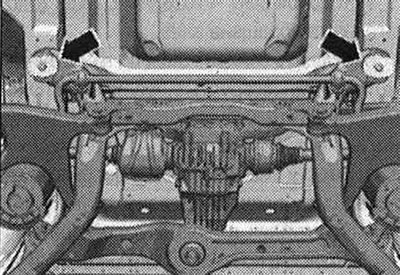
Before lowering the subframe, check whether all electrical connections are disconnected or removed. Carefully lower the subframe with the attachments. Pay attention to the brake calipers and brake lines.
Installation of the subframe assembly with attachments
Installation is carried out in the reverse order. In this case, it is necessary to take into account the tightening torques. Silent blocks have a limited working torsional range. Therefore, the wheel suspension bolt connections should be tightened only when the car is in the unloaded position or in the standard suspension position. Raise the wheel support with the suspension in a static position on cars with coil springs. The holes in the subframe supports must be located in the center of the attachment points on the body. Align the subframe relative to the fuel tank so that dimension "a" for cars without stone protection is 19 mm, and dimension "B" for cars with stone protection is 14 mm.
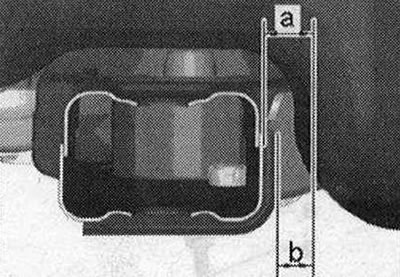
Install the coil springs only after the subframe bolts have been tightened to the specified torque. Tighten the wheel. It is necessary to adjust the wheel alignment angles.
[Material republished from the website «AUDIMANUAL.ru»]