
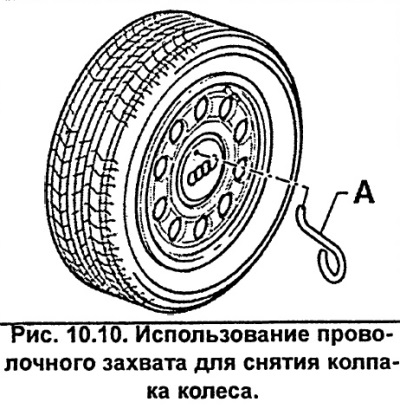
Remove the decorative wheel cap. To do this, insert the wire grip from the tool kit into the hole in the cap and, pulling it towards you, remove the cap (see fig. 10.10).
Apply the handbrake and engage first gear.
With the vehicle standing on its wheels, loosen the front wheel mounting bolts.
Caution. Light alloy wheels are protected from corrosion by a clear varnish. Be careful not to damage the varnish coating. If the coating is damaged, cover the wheel with a layer of varnish.
Raise the relevant part of the vehicle and secure it on stands.
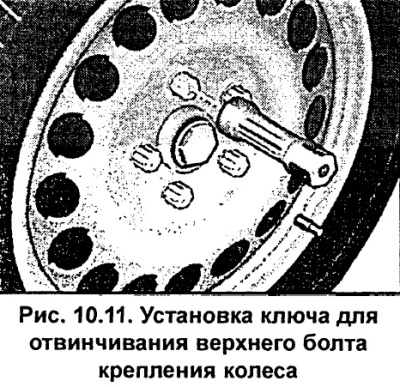
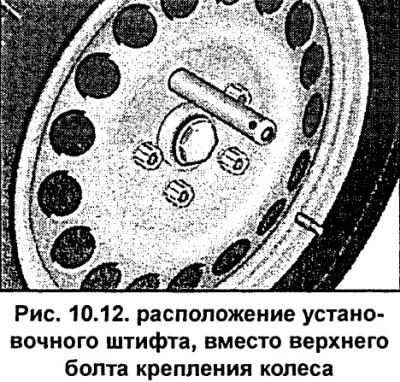
Unscrew the top wheel mounting bolt and screw in the mounting pin in its place (see fig. 10.11, 10.12). Using a locating pin makes it easier to install the spare tire.
Remove the remaining bolts and remove the wheel.
To protect against rust, apply a thin layer of grease to the rim centering flange before installing the wheel.
Clean the threads of the wheel mounting bolts. Do not lubricate the threads of the wheel mounting bolts before screwing them in.
Galvanized wheel bolts can only be used on stamped steel wheels.
Light alloy wheels are secured only with chromed wheel bolts, which have a conical rotating washer. This washer, installed under the bolt head, protects the surface of the wheel when tightening the bolts.
Install the wheel, aligning the previously applied marks, and secure it with bolts.
Lower the vehicle to the ground and tighten the wheel mounting bolts evenly, in several stages, in a diagonal sequence, to a torque of 120 Nm.
Check and, if necessary, adjust the tire pressure.
[The article was copied from the website «audimanual.ru»]