Table of contents: Rear door glass ↓ Removal and installation door glass ↓
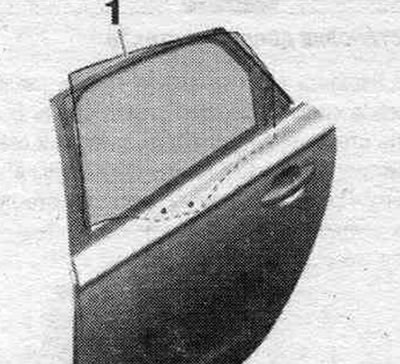
Rear door glass
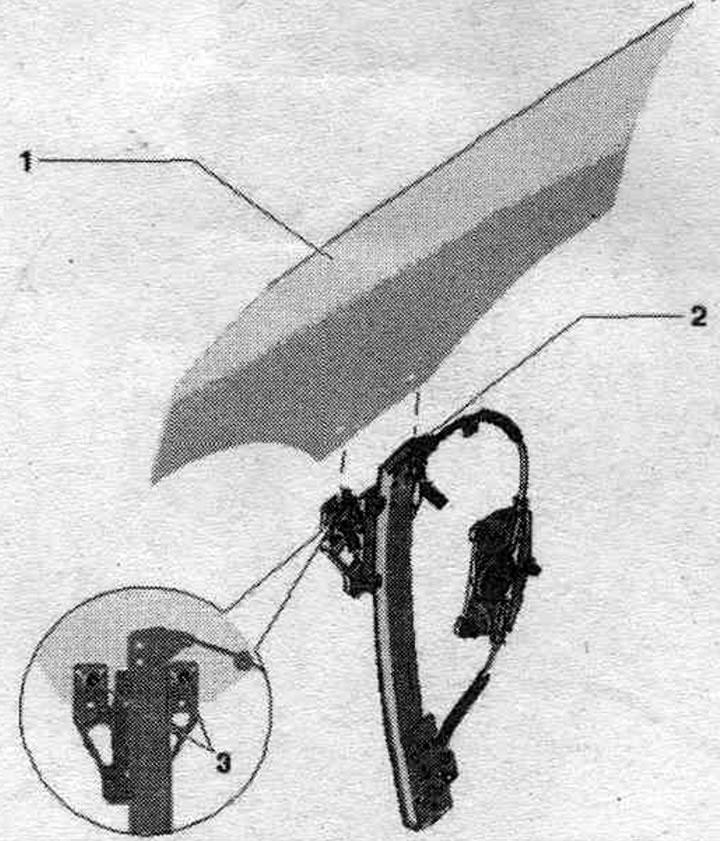
1. Door glass.
2. Window lifter: The window lifter is built into the door.
3. Door.
4. Nut: 6 Nm.
5. Overlay: installed.
6. Fingers: 2 pieces with clamping pin; the bolts can be reinstalled.
Removal and installation door glass
1. Door glass: door trim removed, door glass frame trim disconnected in the area of the C-pillar shield, C-pillar trim removed, door trim removed, window lift motor removed, bring door glass into installation position. position and insert a special tool.
2. Window lifter.
3. Fingers: 2 pieces; the bolts can be reinstalled.
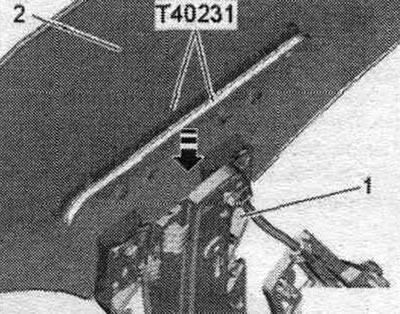
Removal door glass with standard glass
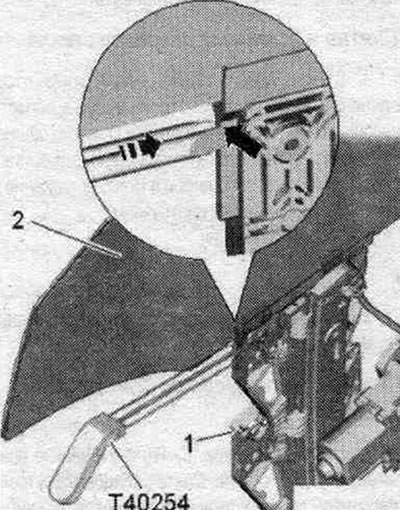
Remove the door trim. Remove the inner glass pressure plate. Remove the inner door panel trim. Place the T40231 removal tool on both sides of the door glass and press it down near the window regulator mount "1." This will press the mount against the window regulator so that the door glass can be removed with an upward movement, along with the retaining pins. Using an upward movement, remove door glass "2" from the mount and remove it from the door.
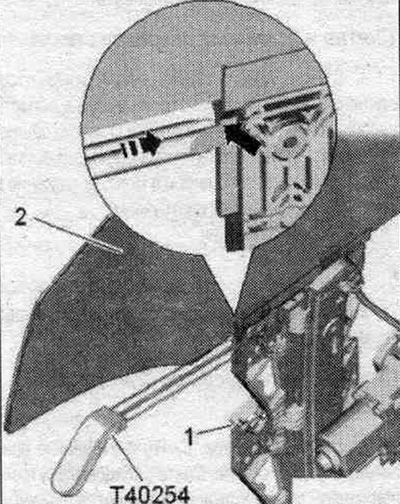
Removal door glass with tinted glass
Insert the puller "T40254" in the direction of the arrow within the radius of the "arrow" from the adapter. This presses the fastener against the window lifter so that the door glass can be removed with an upward movement together with the locking pins in the adapter.
Installing door glass
For new standard door glass, the locking pins must be pressed in first. Insert locking pins "1" into the center of door glass "2" and press the clamping pin flush.
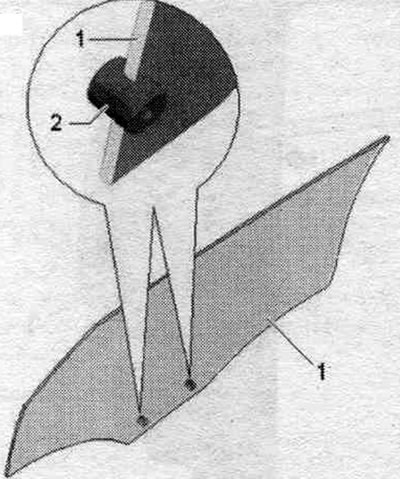
Insert door glass "1" at an angle backwards into the door glass guide. Align the door glass in the glass guides and slide it down, making sure that the door glass fits precisely into the mount at the front and back. Press the glass down into the window regulator mount. The locking pins are then locked into place with a click.