
Pay attention to the fact that when mounting the adapter sleeve, the end of the bolt does not protrude beyond the lower edge of the sleeve.
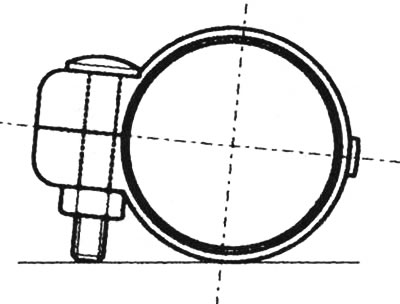
Mounting position of adapter sleeve
The replacement of the exhaust system is facilitated by the presence of markings on its parts. If, for example, you change the muffler exhaust pipe 1, it must be cut at a right angle with a special saw at the split point. The new pipe 3 is pushed up to mark A. At the same time, the cutout in the pipe must be aligned with mark B. Clamping screw 2 is tightened with a torque of 25 Nm.
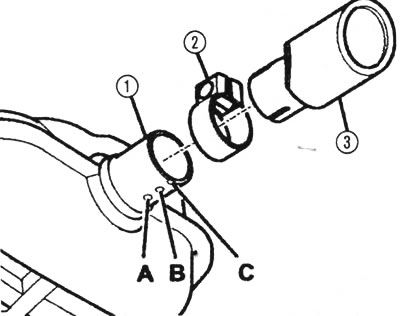
Markings make it easier to install the muffler exhaust pipe when replacing it
1. Place the vehicle on jack stands in such a way that it is vibration-resistant. After all, the car should not tip over when you forcefully rotate or pull the pipes.
2. If any bolted connection does not loosen during disassembly, strip the threads. Be sure to use new bolts and nuts when installing.
3. To be sure, also replace the rubber holders.
4. If part of the exhaust system has already been replaced once, then the detachable connections at the end of the pipes are best disconnected when hot. In workshops, a welding torch is used for this, but a propane gas torch can also be used. Be sure to have a fire extinguisher ready while doing this. If you don't have a gas burner, try using a rust remover.
5. Pipes are separated by strong rotational movements or hammer blows.
6. If this does not help, cut the pipe connection of the faulty muffler 10 centimeters behind the connection. Cut the rest of the pipe lengthwise with a metal saw and break it with a powerful screwdriver.
7. If you lubricate the threads with heat-resistant copper grease during installation, the next time the bolted connections will loosen more easily. The same applies to pipe connections.
Visitor comments