
Remove the lower engine compartment cover.
Loosen the mounting bolts and remove the bottom cover mounting sheet.
Drain the engine oil.
Grasp the engine with cables and lift it slightly.
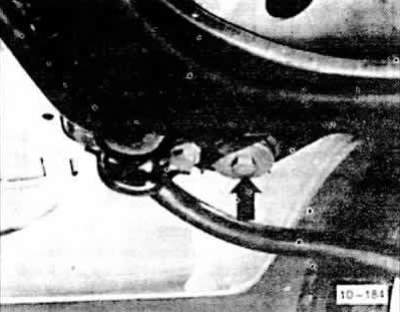
Disconnect the engine from the supports on the left and right. To do this, unscrew the self-locking nuts.
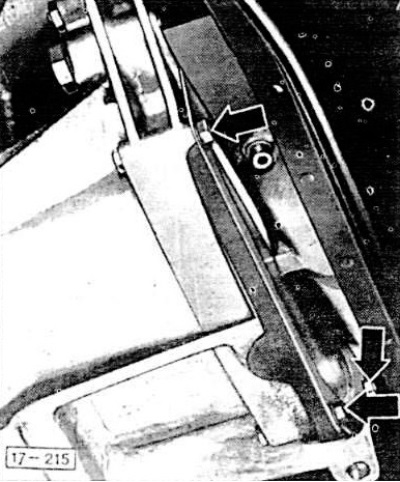
Place a hydraulic jack under the power unit beam, unscrew the two front mounting bolts - arrow - of the power unit beam and carefully lower the beam down with the jack.
4-cylinder engine: unscrew the cover
Unscrew and remove the oil pan
Installation
Replace the oil pan gasket, after thoroughly cleaning it from any remaining old gasket.
Attention: Do not glue the gasket. Ensure that the gasket is correctly positioned relative to the holes.
Screw the oil pan evenly with a force of 20 Nm
Note: With 220 hp engine. (162 kW, 3 V) first tighten the M8 bolts to 20 Nm; then M6 bolts with a force of 10 Nm.
If removed, screw the cover on with a torque of 10 Nm.
Raise the powertrain beam with a jack. Install the beam mounting bolts and tighten them first on the left and then on the right with a force of 35 Nm. Then tighten the bolts by an angle of 90° (¼ turn). Use only new bolts.
Install the engine on the supports. Secure with new self-locking nuts without tightening.
Install the engine compartment lower cover mounting sheet.
Install the lower engine compartment cover.
Remove the car from the jackstand.
Check the correct installation of the engine. Tighten the engine mounts with a force of 35 Nm.
Pour in oil.
After a test drive, check the tightness of the oil pan gasket. If necessary, tighten the bolts.
The full version is posted on the resource AUDIMANUAL