
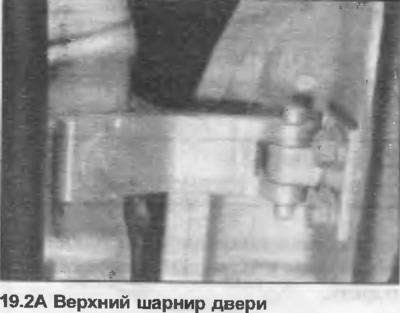
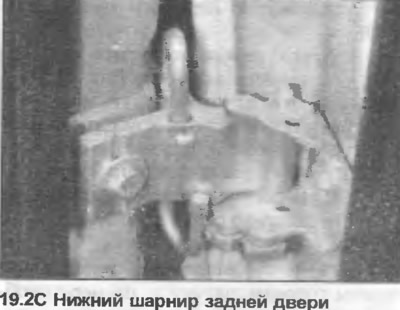
2. If it is necessary to remove the door, mark the hinges with a pencil (photo).

3. Disconnect all electrical wiring and operate the cables from the door.
4. Support the door with wooden blocks.
5. Unscrew the bolts securing the door to the upper and lower hinges and remove it.
6. If necessary, unscrew the hinges from the rack.
7. Reassemble in reverse order, but apply a little grease to the spring and rollers and adjust the door. The gap dimensions should be as shown in Fig. 11.14.
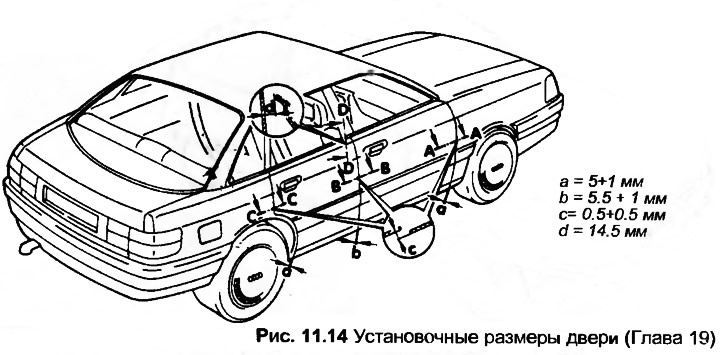
8. To adjust the front edge of the door, slightly loosen the bolts on the hinges, reinstall the door, and then tighten the bolts. By removing the inner pillar, the front and rear adjustment of the door is made, loosen the outer bolts, then turn the special bushings against the pillar. After adjustment, tighten the bolts.
9. To prevent wind noise, the rear edges of the doors should be adjusted so that they are approximately 1.0 mm from the adjacent panel. This adjustment is made by releasing the strike plate (photo) and reinstalling it, but making sure that it enters the lock at the center.
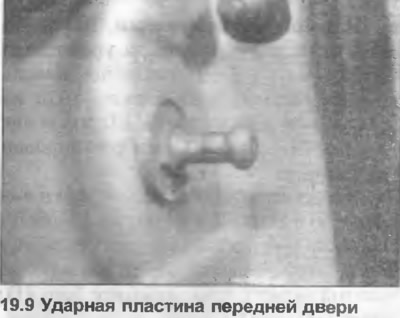
10. Also check that the depth to which the strike plate enters the lock is sufficient and, if necessary, replace the number of disc washers installed under the head of the strike plate.
The original version of the article is posted on the website AUDIMANUAL