
2. Place the generator on a clean work stand with the pulley facing down.
Bosch Generator
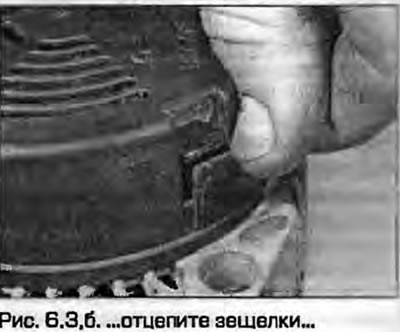
3. First, carefully unscrew the screws, then unhook the latches and remove the plastic cover from the generator (Fig. 6.3).
 |
 |
4. Unscrew the two screws securing the brush assembly and remove it from the generator (Fig. 6.4).
 |
 |
Valeo Generator
5. Unscrew the three nuts and remove the plastic cover from the back of the generator (Fig. 6.5).
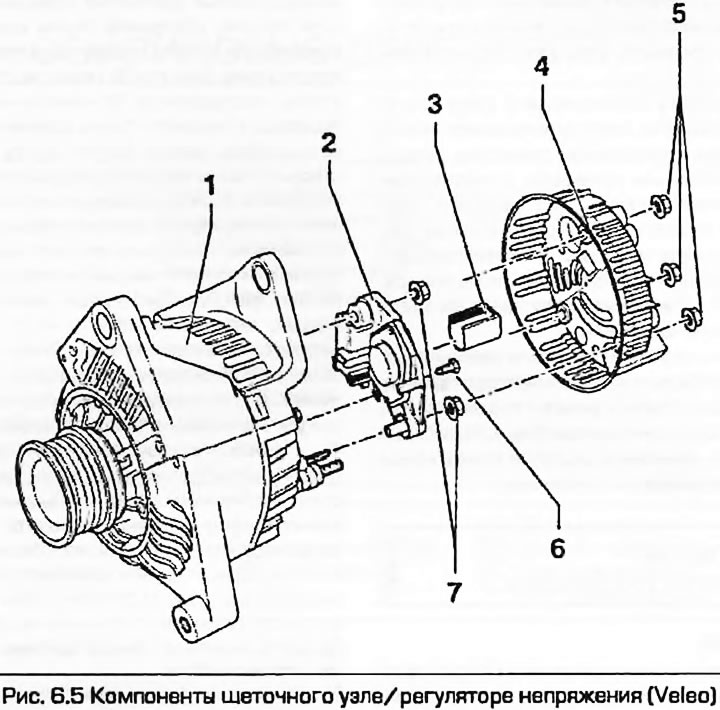
6. Unscrew two nuts and one screw, carefully remove the brush assembly from the generator.
7. Remove the plastic cover from the brush assembly.
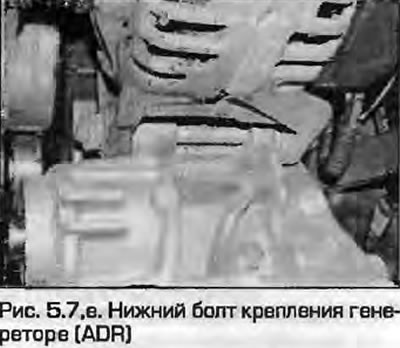
All types
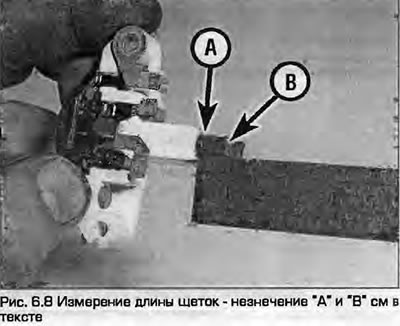
8. Measure the protrusion of the brushes from the holder. If provided, measure from the manufacturer's emblem (A) stamped on the side of the brush to the edge of the working surface (B) (Fig. 6.8). Compare the obtained measurements with the data given in Specifications. If at least one brush protrudes less or is damaged, the entire unit must be replaced.
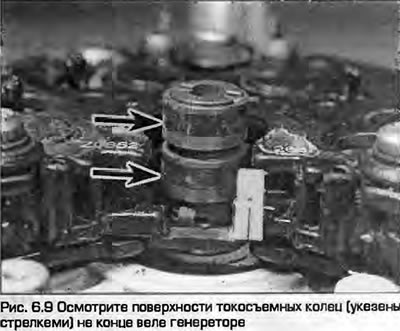
9. Wipe the slip rings of the generator rotor excitation winding with a napkin soaked in gasoline. If the rings are worn, the generator may need to be replaced.
10. Assembly of the generator - reverse procedure. Install the generator as described in paragraph 5.
The text is based on materials from the website: audimanual