



Table of contents: Replace engine oil and oil filter ↓ Check for engine leaks ↓ Check the engine oil level ↓
Perform the following procedures at the intervals given in Section "Maintenance" at the beginning of the Guide.
Replace engine oil and oil filter
1. To ensure complete oil drainage, it is recommended to pre-warm the engine.
2. Remove the splash guard from under the engine.
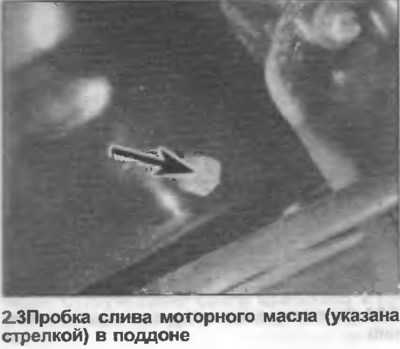
3. Place a suitable container under the left side of the engine, unscrew the oil filler cap from the valve cover. Unscrew the drain plug from the pan (photo), and allow the oil to drain.
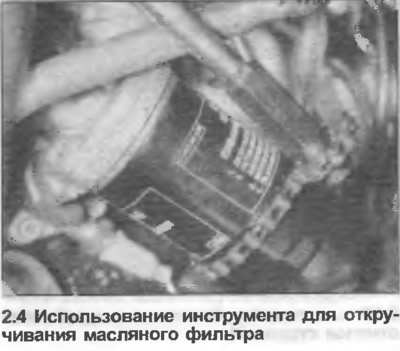
4. Unscrew the oil filter from the housing, using the filter belt if necessary (photo).
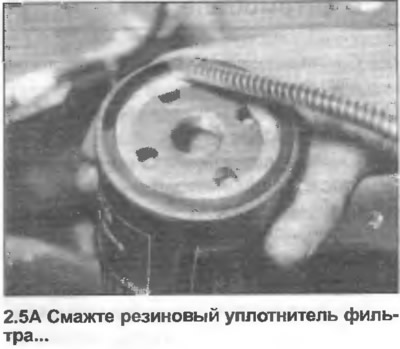
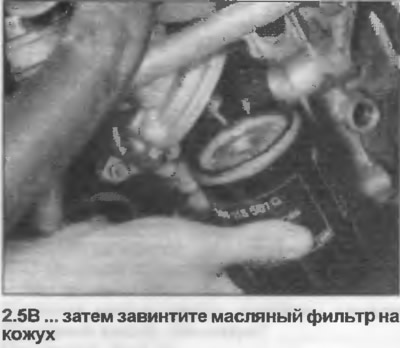
5. Clean the mating surfaces of the new oil filter and housing, then lubricate the filter seal with oil. Screw the filter onto the housing, and tighten it by hand only (photo).
6. Clean the drain plug and check that the washer is in good condition. Replace the washer if necessary, clean the pan around the plug hole, then install and tighten the drain plug.
7. Pour the required amount of oil through the oil filler hole on the valve cover. Install the plug.
8. Start the engine to check for leaks, then install the splash guard.
Check for engine leaks
9. Check for signs of oil leakage from the engine, as well as leaks from the cooling system and fuel system.
10. Check the condition and reliability of fastening of pipes, hoses and connections.
Check the engine oil level
11. Place the vehicle on a level surface. If the engine has been running, wait a few minutes for the oil to drain into the pan.
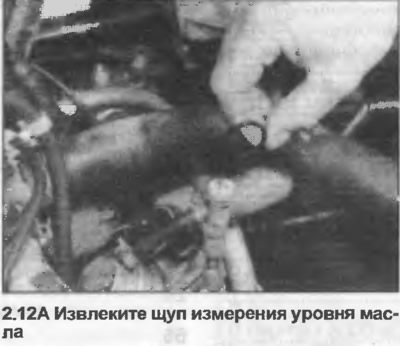
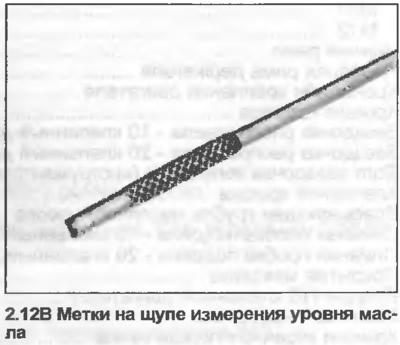
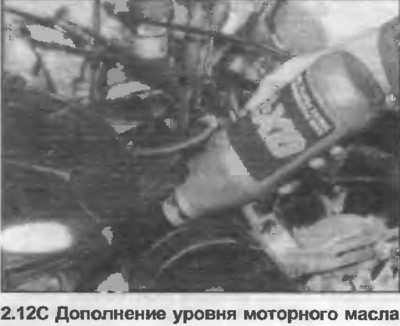
12. Remove the dipstick from the pipe, wipe it clean, reinsert it completely and remove it. The oil level should be at or near the maximum level mark. If not, add oil after removing the oil filler cap. The difference between the minimum and maximum marks is 1.0 liter (photo).
13. Install the dipstick and filler cap.
(Information obtained from this resource: AUDIMANUAL.RU)