
Table of contents: Removal ↓ Installation ↓
Removal
1. Remove all available fuel from the tank if it has not been used up. In workshops, a special fuel extraction device VAS 5190 is used for this purpose (see illustration).
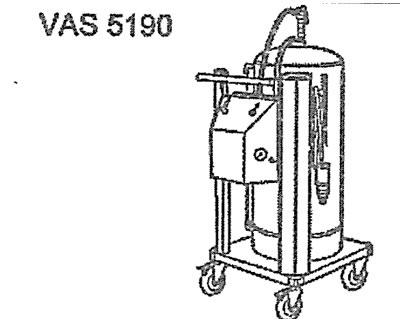
3.1. Special device for pumping out fuel VAS 5190
2. Open the fuel filler cap. Clean the area around the filler cap thoroughly.
3. Remove the retaining ring (see arrow in illustration), carefully prying it off with a screwdriver.
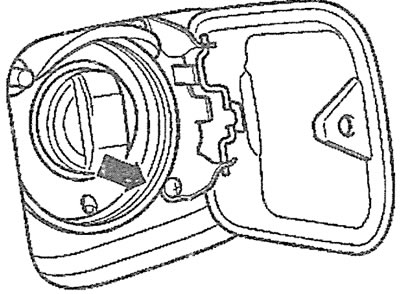
3.3 Remove the retaining ring (see arrow), carefully prying it off with a screwdriver
4. Remove the right rear wheel.
5. Unscrew the bolts (see arrows in the illustration) fasteners and remove the heat shield.
3.5. Unscrew the bolts (see arrows) fasteners and remove the heat shield
6. Remove the right rear fender liner.
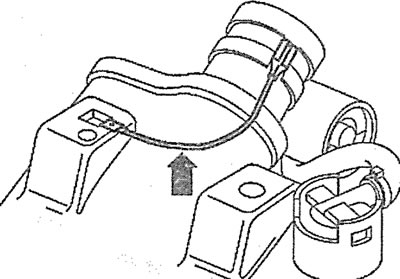
7. Remove clamp 1 securing the wiring harness (see illustration).
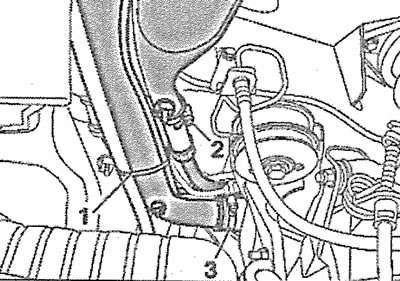
3.7. Remove clamp 1 securing the wiring harness
8. Disconnect the fuel tank ventilation hose by removing clamp 2 (see illustration 3.7).
9. Loosen clamp 3 and disconnect the filler neck hose from the fuel tank (see illustration 3.7).
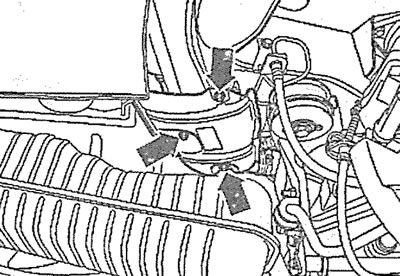
10. Disconnect the hose (see arrow in illustration) ventilation of the fuel tank, after removing the corresponding heat shield.
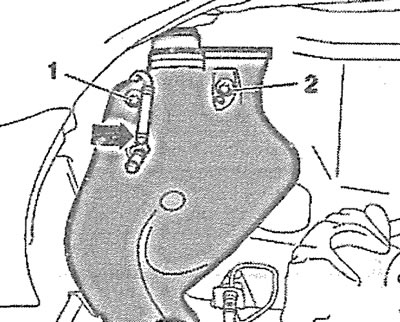
3.10. Disconnect the hose (see arrow) ventilation of the fuel tank, after removing the corresponding heat shield
11. Unscrew bolts 1 and 2 securing the filler neck (see illustration 3.10) and carefully remove the filler neck with the equalizing tank.
Installation
The installation of the filler neck with the equalizing tank is carried out in the reverse order of removal.
12. Make sure the ground (-) wire is connected correctly (see arrow in illustration).
3.12. Make sure the ground (-) wire is connected correctly (see arrow)