
Removal
1. Loosen the hub mounting bolt.

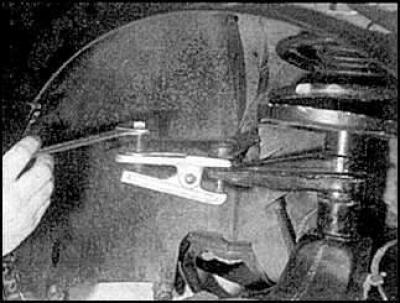
2. Remove the mounting bolts and nuts securing the anti-roll bar to the body.
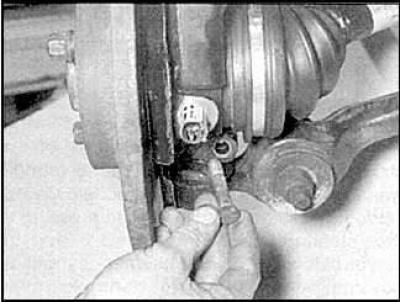
3. Remove the wheel and hub bolt. Remove the wheel sensor if necessary (on models with ABS).
4. Loosen the caliper mounting bolts and remove the caliper from the strut.
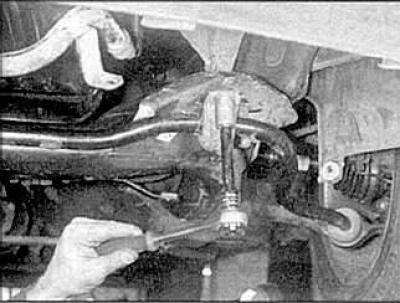
5. Disconnect the steering rod ball joint from the strut.
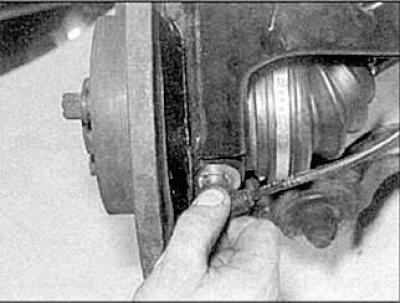
6. Loosen the nut and remove the mounting bolt securing the suspension arm to the strut.
7. Disconnect the suspension arm ball joint from the strut.
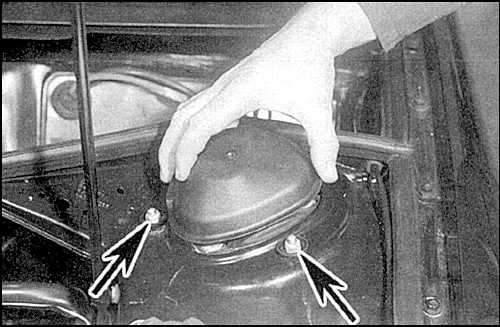
8. Remove the casing, unscrew the upper mounting nuts (two nuts are indicated by arrows) and remove the rack from the car.
Installation
Installation is carried out in the reverse order of removal.
1. Install washers and new nuts.
2. Tighten the mounting nuts to the specified torque.
Repair
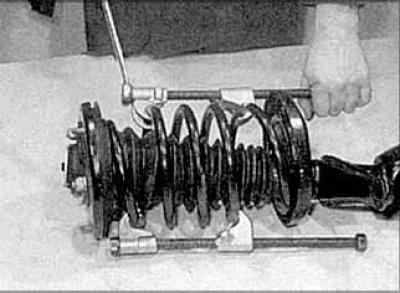
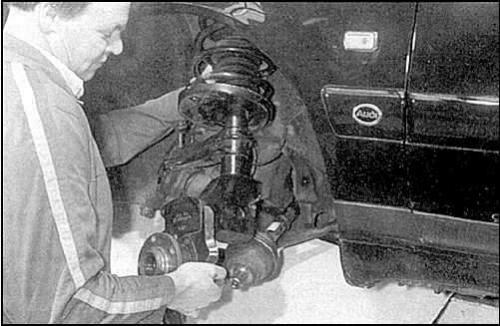
1. Remove the strut from the vehicle and install the spring compressors.
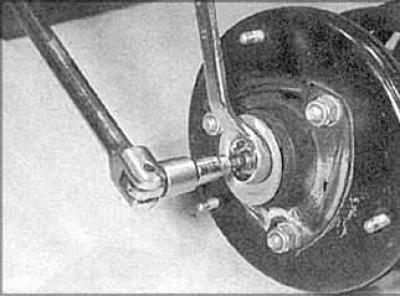
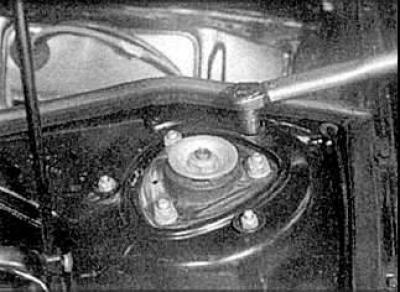
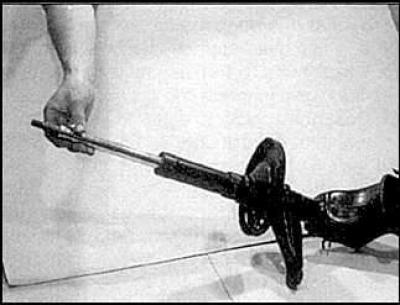
2. Loosen the nut on the shock absorber piston rod.
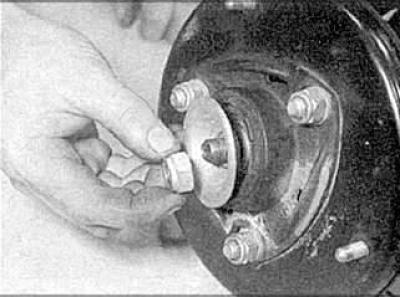
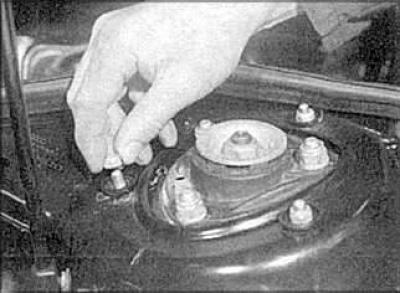
3. Remove the nut and washer.
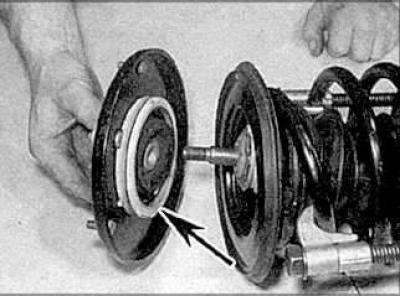
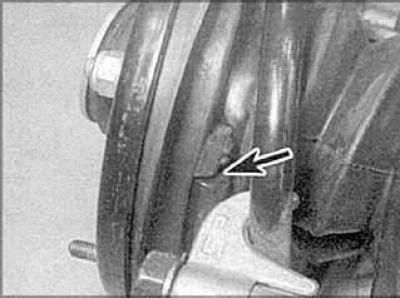
4. Remove the mounting plate and gasket (indicated by the arrow).

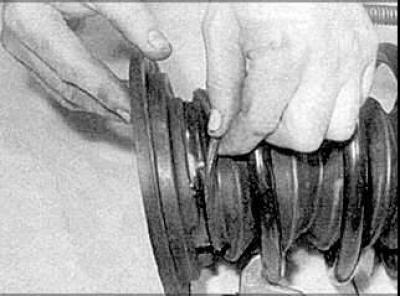
5. Remove the bushing and upper spring seat.
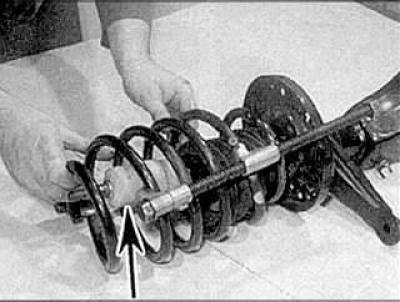
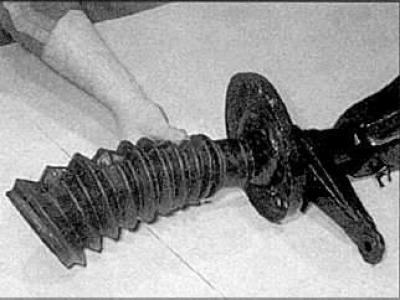
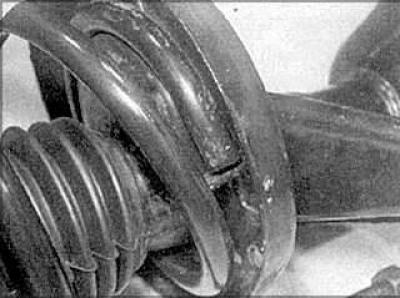
6. Remove the spring, dust cap and rubber stop (indicated by the arrow).
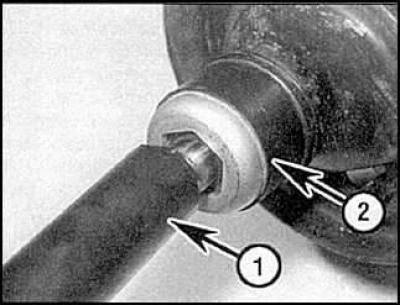
7. Using special tool 1, unscrew the fastening cap 2 and remove the shock absorber.
8. Check the shock absorber for damage and signs of leakage. Check the operation of the shock absorber. Replace worn strut components.
9. Place the lower end of the spring into the recess in the seat. Place the upper seat in place and place the dust boot on the edge of the seat.
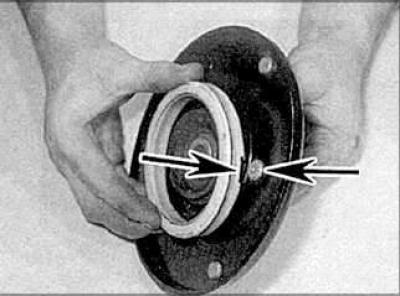
10. Place the gasket on the upper seat, aligning the cutouts on the gasket with the bolt heads (indicated by arrows).
11. Before removing the spring compressors, check that the ends of the spring touch the stops.