
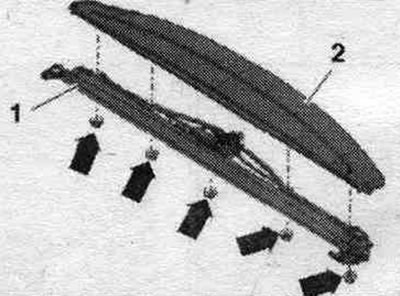
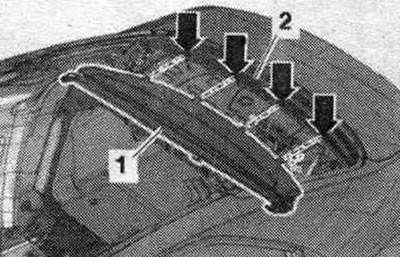
Sunshade
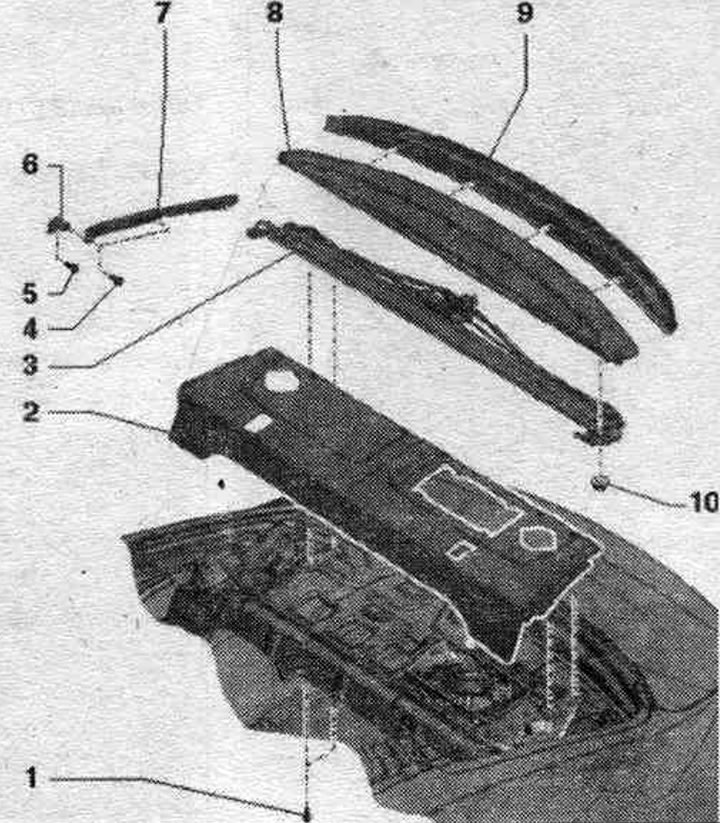
1. Bolt: 4 pcs.; 2 Nm.
2. Rear shelf, front part.
3. Sunshade.
4. Bolt: 4 pcs.; 2.3 Nm.
5. Bolt: 2 pcs.; 2.3 Nm.
6. Guide bar holder.
7. Guide bar.
8. Rear shelf, rear part: inserted into the rear frame. glass.
9. Rear trim. parts of the rear shelf.
10. Nut: 5 pcs.; 3 Nm.
Removal
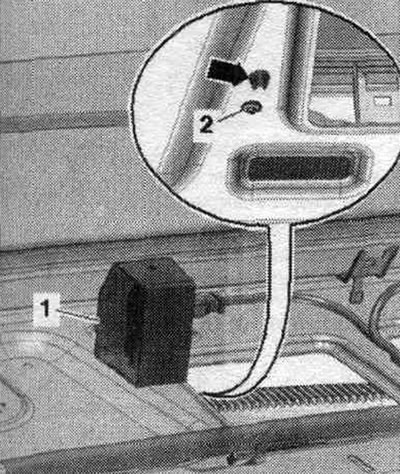
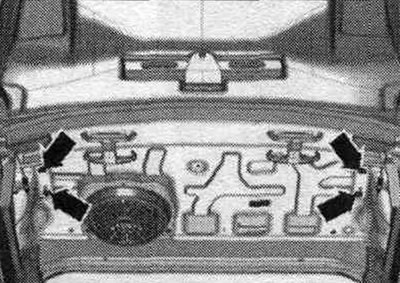
Remove the D-pillar trims. Remove the rear shelf. Option with a subwoofer: remove the subwoofer to the rear. shelf "R157". Option with additional equipment. rear fastening. shelves: unscrew bolt "2", remove spacer insert "1". Ignore the "arrow".
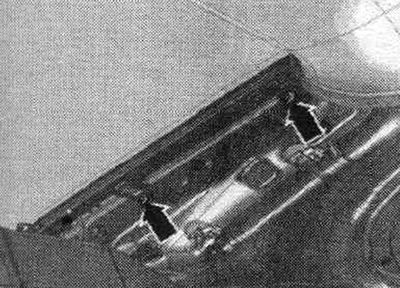
Remove the sunshade guide panel arrow bolts.
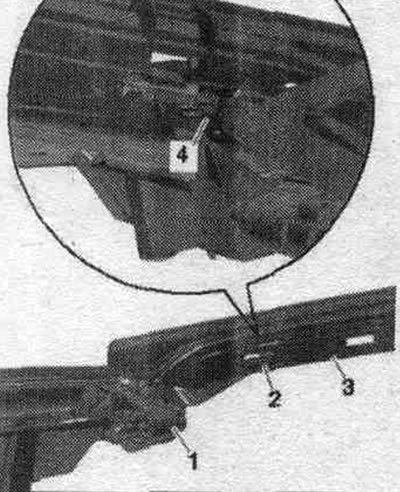
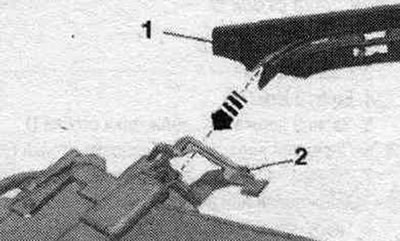
Tilt guide bar "3" slightly inward and, by carefully rotating, remove both fasteners "2" and "4". Remove the guide panel from the connecting element "1" on the sun blind. Carry out work on the opposite guide panel in a similar order.
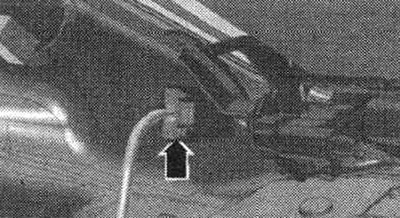
Disconnect the "arrow" plug connection on the sunshade.
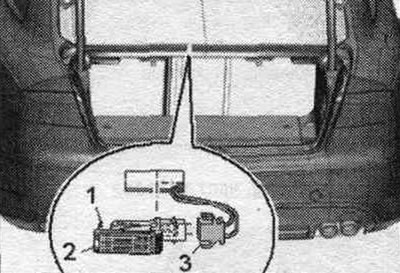
Using a flat-head screwdriver, press the lock "1" and remove the trunk light "2". Do not disconnect the plug connection "3".
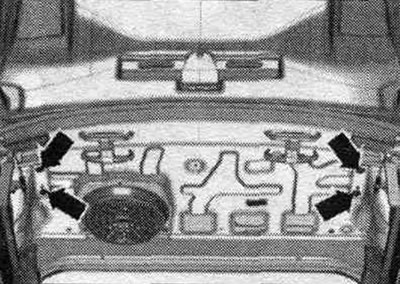
Unscrew the "arrow" bolts. Carefully remove the sunshade, being careful not to damage the electrical components. rear wires. heated glass.
Installation
Installation in reverse order. If the rear shelf has been removed, screw the rear shelf "2" to the sun blind "1" "arrows", while centering both parts to each other. Insert the rear shelf with the sun blind at the rear into the rear frame. glass and tighten the bolts.
Install the sunshade from the rear. shelf in the back. body parts. The trunnions of the rear shelf "1" must enter the "arrow" mounts under the rear window.
Rear trim. shelves
Tighten the sunshade "arrow" bolts.
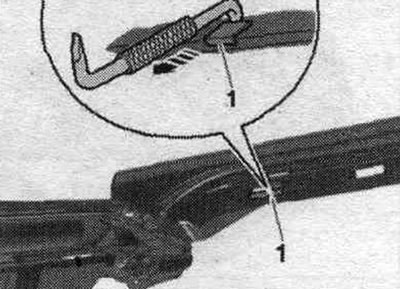
Carefully insert guide strip "1" into the sunroof blind connector "arrow." The sunroof guide channel should move smoothly from the connector into the guide panel.
Secure the guide bar "3" to both mounting hooks "2" and "4" front and rear. side using the connecting element "1". To ensure a secure fastening of hook "1", it should be pulled forward using an angle screwdriver until the "arrow" is fully locked.
Configuration option with additional equipment. rear fastening. shelves: install spacer insert.