
Table of contents: Removal the C-pillar trim ↓ Installation ↓
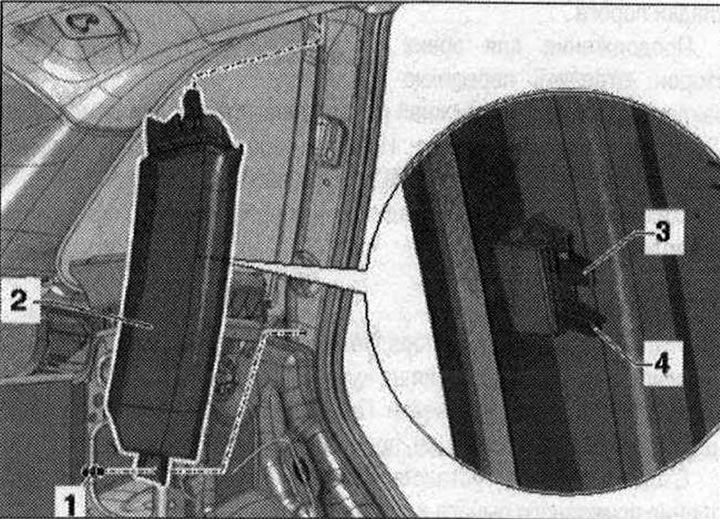
C-pillar lining 1. Expansion clamp; 2. C-pillar lining; 3. Clamp. Insert into the trim. Replace if damaged or deformed; 4. Centering protrusions
Removal the C-pillar trim
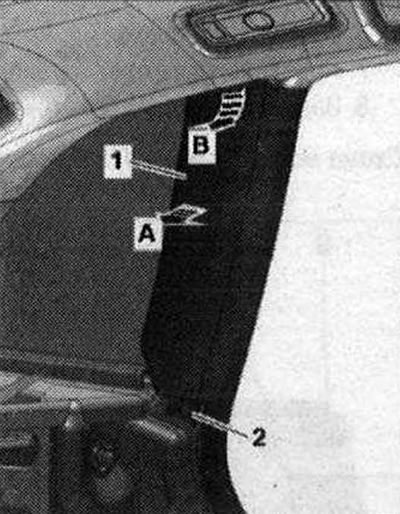
Remove the side trim of the trunk. Remove the rear outer seat belt cover. Remove the clamp "2". Press the trim of the C pillar "pos. 1" with a wedge "80-200" "arrow A". Pull the C-pillar trim downwards "arrow B" and remove.
Installation
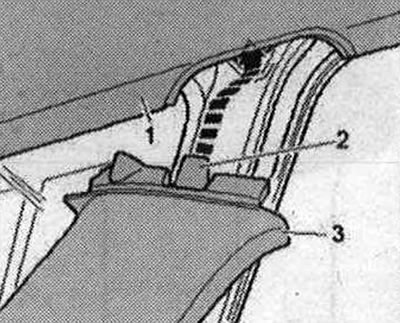
Installation in reverse order: if the trim clips remain in the attachment points on the body, remove them and put them on the trim for installation. Check the clips for defects and deformations, replace if necessary. When installing the trim "pos. 3" of the C-pillar, make sure that the retainer "2" enters the groove of the body "arrow" and the ceiling panel "1".
Install the C-pillar trim onto the centering pins and press until it clicks. Slide the door seal along the edge of the trim.