
Caution! On vehicles with lane change assist, please note the following: If the removed rear bumper is reinstalled or modifications are made to it, the lane change assist must be calibrated.
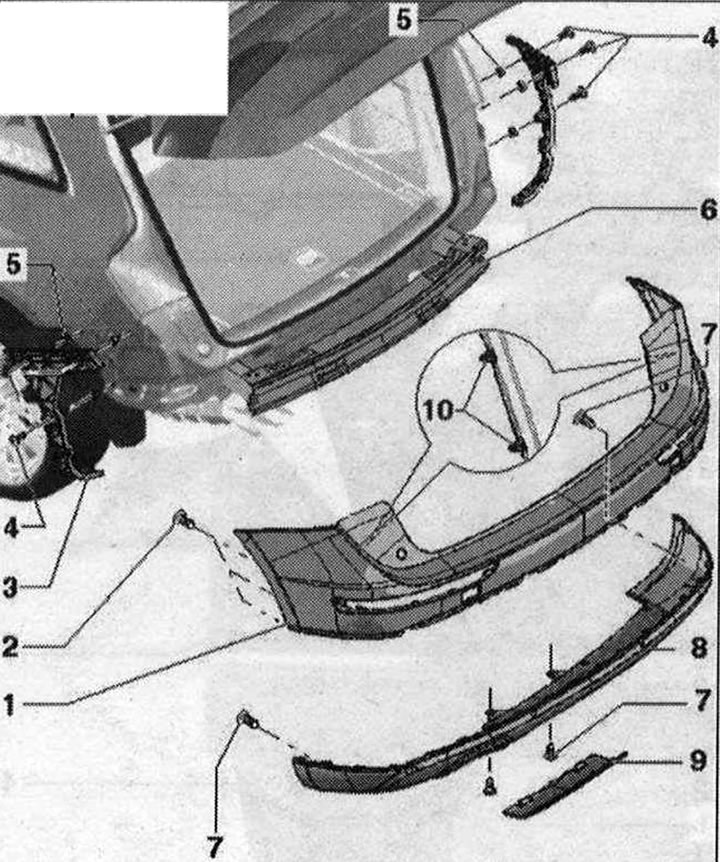
Rear bumper trim 1. Rear bumper trim; 2/4/7. Bolt. 1.5 Nm; 3. Guide element; 5. Clamp; 6. Safety bar; 8. Spoiler; 9. Overlay; 10. Clip. Disconnect from both sides before removing the bumper cover in the rear direction
Removal
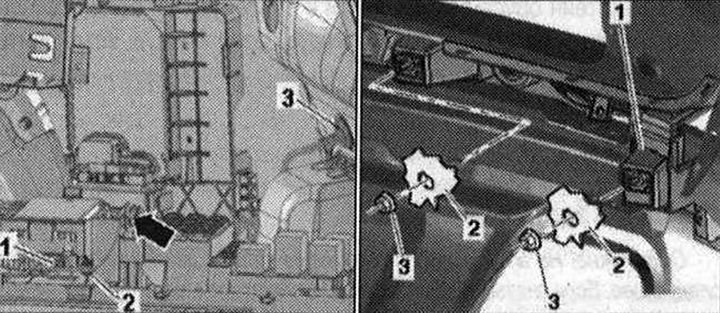
Disconnect (if available) plug connector "1" of the parking aid control unit "J446". Disconnect the electrical wire "arrow" from the control unit bracket by cutting the cable ties "2". Press the sleeve "3" outward. Unscrew the nuts "3" of the threaded pin of the trim "1".
For both internal nuts use the "T40078" attachment.
Unscrew bolts "1" of the trim at the top and spoiler at the bottom.
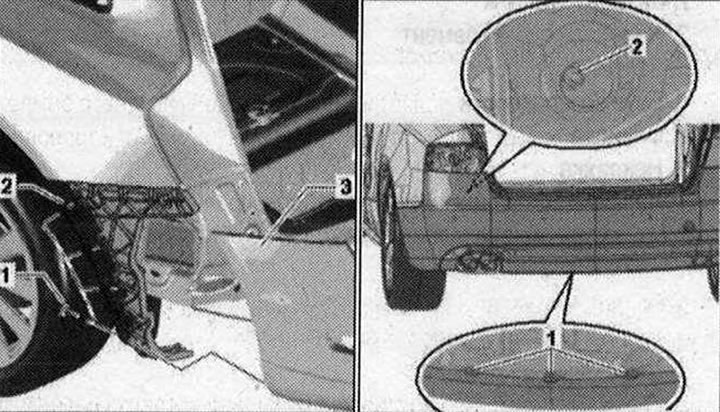
Unscrew bolts "1" on the lower part of the bumper trim. Disconnect the trim on the left and right in the rear wall. Disconnect the trim on the left and right from the guides to the side. Remove the trim from the car in the rear direction.
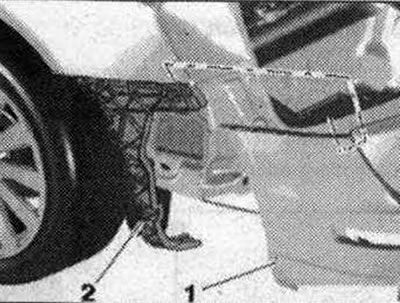
When installing, it is necessary to fully secure the side fasteners of the guide element "2" in the bumper trim "1". Connect (if available) plug connector of the parking aid control unit "J446".
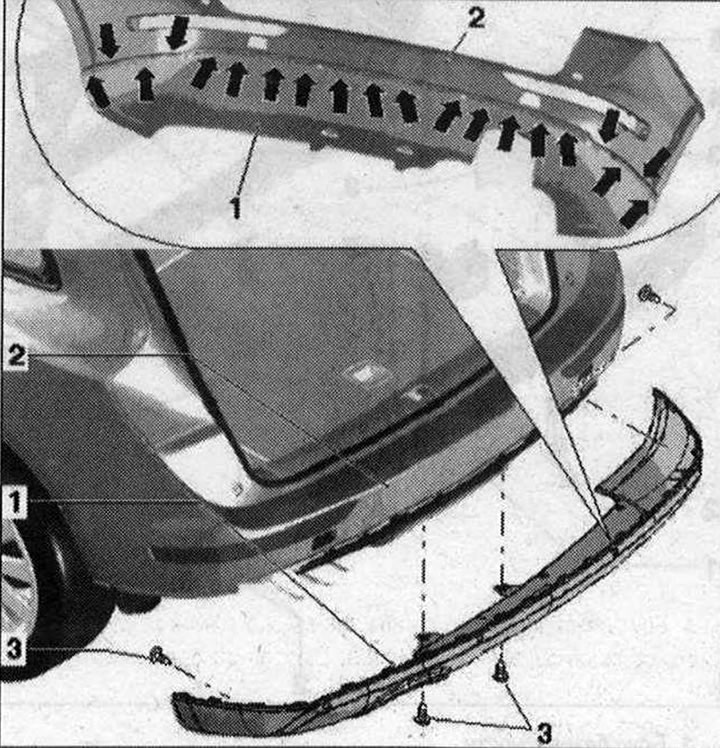
Removal the spoiler 1. Spoiler. Removal: unscrew bolts "3". To remove, unlock the "arrow" clips in sequence and remove from the bumper trim. When installing, fully secure the "arrow" clips in the bumper trim; 2. Bumper trim; 3. Bolt 1.5 Nm
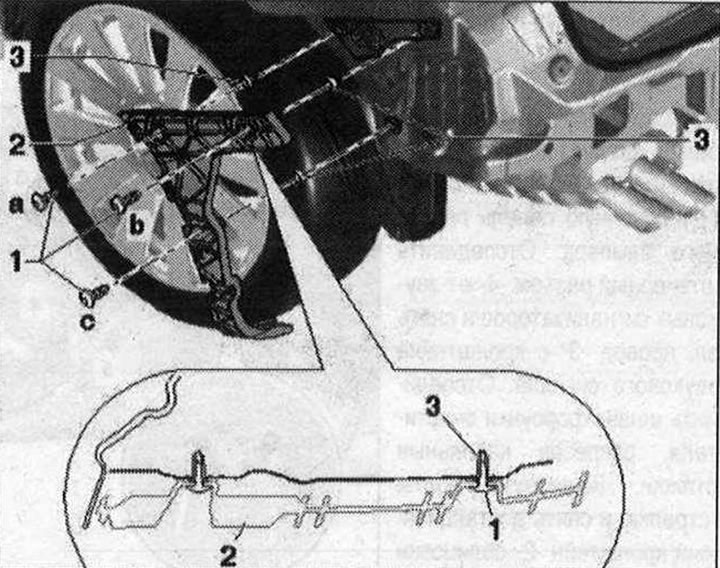
Removal the guide 1. Bolt 1.5 Nm; 2. Guide element. Remove the rear bumper trim. When installing, tighten in the sequence "a, b and c"; 3. Clamp