
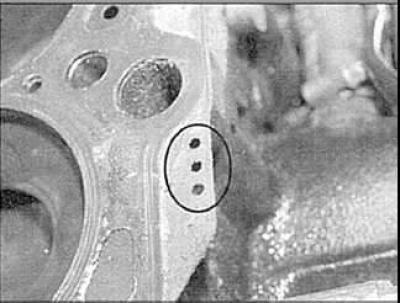
Cylinder Head Gasket Identification Holes (AAT)
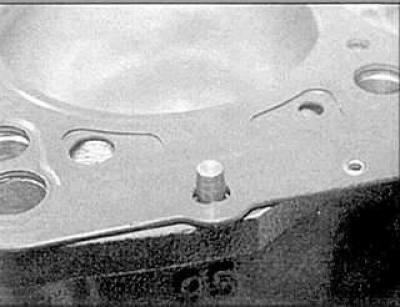
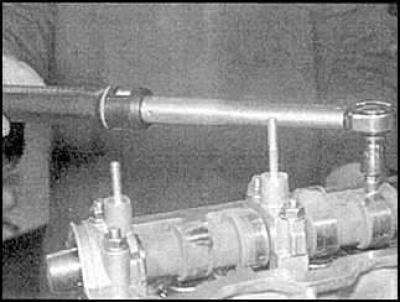
Mounting pins (AAT)
Removal
1. Disconnect the negative battery cable.

2. Remove the plastic covers.
3. Unscrew the nuts.
4. Remove the cover.
5. Drain the engine oil and coolant.
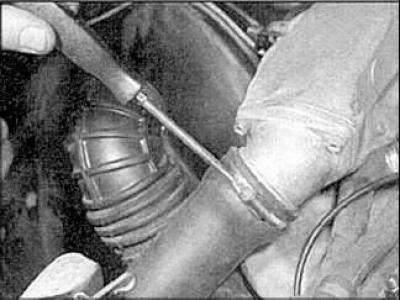
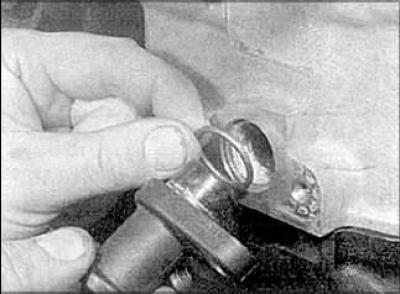
6. Disconnect all hoses from the head.
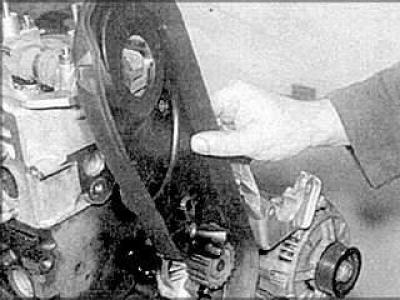
7. Remove the auxiliary drive belt.
8. Remove the timing belt tensioner and camshaft sprocket.
9. Remove the short bolts.
10. Remove the long bolts.
11. Remove the timing belt cover.
12. Remove the camshaft cover and fuel pump drive belt.
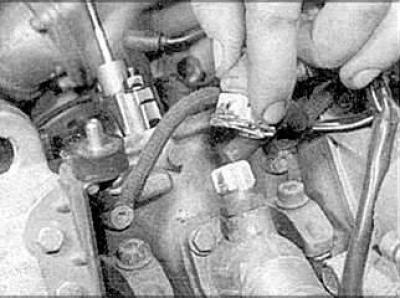
13. Disconnect the fuel lines from the injectors.
14. Disconnect all wires from the head that interfere with its removal.
15. Remove the turbocharger, disconnect the outlet pipe from the turbocharger.
16. Disconnect the exhaust pipe from the exhaust manifold.
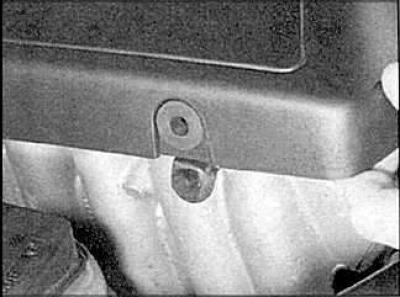
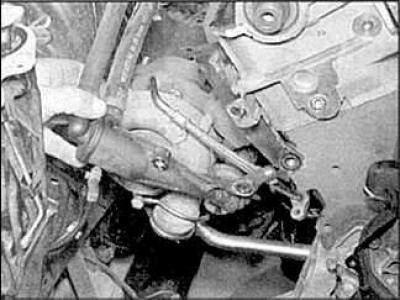
17. Remove the intake and exhaust manifolds.
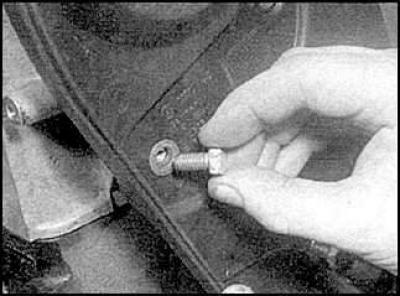
18. Unscrew the bolts.
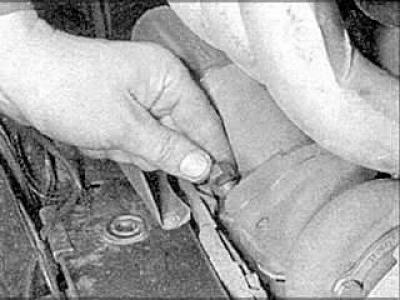
19. Disconnect the ventilation hoses.
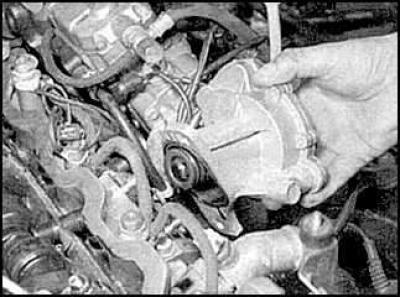
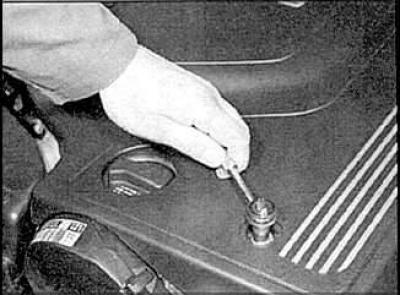
20. Remove the brake vacuum pump.
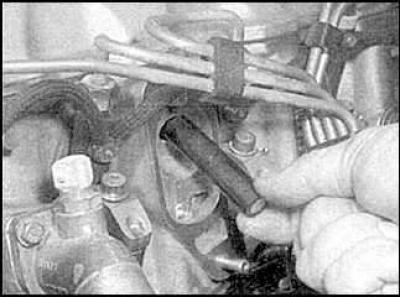
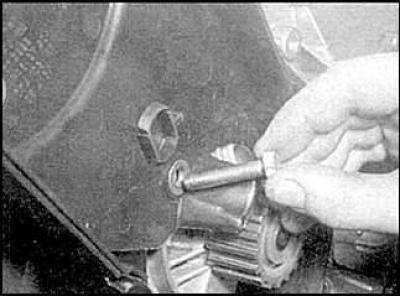
21. Remove the piston from the cylinder head (AAT).
22. Remove the sealing ring.
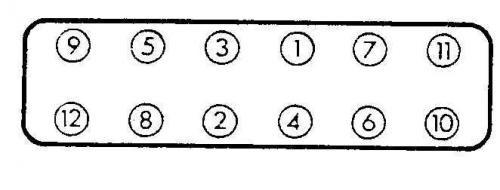
23. Remove the head bolts in the reverse order of tightening (see Fig. Cylinder Head Bolt Tightening Sequence).
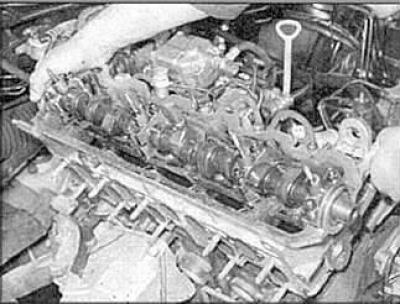
24. Remove the head (AAT).
25. Remove the head gasket.
Examination
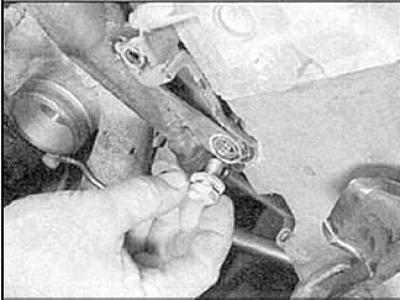
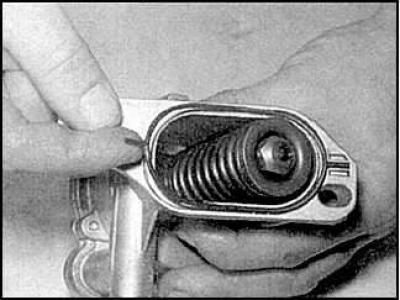
1. To avoid damaging the fuel pump belt tensioner and coolant hose pipe, it is recommended to remove them from the head.
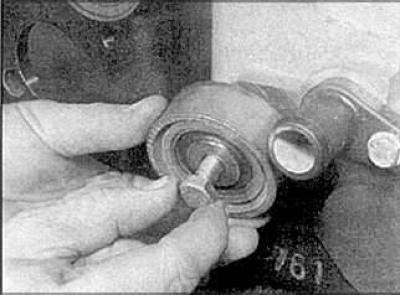
2. Remove the tensioner (AAT).
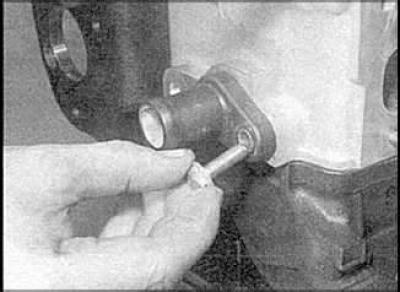
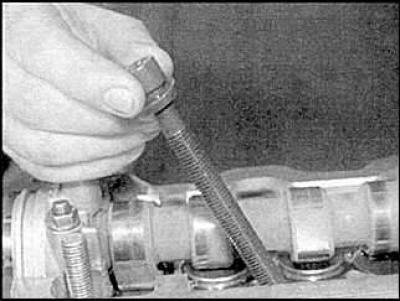
3. Remove the bolts.
4. Remove the pipe (AAT).
5. Thoroughly clean all surfaces and openings of the head elements.
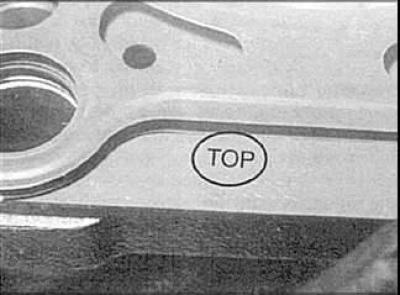
Mark on the top of the gasket (AAT)
Cylinder Head Bolt Tightening Sequence
Installation
The head is installed in the reverse order of removal, but do not forget to install a new head gasket and replace the old bolts.
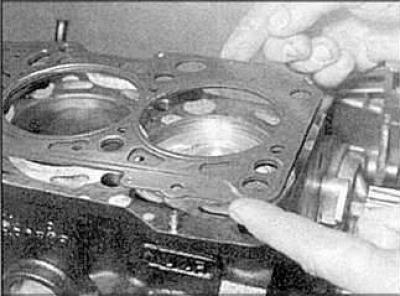
1. Install a new head gasket (AAT).
2. After installing the head, remove the mounting pins.
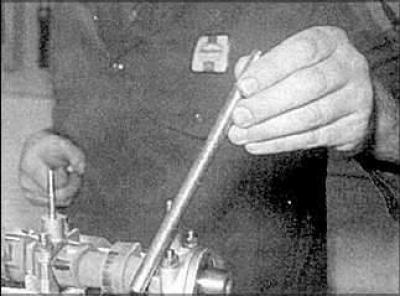
3. Tighten the bolts to the specified torque.
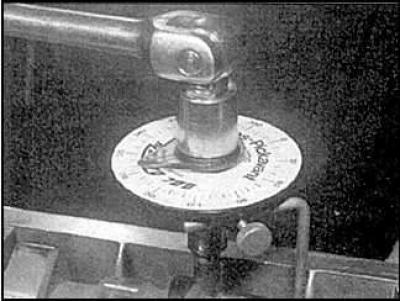
4. Tighten the bolts to the required angle.
The article is a reprint of material from: AudiManual.ru