
1. Sunroof frame. Remove the headliner and sunroof protective frame. Open the sunroof fully rearward. Loosen the bolts. Loosen the nuts. Loosen the hexagonal head bolts. Disconnect the sunroof panel motor plugs. Open the front and rear windows, close the doors. First loosen the sunroof frame in the area of the "Z" (rear) cover, otherwise the guides will be bent. Together with the second mechanic, grasp the sunroof through the open windows and remove it upwards, starting from the rear, pressing on the frame (not on glass). Do not stretch the foil strip. Remove the protective film from the foil strip. Replace the sealing strip and the outer gasket of the guide. To avoid damage to the gasket when installing the sliding sunroof, apply washer fluid to the upper working edge of the windshield seal. Before installation, make sure that the adjusting elements are screwed in completely, as far as they will go. Together with a second mechanic, install the sliding/tilting sunroof into the recess in the roof. When installing, the new sliding sunroof must first be inserted into the windshield area and then aligned with the windshield. Do not install the rear part of the sliding sunroof on the vehicle. Only after aligning the sliding sunroof in the front area can the parts of the sliding sunroof be installed in the rear area. Install the "VAS 6010" sunroof mounting device on the vehicle. Align the device from the side. Close the side tensioner. Loosen the adjusting bolts until the front and rear stops fit against the side roof frame. Check the fit with a flat feeler gauge (0.2 mm thick). Tighten the adjusting bolts to 1.5 Nm. Align the threaded studs with the centres of the holes and tighten the nuts at the front and rear to 8 Nm. Tighten the hexagon-head bolts, starting with the front centre bolts and finishing with the rear bolts. Tighten the hexagon-head bolts in the same sequence to 8 Nm.
2. Sunroof panel motor. Remove interior light. Disconnect plug connector. Loosen screws and remove motor. The motor can be installed in any position of the sunroof and motor. Insert motor into sunroof and tighten screws to 4 Nm. Connect motor. Close roof completely. With sunroof closed, set switch to "closed" position and hold it there for approx. 10 s. This resets the motor to its initial position.
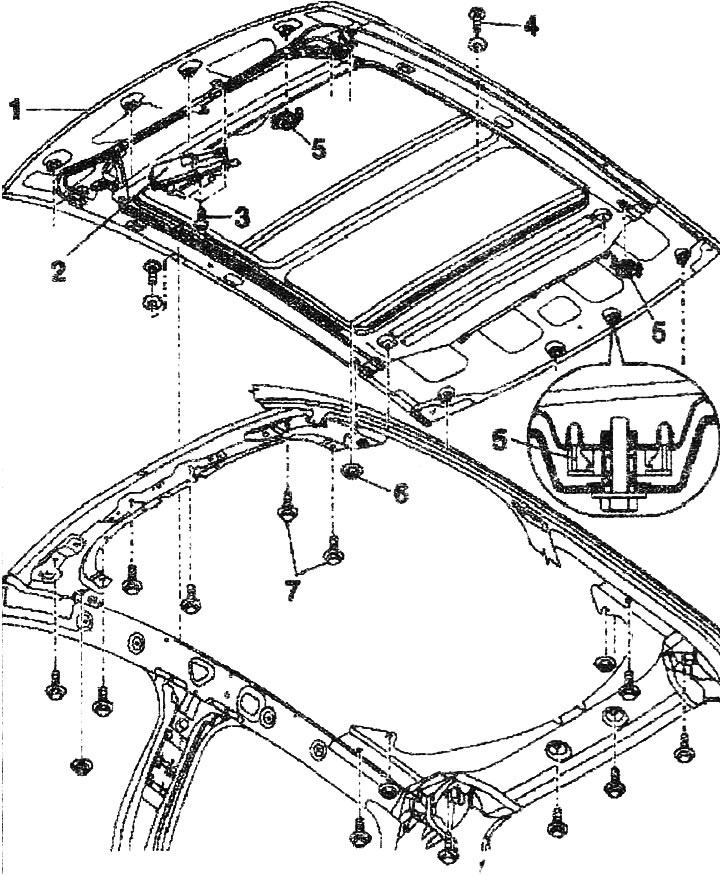
3. Bolts Torgh, 4.5 Nm.
4. Phillips head bolt, 3.5 Nm.
5. Adjusting element. The adjusting element is self-adjusting, i.e. when installed, it can align the allowances between the sliding hatch and the roof frame.
6. Hexagon nut, 8 Nm.
7. Hexagon head bolts, 8 Nm.