
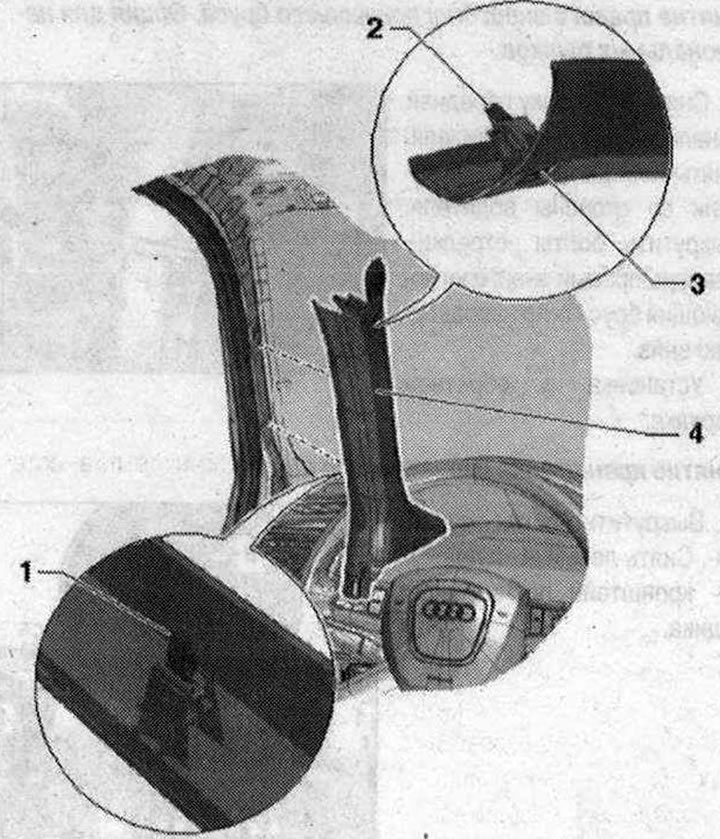
A-pillar upper trim 1. Clamp. 2 pcs. Replace. Insert into the casing; 2. Spacer clamp; 3. Spacer cap with icon "Airbag". Unclip carefully; 4. Upper trim of A-pillars
Clamp for the upper trim of the pillars A
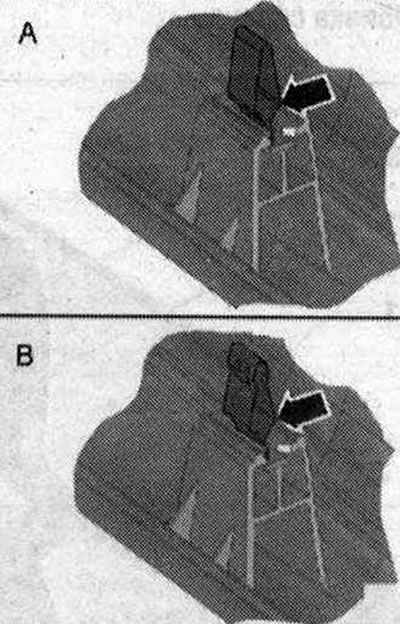
To fasten the upper cladding of pillars A, depending on the design, various clamps are used:
- Version A: clamps without hooks -Arrow-. In the center and/or at the bottom of the cladding.
- Version B: clips with hooks -Arrow-. In the center and/or at the bottom of the cladding.
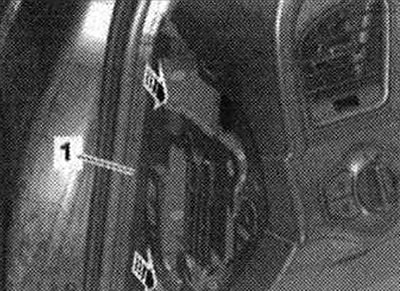
Removing the upper trim of the A-pillars
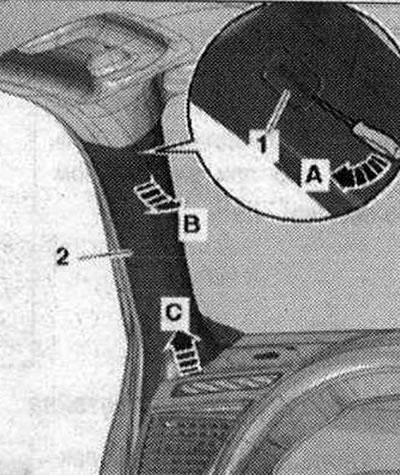
Press out the cap -1- with the symbol "Airbag" using a screwdriver approximately 5 mm -arrow A-.
Depending on which clamps are installed in the vehicle, the trim may have a different offset - in the direction of arrow B - from the pillar A. For clamps with hooks, the trim may only retreat a few millimeters from engagement with the hooks. Carefully release the A-pillar upper trim -2-, starting from the top, using the lever -80-200--arrow B-. Move the A-pillar trims forward and remove -Arrow C-. Depending on the design, the clamp slides when pulled upward from the trim guide.
Installation
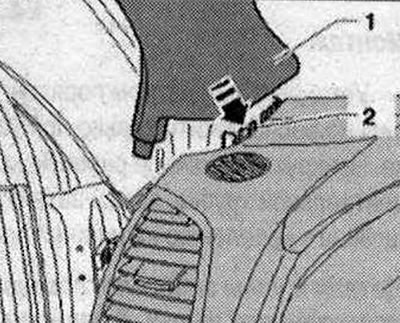
When installing the upper trim of the A-pillars, do not pinch the head Airbag. Installation in reverse order: the clamps in the middle and bottom must be replaced. Clamps without hooks must be replaced with clamps with hooks. Insert the upper trim of the A-pillar -1- into the fastening -2- of the front panel and the front sill trim in the -direction of the arrow-.
Secure the upper trim of the pillar A and press in the spacer cap with the symbol "Airbag" to secure the clamp. Cover with the edge of the door seal.
Installation diagram of the front sill trim

1. Clamp. 4 things. Insert into the casing. Replace if damaged or deformed; 2. Butt plate of pillar A; 3. Cable drive lever (driver's side only); 4. Bolt (driver's side only). 2.5 Nm; 5. Front sill trim
Removing the joint plate of the A-pillar
Remove the side trim of the front panel. Detach joint trim -1 - from A-pillar trim and sill trim -arrows-. Pull the joint strip upwards from the clamp on the A-pillar and remove.
Install in reverse order.
Visitor comments