Repair Chevrolet Repair Toyota Repair Honda Repair AvtoVAZ Repair Mercedes-Benz Repair BMW Repair Opel
Home  |  Contacts  |  Sitemap  |    
English Русский
Български
Беларускі
Український
Српски
Hrvatski
Română
Polski
Slovenský
Magyar
AudiManual.ru


  • AUDI 80
  • AUDI 100
  • AUDI A3
  • AUDI A4
  • AUDI A6
  • AUDI A8
  • AUDI Q
  • OTHER
  • ARTICLES
C5 Allroad (1999-2005) C5 (1997-2004) C4 (1994-1997)

Gas distribution belt (Audi A6 C4)

  • Home
  • Audi A6
  • C4 (1994-1997)
  • Diesel engines
  • 5 cylinder engines
  • Gas distribution belt
            0
Table of contents: Removal ↓ Examination ↓ Installation ↓

Removal


1. Disconnect the negative battery cable.

2. Raise and support the front of the vehicle.

3. Remove the front bumper.
3. Remove the front bumper.


4. Remove the headlight screws and remove both headlights.
4. Remove the headlight screws and remove both headlights.


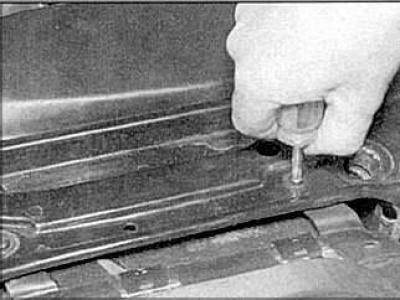
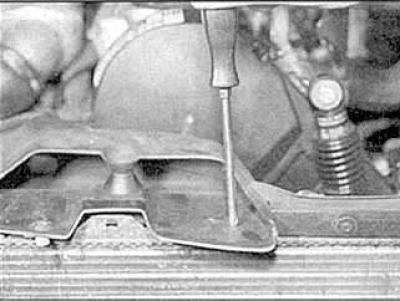
5. Disconnect the cable from the hood latch and remove the crossbar. Remove the small air intake from the top of the radiator.
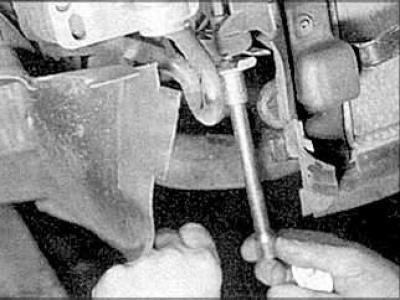
5. Disconnect the cable from the hood latch and remove the crossbar. Remove the small air intake…


6. Unscrew the lower nut of the radiator.
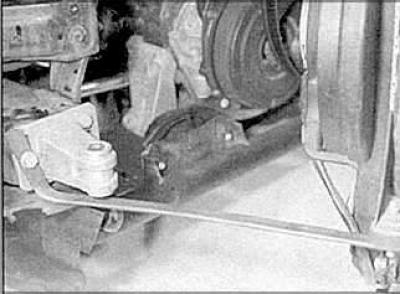


6. Unscrew the lower nut of the radiator.


7. Move the radiator to the side and secure it.
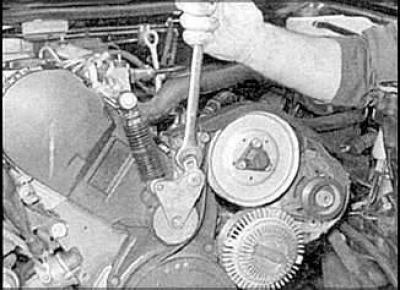
7. Move the radiator to the side and secure it.


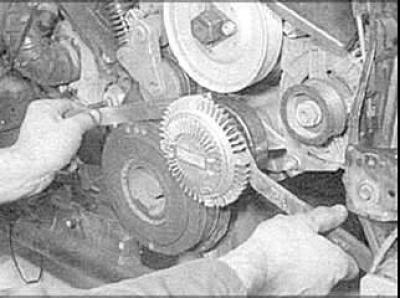
8. Turn the belt tensioner clockwise.
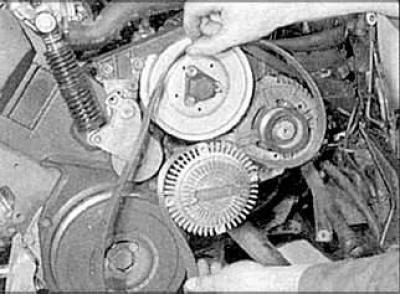
8. Turn the belt tensioner clockwise.


9. Remove the auxiliary drive belt.
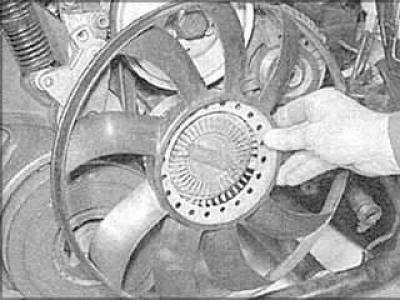
9. Remove the auxiliary drive belt.


10. Remove the fan.
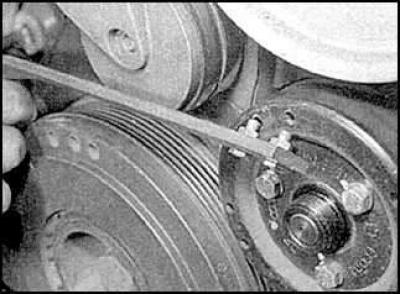


10. Remove the fan.


10. Remove the fan.


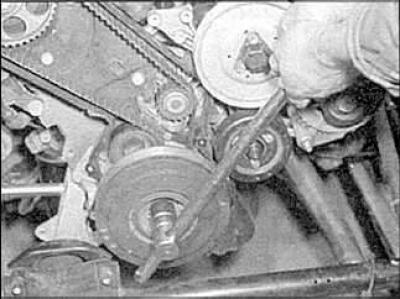
11. Lock the pulley and loosen the nut.
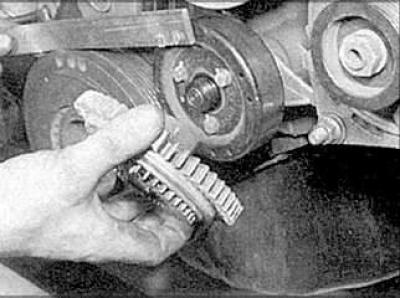
11. Lock the pulley and loosen the nut.


12. Remove the fan assembly.
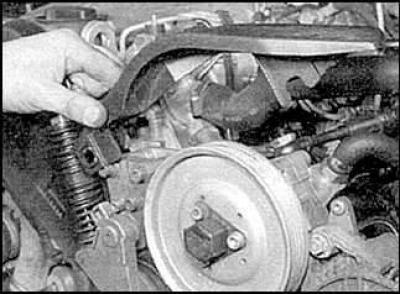
12. Remove the fan assembly.


13. Remove the upper drive belt cover.
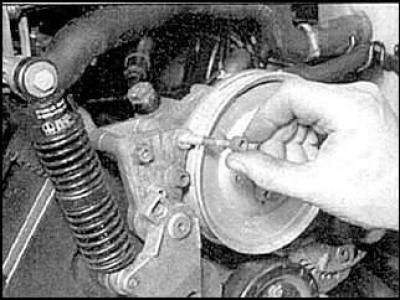


13. Remove the upper drive belt cover.


14. Remove the tensioner bolts.
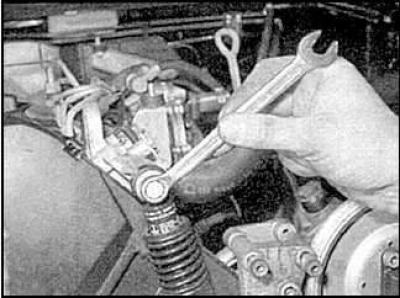
14. Remove the tensioner bolts.


15. Remove the tensioner spring bolts.
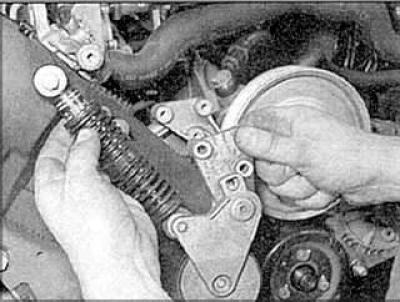
15. Remove the tensioner spring bolts.


16. Remove the tensioner.

17. Remove the camshaft cover.
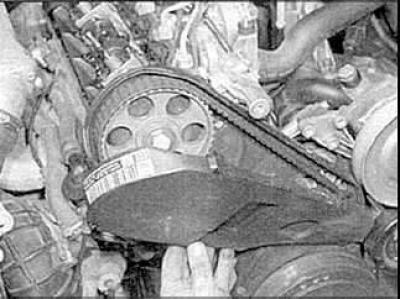
17. Remove the camshaft cover.


18. Remove the front upper timing belt cover.
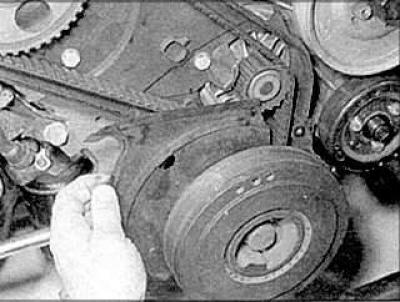


18. Remove the front upper timing belt cover.


19. Remove the lower timing belt cover.
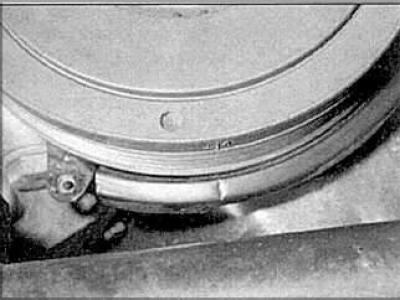
19. Remove the lower timing belt cover.


20. Set piston N1 to TDC by aligning the timing marks on the rear of the crankshaft pulley and the inner timing belt cover.
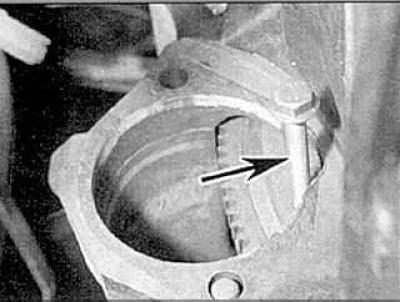
20. Set piston N1 to TDC by aligning the timing marks on the rear of the crankshaft pulley and the…


21. Lock the flywheel.

21. Lock the flywheel.


22. Loosen the shock absorber center bolt.
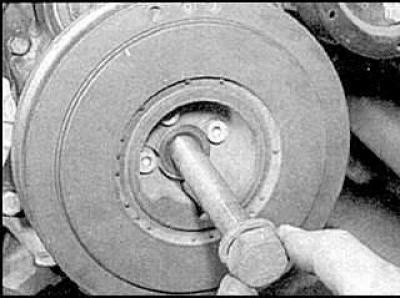


22. Loosen the shock absorber center bolt.


23. Remove the bolt.
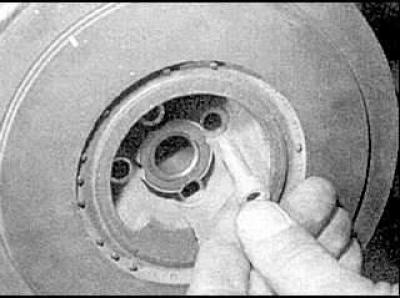
23. Remove the bolt.


24. Remove the bolts securing the shock absorber to the crankshaft sprocket.
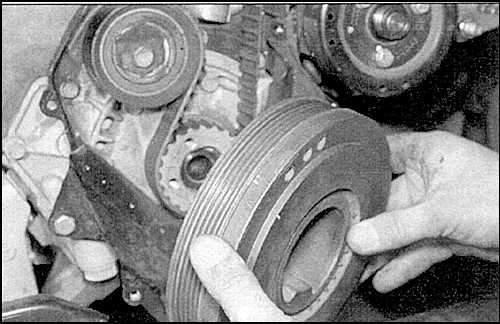
24. Remove the bolts securing the shock absorber to the crankshaft sprocket.


25. Remove the shock absorber.
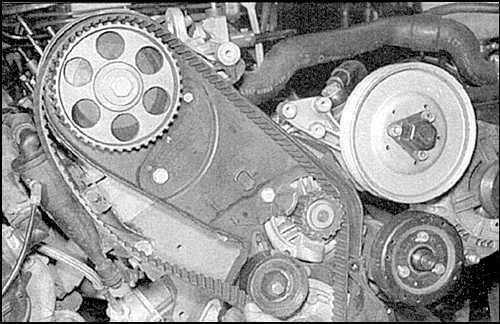
25. Remove the shock absorber.


26. Remove the timing belt.


Examination


Inspect the belt for grease or oil contamination, wear or damage. Replace the belt if necessary.

Installation
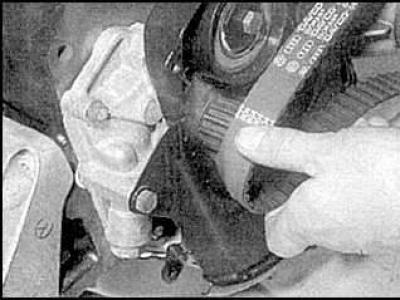


Installation


1. Place the belt on the crankshaft sprocket.
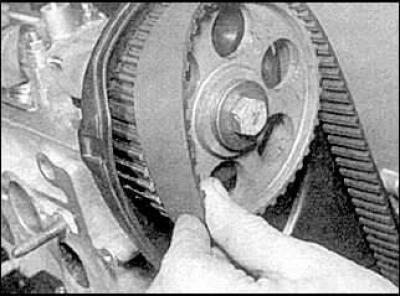
1. Place the belt on the crankshaft sprocket.


2. Place the belt on the camshaft sprocket.

3. On models manufactured before 1995, turn the tensioner counterclockwise to tighten the belt. Adjust the belt tension so that it twists no more than 90°. Tighten the tensioner bolt.
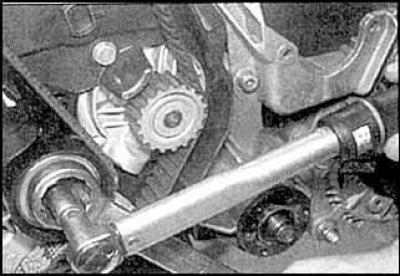
3. On models manufactured before 1995, turn the tensioner counterclockwise to tighten the belt.…


4. On later models, to tighten the belt, turn the tensioner clockwise until the marks on the tensioner align. Tighten the tensioner bolts.
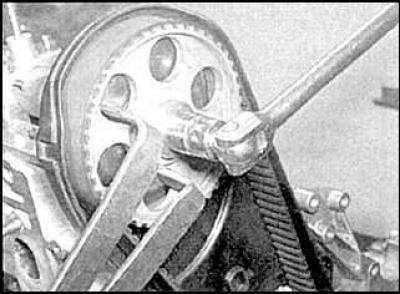


4. On later models, to tighten the belt, turn the tensioner clockwise until the marks on the…


5. Tighten the camshaft sprocket bolt.
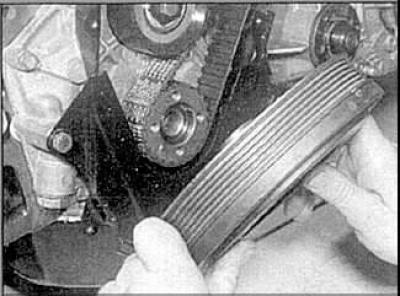
5. Tighten the camshaft sprocket bolt.


6. Install the shock absorber.
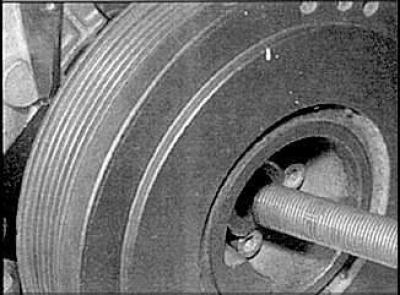
6. Install the shock absorber.


7. Insert the center bolt of the shock absorber
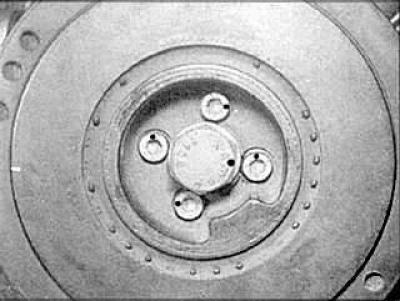
7. Insert the center bolt of the shock absorber


8. Tighten the shock absorber bolt.
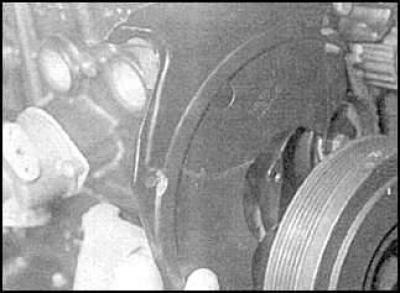
8. Tighten the shock absorber bolt.


9. Install the lower timing belt cover.
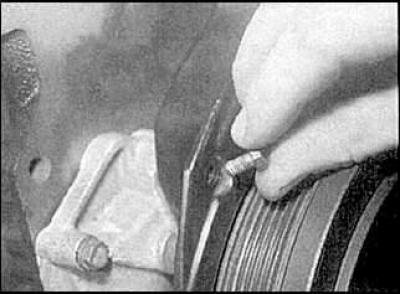
9. Install the lower timing belt cover.


10. Insert the bolts.
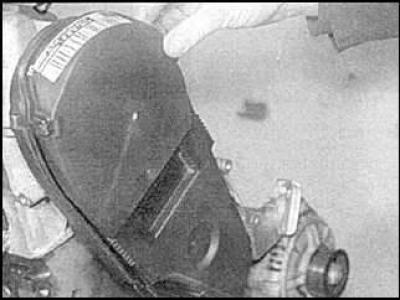
10. Insert the bolts.


11. Install the upper timing belt cover.
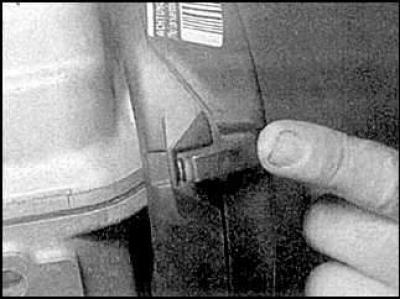
11. Install the upper timing belt cover.


12. Snap the clamps into place.

[The original version is on the portal: audimanual]
The article was checked by auto expert Georgy Rodionov
This article is available at russian, bulgarian, belarusian, ukrainian, serbian, croatian, romanian, polish, slovak, hungarian

Share information:
Previous articles
Audi A6 C4: 5 cylinder engines
Next articles

Compression check
Timing marks for valve timing
Engine specifications
Fuel pump drive belt
Timing Belt Tensioner and Sprockets
Additional drive belt
Camshaft cover


Similar articles on other Audi car models:
Timing Belt and Sprockets — Removal, Check and Installation Audi 80 B3 (1986-1991, petrol)
Toothed drive belt — removal, inspection and installation Audi 100 C3 (1982-1990, diesel)
Checking the timing belt for damage, measuring wear Audi A3 Type 8L (1996-2003)
Torsen distribution differential Audi A4 B5 (1994-2001, petrol)
Checking the condition of the poly V-belt Audi A8 D2 (1994-2002)
Belt pulley cylinder block Audi Q5 Type 8R (2008-2017)
Timing Belt (4-cyl. petrol engine) Audi A2 (1999-2005)
Link to this page in different formats


Visitor comments

No comments yet


How much will 44 + 23 =


A6(C5 AR, 1999-2005) 
  • General information
  • User manual
  • Maintenance
  • Troubleshooting
  • Power unit
  • V6 petrol engines
  • V8 petrol engines
  • Diesel engines
  • Cooling and heating system
  • Injection system (gasoline)
  • Fuel system (diesel)
  • Supply system
  • Exhaust system
  • Ignition system
  • Transmission
  • Clutch
  • Mechanical gearbox
  • Automatic gearbox
  • Chassis
  • Brake system
  • Car suspension
  • Steering
  • Body
  • Body elements
  • Doors, locks and windows
  • Electrical equipment
  • Equipment and devices
  • Power devices
  • Electrical circuits
  • Schemes (petrol engine 2.7 l)
  • Schemes (petrol engine 4.2 l)
  • Schemes (diesel engine 2.5 l)
 
A6(C5, 1997-2004) 
  • General information
  • User manual
  • Maintenance
  • Power unit
  • Engine repair
  • Cooling system
  • Fuel system
  • Engine management
  • Fuel system (diesel)
  • Exhaust system
  • Transmission
  • Clutch
  • Car gearbox
  • Chassis
  • Front suspension
  • Rear suspension
  • Steering
  • Wheels and tires
  • Brake system
  • Body
  • Exterior
  • Interior
  • Electrical equipment
  • Air conditioner
  • Equipment and devices
  • Electrical circuits
 
A6(C4, 1994-1997) 
  • General information
  • User manual
  • Maintenance (gasoline)
  • Maintenance (Diesel)
  • Gasoline engines
  • 4 cylinder engines
  • 5 cylinder engines
  • 6 cylinder engines
  • Diesel engines
  • 4 cylinder engines
  • 5 cylinder engines
  • Engine repair
  • Removal and reassembly
  • Cooling system
  • Single point injection system
  • Multipoint injection system
  • MPI/MPFI injection system
  • Fuel system (diesel)
  • Exhaust system
  • Ignition system
  • Transmission
  • Clutch
  • Manual transmission
  • Automatic transmission
  • Drive shafts
  • Chassis
  • Brake system
  • Front suspension
  • Rear suspension
  • Steering
  • Body
  • Exterior (external elements)
  • Interior (internal elements)
  • Electrical equipment
  • Power devices
  • Lighting and appliances
  • Electrical circuits
 
AudiManual.ru © 2017-2026 · Mobile version · Feedback · Sitemap: EN BG BY UA RS HR RO PL SK HU · Site search · News and articles
80 B2 · 80 B3 petrol · 80 B3 · 80 B4 · 100 C3 diesel · 100 C3 petrol · 100 C3 · 100 C4 petrol · 100 C4 · A3 Type 8L · A4 B5 petrol · A4 B5 · A4 B6 petrol · A4 B6 · A4 B7 · A4 B8 · A6 C4 · A6 C5 · A6 C5 Allroad · A8 D2 · Q5 Type 8R · Q7 Typ 4L · Audi A2 ·
This site uses cookies 🍪. Click the button to accept this fact.