



Table of contents: Disassembly ↓ Assembly ↓
Disassembly
The joint hub and the joint cage are matched as a pair and must be marked before removal. Do not interchange the positions of the raceways. Rotate the cage and separator. Press the joint out in the "direction of the arrow". Remove the balls from the cage.
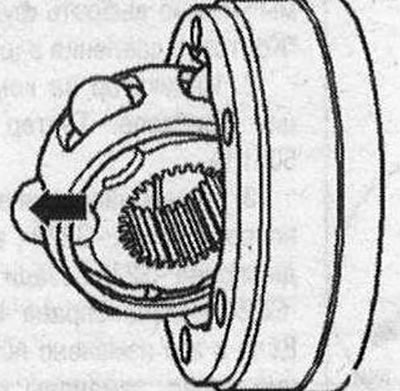
Remove the race from the separator using the recesses for the balls "arrows". Check the housing, separator, cage and balls for pitting and signs of intense wear.

Too much angular clearance in the joint is noticeable when the load changes. In such cases, the joint must be replaced. Matting of the surface of the balls and the presence of tracks from them are not a reason to replace the joint.
Assembly
Using 2 recesses for balls, insert the cage into the separator. The mounting position is arbitrary. Install the balls into the cage. Install the hub with the separator and balls on its edge into the joint cage.
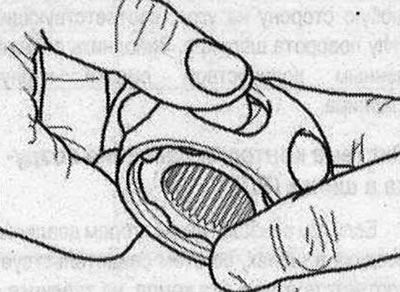
When installing, make sure that after turning, the larger distance "a" on the joint collar is next to the small distance "b" on the hub. The chamfer on the inner diameter of the joint hub (splines) should face the cardan shaft.

Turn the cage, to do this, remove it from the separator "arrow" so much that a gap is formed between the balls and the working tracks.
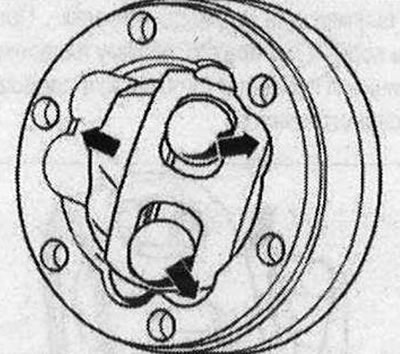
Press hard on the "arrow" separator to turn it into the proper position together with the cage and balls.

Checking the functionality of the CV joint: If the joint is assembled correctly, the cage in the housing can be freely rotated in any direction at an angle corresponding to the angle of rotation of the joint. Fill the joint housing with a certain amount of grease.
The original article is posted on the resource audimanual.ru