



Table of contents: Removal ↓ Installation ↓
Removal
1. Remove the interior door trim panel.
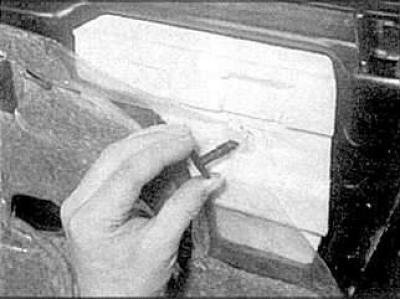
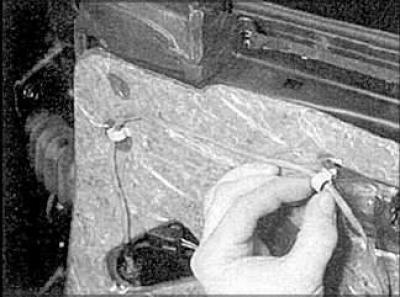
2. Remove the mounting clips, wire fasteners and insulation panel.
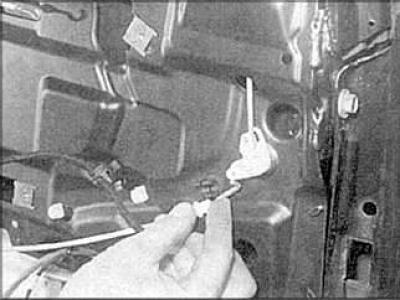
3. On the rear door, disconnect the cable from the lock button and lever.
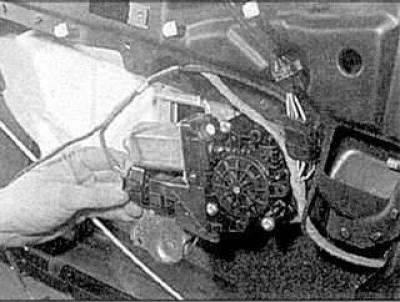
4. Disconnect the connector from the window lift motor and remove the wires from the door.
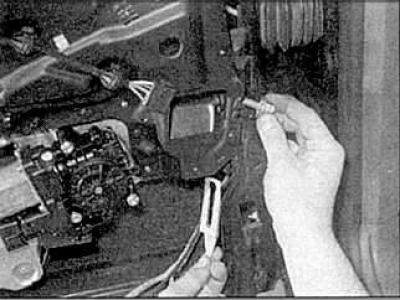
5. Mark the installation position of the frame mounting bolts. Loosen the mounting bolts and remove the adjusting wedge.
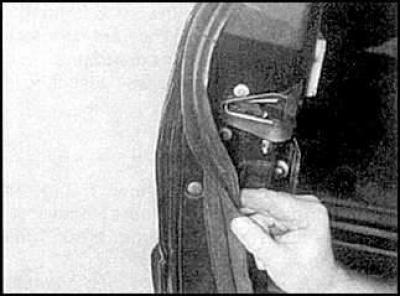
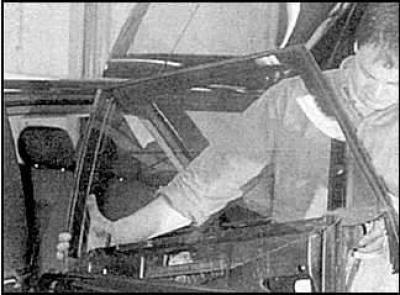
6. On the rear door, bend back the seal and remove it together with the frame.
Installation
1. Installation is carried out in the reverse order of removal. After installation is complete, adjust the position of the frame and glass.
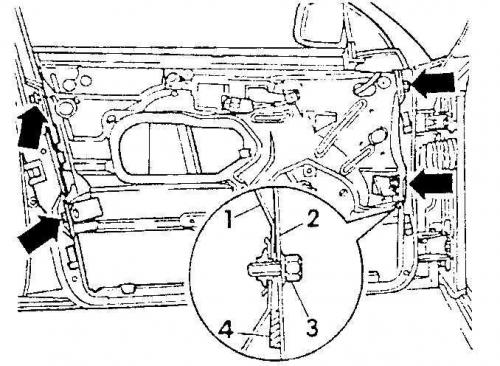
2. When installing, check that the adjusting wedge (4) is correctly positioned between the frame (1) and the door (2) and that the front lower mounting bolt (3) passes through the hole in the wedge.
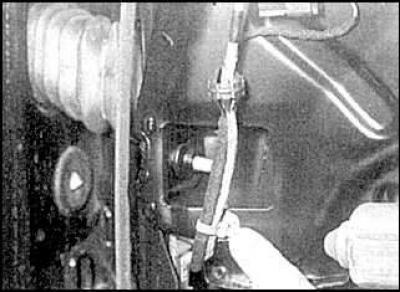
3. Check that the wires are laid correctly and that the fastenings are secure.
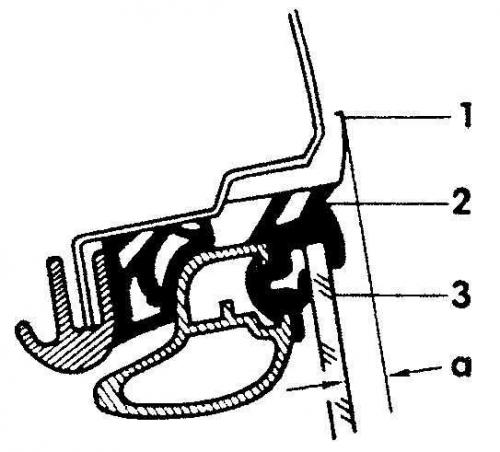
4. Install the glass frame so that the distance (a) between the outer edge of the glass (3) and the decorative strip on the roof (1) is 6.5±1 mm (with the door closed) and the seal (2) was slightly compressed.
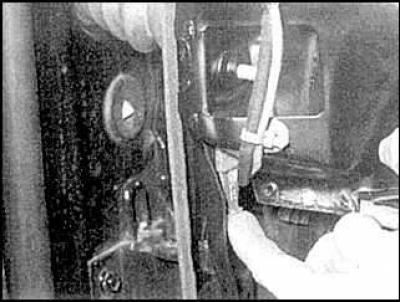
5. Adjust the tongue.
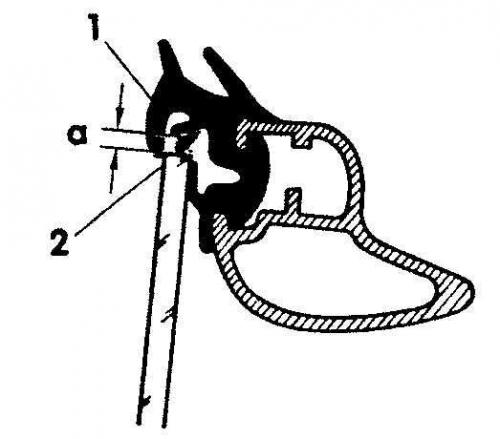
6. Adjust the plane of contact between the glass and the rubber insert so that the distance a does not exceed the limit of 0.5–1.0 mm.
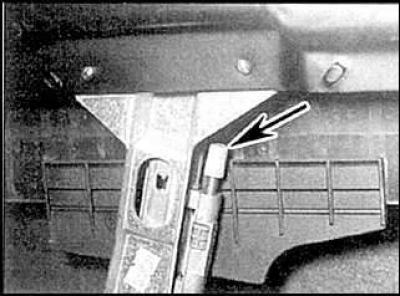
7. Adjust the screw in the range of 0.5-1.0mm.
This publication is borrowed from the resource: AUDIMANUAL