Repair Chevrolet Repair Toyota Repair Honda Repair AvtoVAZ Repair Mercedes-Benz Repair BMW Repair Opel
Home  |  Contacts  |  Sitemap  |    
English Русский
Български
Беларускі
Український
Српски
Hrvatski
Română
Polski
Slovenský
Magyar
AudiManual.ru


  • AUDI 80
  • AUDI 100
  • AUDI A3
  • AUDI A4
  • AUDI A6
  • AUDI A8
  • AUDI Q
  • OTHER
  • ARTICLES
C5 Allroad (1999-2005) C5 (1997-2004) C4 (1994-1997)

Rear door lock components (Audi A6 C4)

  • Home
  • Audi A6
  • C4 (1994-1997)
  • Body
  • Interior (internal elements)
  • Rear door lock components
            0
Table of contents: Removal ↓ Installation ↓

Removal


Removal


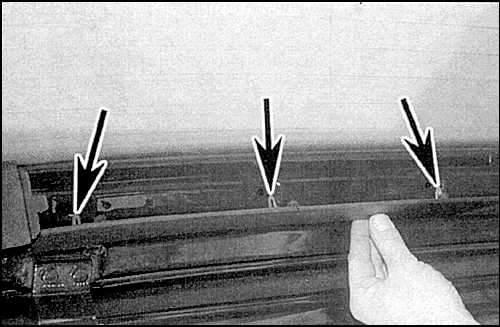
1. Remove the top trim panel (the arrows show the fastening clamps).
1. Remove the top trim panel (the arrows show the fastening clamps).


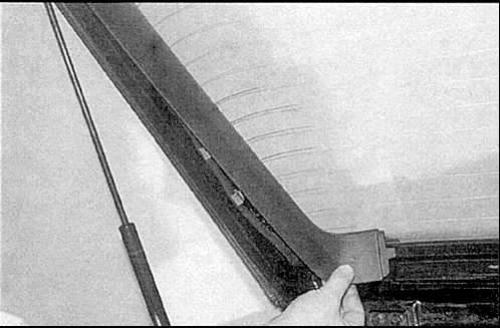
2. Remove the side trim panels.
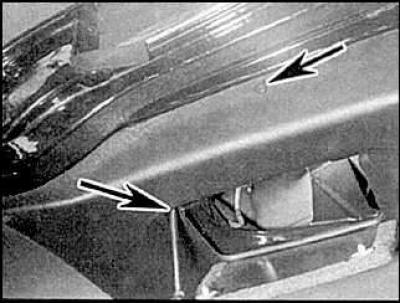
2. Remove the side trim panels.


3. Remove the mounting screws on the sides and top of the main trim panel.
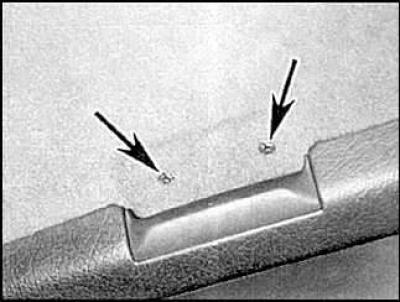
3. Remove the mounting screws on the sides and top of the main trim panel.


4. Unscrew the mounting screws located in the recess of the handle.
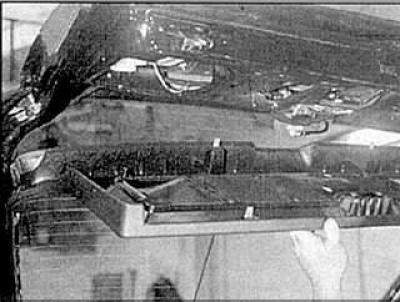


4. Unscrew the mounting screws located in the recess of the handle.


5. Remove the trim panel.

Lock
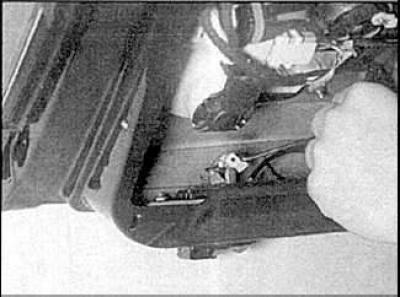


4. Unscrew the mounting screws located in the recess of the handle.


4. Unscrew the mounting screws located in the recess of the handle.


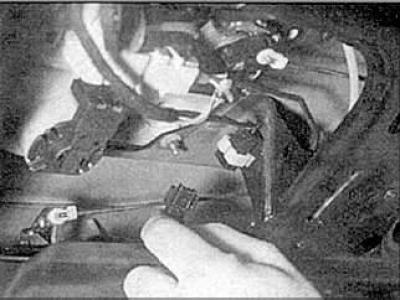
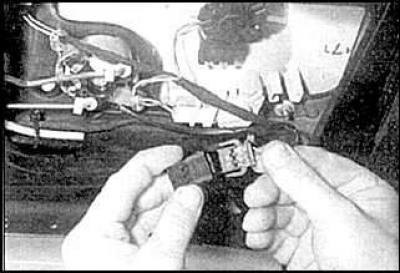
1. Disconnect the rods and the connection connector from the lock.
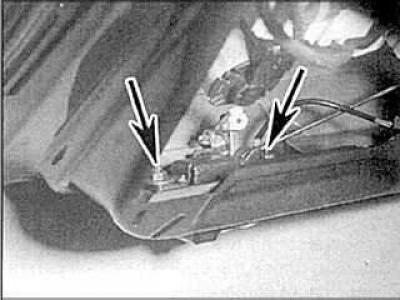
1. Disconnect the rods and the connection connector from the lock.
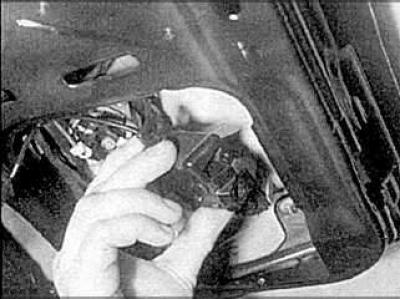

1. Disconnect the rods and the connection connector from the lock.


2. Unscrew the fastening nuts (arrows) and remove the lock.


Lock drum housing
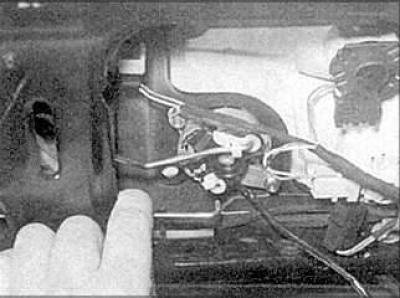


Lock drum housing


Lock drum housing


1. Disconnect the rods from the lock drum. Disconnect the connection connector.
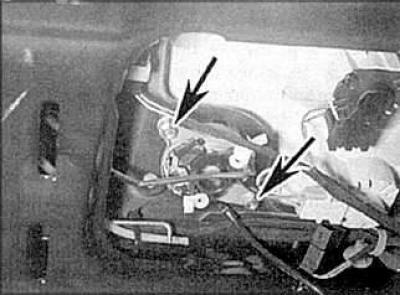
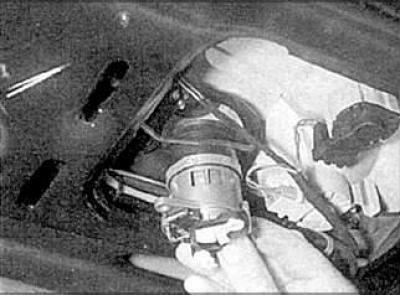
1. Disconnect the rods from the lock drum. Disconnect the connection connector.


1. Disconnect the rods from the lock drum. Disconnect the connection connector.


2. Unscrew the fastening nuts (arrows) and remove the lock drum.


Door handle


1. Remove the wiper motor.
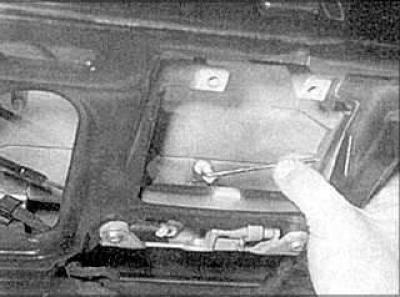
1. Remove the wiper motor.


2. Release the retaining clips and disconnect the rods from the handle.
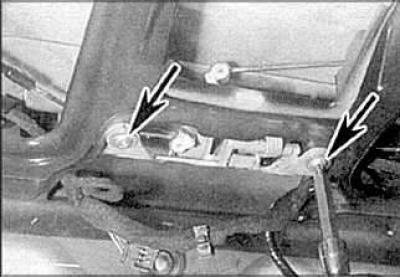
2. Release the retaining clips and disconnect the rods from the handle.
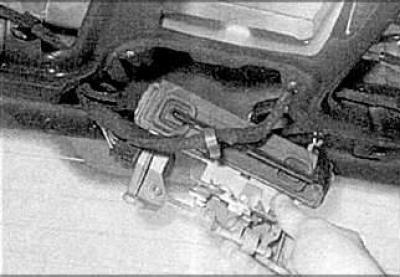

2. Release the retaining clips and disconnect the rods from the handle.


3. Unscrew the mounting bolts (arrows) and remove the handle.

Installation


Installation


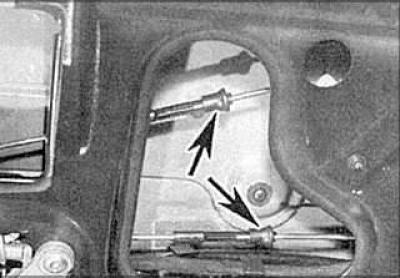
Installation is carried out in the reverse order of removal.


Use regulators when installing (indicated by arrows) to adjust the length of the rods.
The article was checked by auto expert Georgy Rodionov
This article is available at russian, bulgarian, belarusian, ukrainian, serbian, croatian, romanian, polish, slovak, hungarian

Share information:
Previous articles
Audi A6 C4: Interior (internal elements)
Next articles

Door handle and lock elements
Window door frame
Interior door trim panel
Upper hatch
Exterior body trim elements
Removal and installation seats
Front seat belt tensioner mechanism


Similar articles on other Audi car models:
Rear door lock — removal and installation Audi 80 B3 (1986-1991, petrol)
Rear Door Lock Parts Audi 100 C3 (1982-1990, petrol)
Removal and installation the wedge element of the rear door lock Audi A3 Type 8L (1996-2003)
Rear door lock Audi A4 B6 (2000-2006, petrol)
Rear door speakers Audi A8 D2 (1994-2002)
Rear Door Outside Handle and Lock Installation Diagram Audi Q5 Type 8R (2008-2017)
Rear door handle and lock Audi A2 (1999-2005)
Link to this page in different formats


Visitor comments

No comments yet


How much will 37 + 46 =


A6(C5 AR, 1999-2005) 
  • General information
  • User manual
  • Maintenance
  • Troubleshooting
  • Power unit
  • V6 petrol engines
  • V8 petrol engines
  • Diesel engines
  • Cooling and heating system
  • Injection system (gasoline)
  • Fuel system (diesel)
  • Supply system
  • Exhaust system
  • Ignition system
  • Transmission
  • Clutch
  • Mechanical gearbox
  • Automatic gearbox
  • Chassis
  • Brake system
  • Car suspension
  • Steering
  • Body
  • Body elements
  • Doors, locks and windows
  • Electrical equipment
  • Equipment and devices
  • Power devices
  • Electrical circuits
  • Schemes (petrol engine 2.7 l)
  • Schemes (petrol engine 4.2 l)
  • Schemes (diesel engine 2.5 l)
 
A6(C5, 1997-2004) 
  • General information
  • User manual
  • Maintenance
  • Power unit
  • Engine repair
  • Cooling system
  • Fuel system
  • Engine management
  • Fuel system (diesel)
  • Exhaust system
  • Transmission
  • Clutch
  • Car gearbox
  • Chassis
  • Front suspension
  • Rear suspension
  • Steering
  • Wheels and tires
  • Brake system
  • Body
  • Exterior
  • Interior
  • Electrical equipment
  • Air conditioner
  • Equipment and devices
  • Electrical circuits
 
A6(C4, 1994-1997) 
  • General information
  • User manual
  • Maintenance (gasoline)
  • Maintenance (Diesel)
  • Gasoline engines
  • 4 cylinder engines
  • 5 cylinder engines
  • 6 cylinder engines
  • Diesel engines
  • 4 cylinder engines
  • 5 cylinder engines
  • Engine repair
  • Removal and reassembly
  • Cooling system
  • Single point injection system
  • Multipoint injection system
  • MPI/MPFI injection system
  • Fuel system (diesel)
  • Exhaust system
  • Ignition system
  • Transmission
  • Clutch
  • Manual transmission
  • Automatic transmission
  • Drive shafts
  • Chassis
  • Brake system
  • Front suspension
  • Rear suspension
  • Steering
  • Body
  • Exterior (external elements)
  • Interior (internal elements)
  • Electrical equipment
  • Power devices
  • Lighting and appliances
  • Electrical circuits
 
AudiManual.ru © 2017-2026 · Mobile version · Feedback · Sitemap: EN BG BY UA RS HR RO PL SK HU · Site search · News and articles
80 B2 · 80 B3 petrol · 80 B3 · 80 B4 · 100 C3 diesel · 100 C3 petrol · 100 C3 · 100 C4 petrol · 100 C4 · A3 Type 8L · A4 B5 petrol · A4 B5 · A4 B6 petrol · A4 B6 · A4 B7 · A4 B8 · A6 C4 · A6 C5 · A6 C5 Allroad · A8 D2 · Q5 Type 8R · Q7 Typ 4L · Audi A2 ·
This site uses cookies 🍪. Click the button to accept this fact.