
Table of contents: Mounting position of adjustable… ↓ Adjusting bolt of the stop ↓ Upper stop on the trunk lid ↓ Lower stop on the trunk lid ↓ Thrust on the body ↓
Mounting position of adjustable buffer
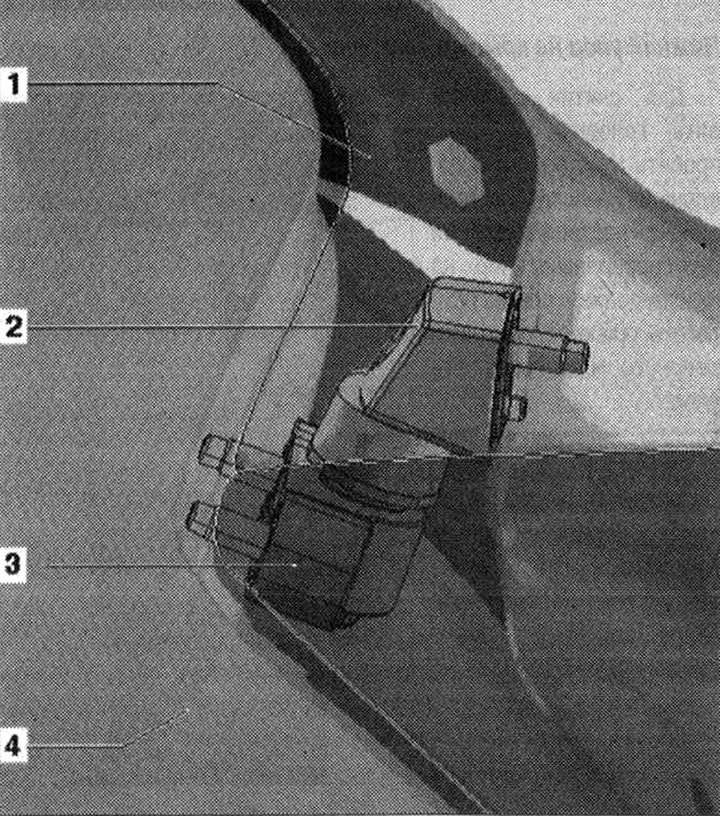
- 3. Adjustable bumper on the body. The adjustable bumper is attached to the body with screws. When installing, tighten the corresponding bolts to a torque of 8 N·m. Height adjustment is carried out using an adjusting screw. When the closed cover is adjusted correctly, the adjustable bumper should fit against the buffer on the cover with slight pressure
- 4. Sidewall
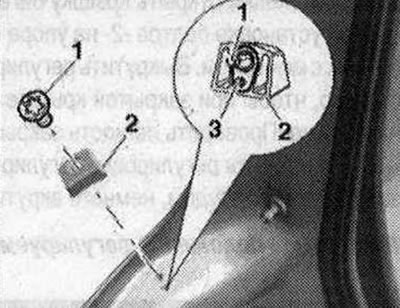
Adjusting bolt of the stop

Before adjusting the cover, screw the adjusting screw "2" with the protective cap "1" completely into the buffer "3". Unscrew the adjusting screw "2" so that the protective cap "1" with the cover closed fits against the stop on the cover with slight pressure. By pressing or pulling the cover by the side edges below the glass, check that there is no play in the closed cover and that its position corresponds to the template. Repeat the adjustment if necessary.
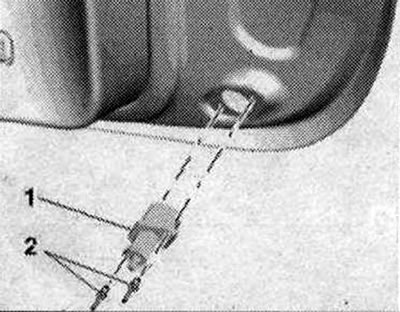
Upper stop on the trunk lid
When installing stop "2", tighten screw "1" to 8 Nm. Height adjustment is carried out using an adjustable buffer on the body.
Lower stop on the trunk lid
To remove, drill out the rivet heads, punch out their rods and remove from the cover. When adjusted correctly, the lower adjustment stop on the body should fit slightly; screw or unscrew the stop if necessary.
Thrust on the body
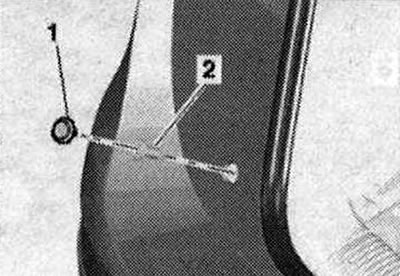
Screw the stop "1" all the way into the fixed blind nut "2". When installing, the fixed blind nut must fit evenly.