
Table of contents: Front seat belts (audi 100 models) ↓ Front seat belts (audi A6 models) ↓ Side seat belt (sedan models) ↓ Side seat belt (station wagon models) ↓ Rear seat center belt and buckles ↓
Front seat belts (audi 100 models)
Removal
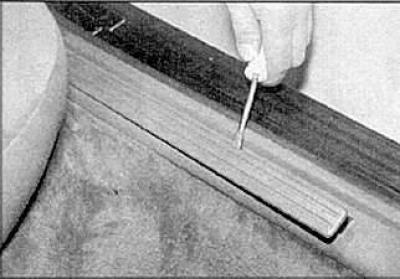
1. Remove the decorative strips and unscrew the mounting screws (indicated by arrows) body pillar trim panels.
2. Remove the body pillar trim panel.
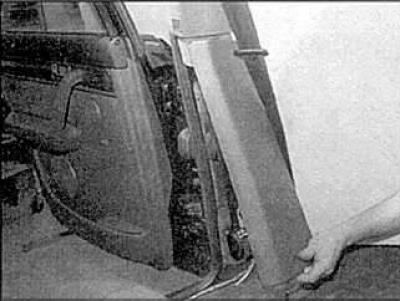
3. Remove the mounting screws and remove the lower trim panel.
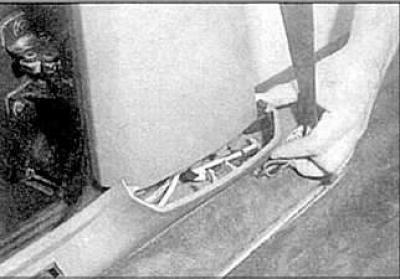
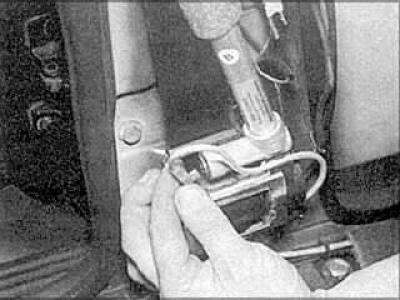
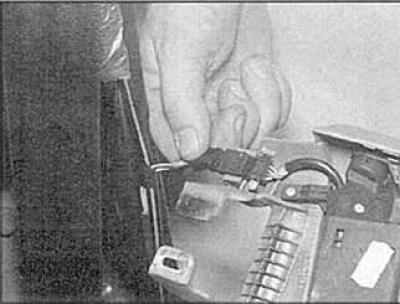
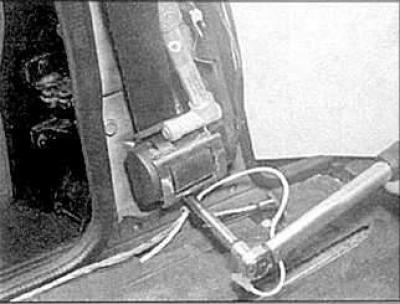
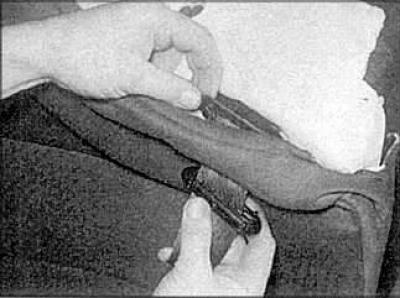
4. Disconnect the Procon-ten system cable from the tensioner.

5. Remove the lower seat belt mounting bolt.


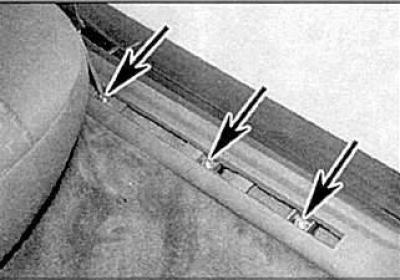
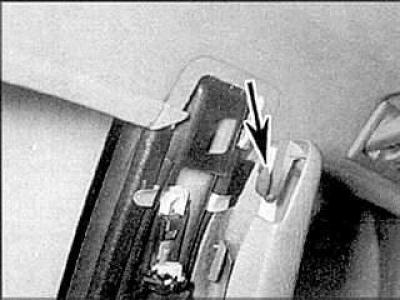
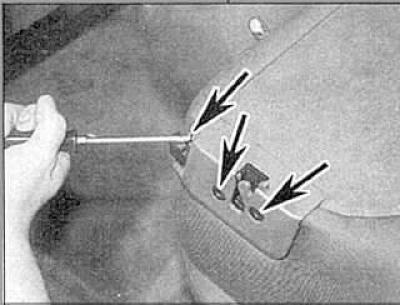
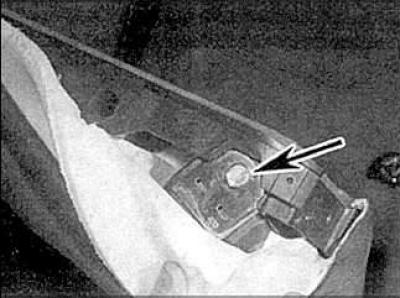
6. Loosen the mounting screws (indicated by arrows in the figure on the left) and remove the top trim panel (the mounting clamp is indicated by an arrow in the picture on the right).

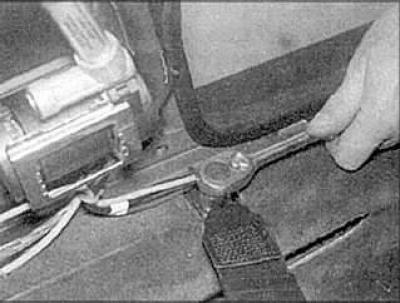
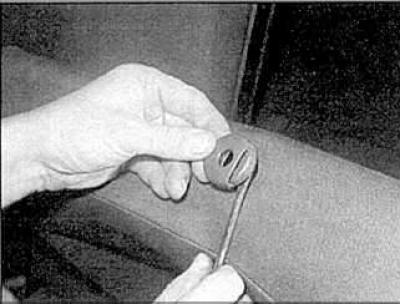
7. Unscrew the top mounting nut.
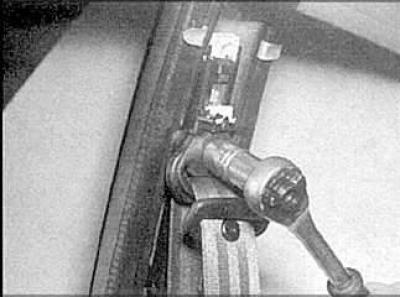
8. Loosen the tension drum mounting bolt and remove the seat belt.
Installation
Installation is carried out in the reverse order of removal.
Front seat belts (audi A6 models)
Removal
1. Disconnect the connection connector from the tensioner.
2. Remove the lower seat belt mounting bolt.
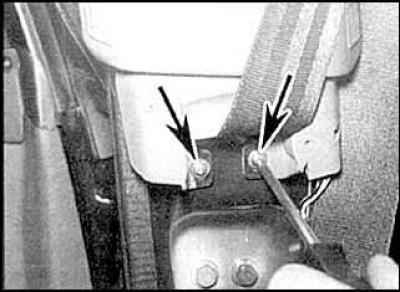
3. Loosen the mounting screws (indicated by arrows in the figure on the left) and remove the top trim panel (the mounting clamp is indicated by an arrow in the picture on the right).

4. Unscrew the top mounting nut.
5. Loosen the mounting screws (indicated by arrows in the figure on the left) and remove the top trim panel (the mounting clamp is indicated by an arrow in the picture on the right).
6. Unscrew the top mounting nut.
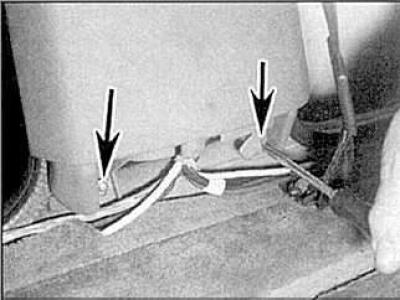
7. Disconnect the alarm sensor connection connector.
Installation
Installation is carried out in the reverse order of removal.
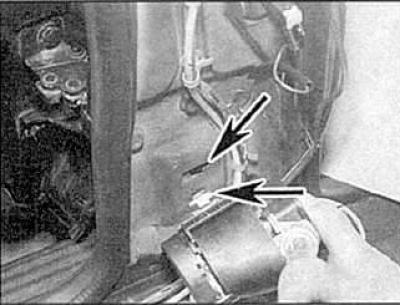
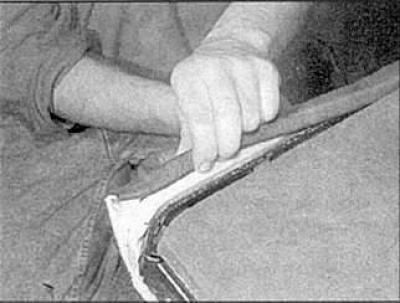
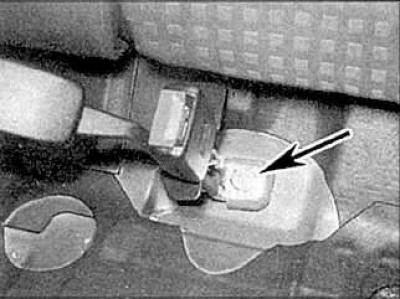
1. Install the tensioner drum tongue into the recess on the body pillar (indicated by the arrow).
2. Tighten the mounting bolt to the specified torque.
Side seat belt (sedan models)
Removal
1. Remove the rear speakers.
2. Remove the rear seat.
3. Remove the rear shelf.
4. Loosen the tension drum mounting bolt and remove the belt.
Installation
Installation is carried out in the reverse order of removal.
Side seat belt (station wagon models)
Removal
1. Unscrew the lower mounting bolt.
2. Loosen the mounting screws and remove the belt latch.
3. Remove the headrest and guide bushings.
4. Fold back the seat material.
5. Separate the halves of the belt buckle and pull the belt out.
6. Loosen the tension drum mounting bolt and remove the seat belt.
Installation
Installation is carried out in the reverse order of removal.
Rear seat center belt and buckles
Removal
1. Remove the seat cushion.
2. Loosen the mounting bolt and remove the belt/buckle.
Installation
Installation is carried out in the reverse order of removal.
(Information obtained from this resource «AUDImanual»)