
Table of contents: Control Panel ↓ Stove fan ↓ Heater Fan Resistor ↓ Stove casing ↓ Heater ↓ Additional heater ↓ Air conditioning system ↓
Control Panel
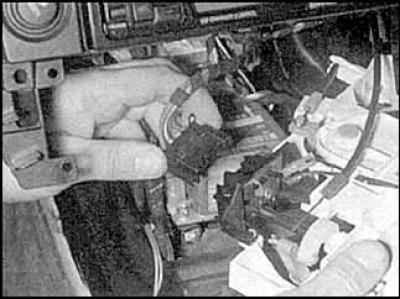
Removal
1. Remove the center console.

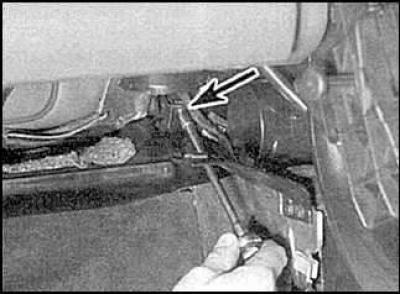
2. Loosen the mounting screws (indicated by arrows) and remove the panel.
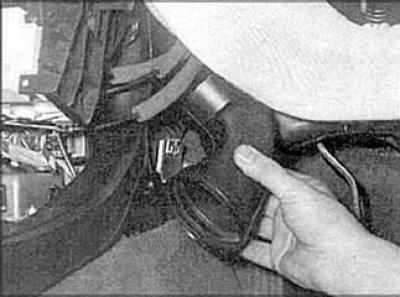
3. Remove the panel and disconnect the connection connectors.
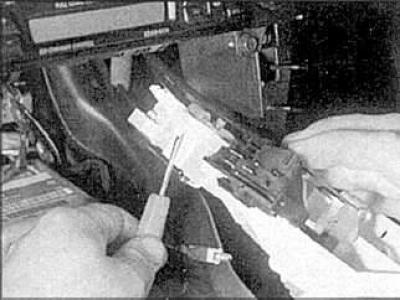
4. Disconnect the control cables or unscrew the mounting screws and remove the control cables. Remove the panel from the vehicle.
Installation
Installation is carried out in the reverse order of removal. If any clamps have been damaged, secure the cables with screws.
Stove fan
Removal
Models with air conditioning
1. Remove the casing.
2. Loosen the mounting screws and remove the air intake pipe.
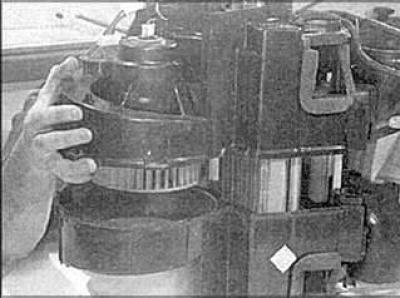
3. Remove the retaining clip and remove the fan.
Models without air conditioning
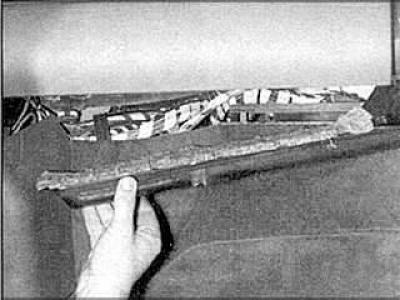
1. Remove the water drain panel in front of the windshield and the paper filter.
2. Remove the air intake pipe with the damper.
3. Disconnect the fan connection connector.
4. Remove the retaining clip and remove the fan.
Installation
Installation is carried out in the reverse order of removal.
Heater Fan Resistor
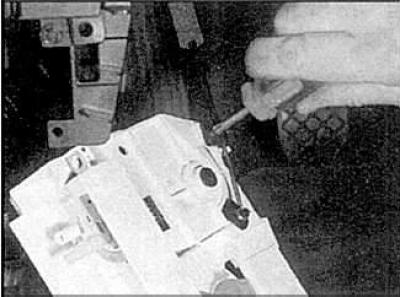
Removal
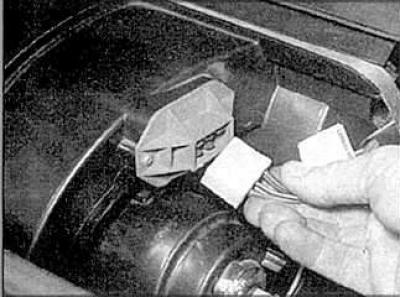
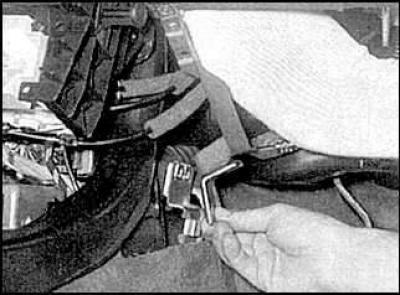
1. Disconnect the connection connector.
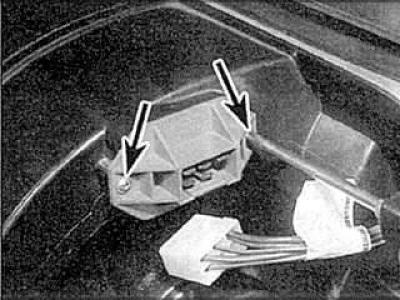
2. Loosen the mounting screws (indicated by arrows).
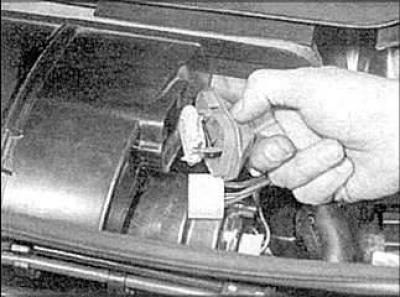
3. Remove the resistor from the fan.
Installation
Installation is carried out in the reverse order of removal.
Stove casing
Removal
1. Remove the windshield wiper motor.
2. Remove the control panel.
3. Remove the glove compartment.
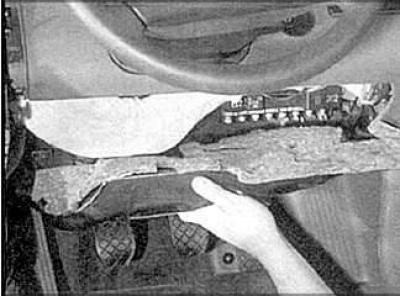
4. Remove the shelf from the bottom of the instrument panel.
5. Loosen the mounting bolts and remove the center bracket.
6. Loosen the mounting bolts.
7. Remove the left and right air ducts.
8. Remove the left and right air duct elbows.
9. On Audi A6 models with diesel engine, disconnect the connection connectors.
10. Loosen the mounting bolt and disconnect the ground wire.
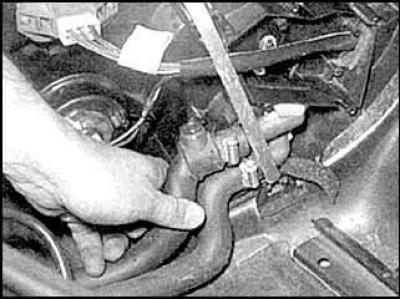
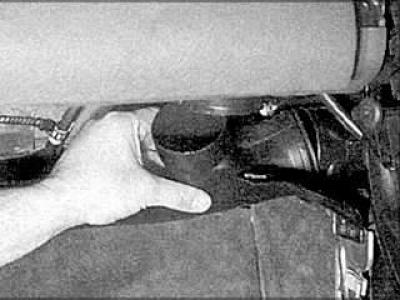
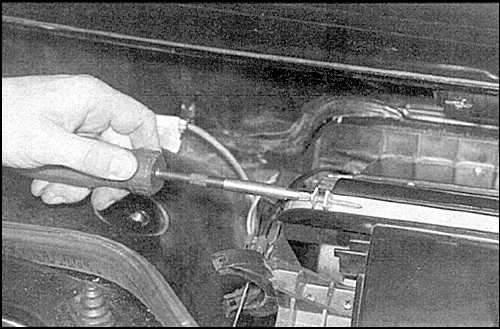
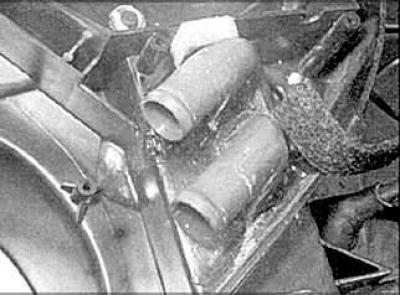
11. Loosen the clamps, pinch the water hoses and disconnect them from the heater.
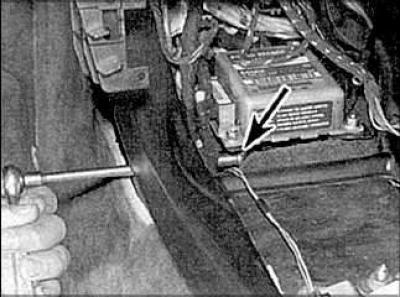
12. Loosen the mounting screw and remove the mounting strip.
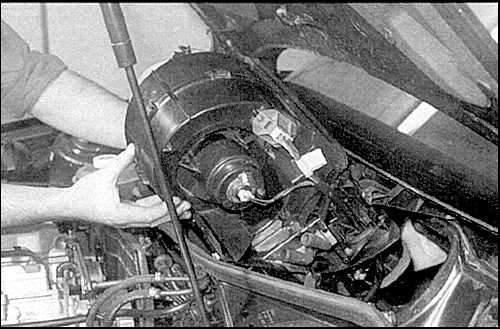
13. Remove the heater from the car.
Installation
Installation is carried out in the reverse order of removal.
Heater
Removal
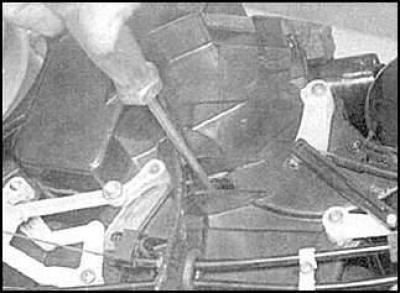
1. Remove the stove.
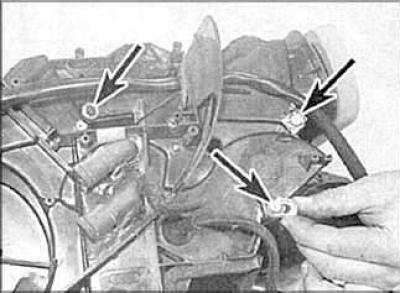
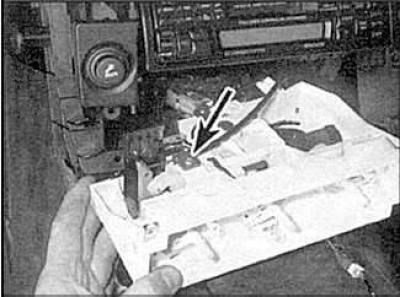
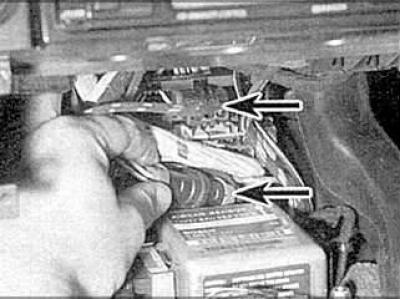
2. Remove the retaining clips (arrows) from the left side of the housing and remove the washers.

3. Release the fastening clamps (arrows) of the casing halves.
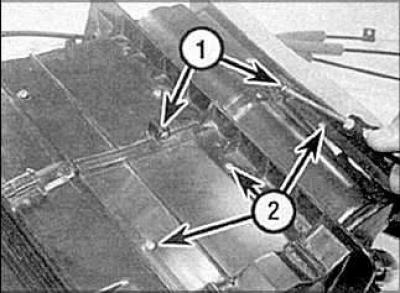
4. Unscrew the mounting screws (1) of the casing halves and the mounting screws of the top plate (2). Some screws are located in recesses.

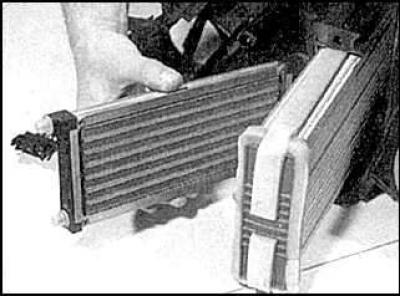
5. Bend back the gasket and remove half of the casing.
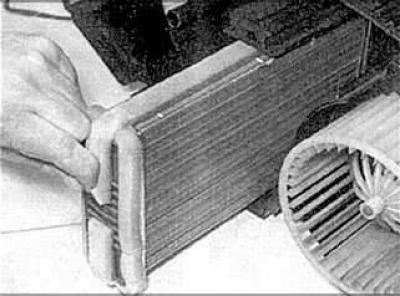
6. Remove the heater.
Additional heater
Audi A6 Diesel Models
Removal
1. Remove the stove.
2. Remove the heater.
Installation
Installation is carried out in the reverse order of removal. When installing, check that the connection between the heater and the casing is treated with sealant.
Air conditioning system
To repair and check the air conditioning system, you must contact specialists. Do not disconnect any system elements yourself and do not allow the system to become depressurized.
The only element that can be replaced independently is the compressor drive belt.