



Table of contents: Removal ↓ Installation ↓
Removal
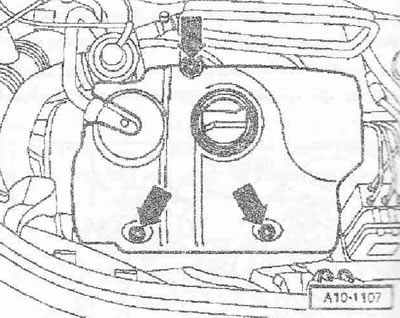
Remove the engine hood. Remove the engine cover "arrows". Remove the noise insulation screen located below, for this: disconnect the crankcase ventilation hose.
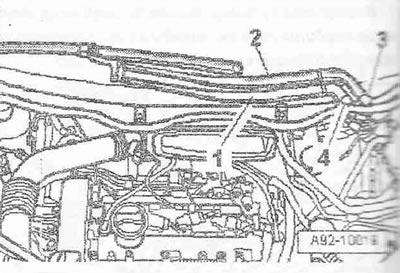
Using a screwdriver, remove caps "2" and "4" from the windshield wiper arms. Loosen the nuts on both arms a few turns. Release arms "1" and "2" by slightly tilting them on the windshield wiper axles. Loosen the nuts completely and remove the windshield wiper arms.
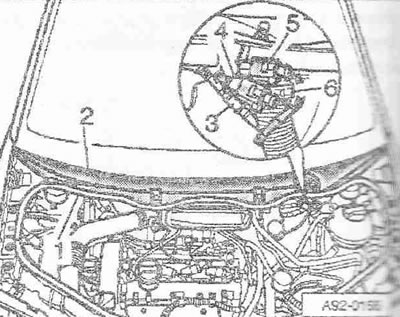
Disconnect the windshield washer fluid tube "3". Disconnect the plug connectors "4" and "5" of the heated washer nozzles. Release the hose clamp "6" using hose clamp pliers "V.A.G. 1921" remove the drain hose from the fairing grille. Remove the rubber seal "3" from the fairing grille. Remove the fairing grille "2". Release the windshield washer fluid tube.
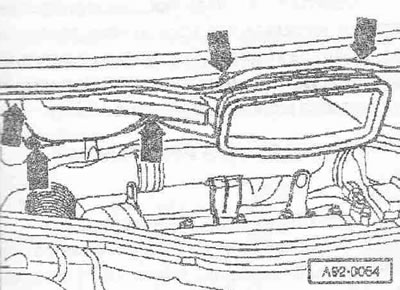
Unscrew the bolts and nuts of the "arrows". Remove the fresh air intake duct and hang it on the right side of the car.
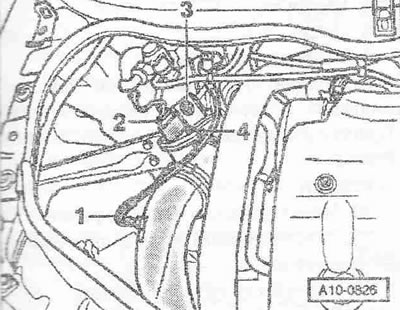
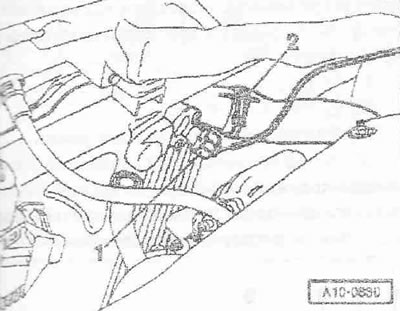
Disconnect plug connector "2" of air flow meter "G70". Disconnect vacuum hose "1". Release hose clamp "4" and remove air duct with air flow meter "G70". Ignore "Pos. 3".
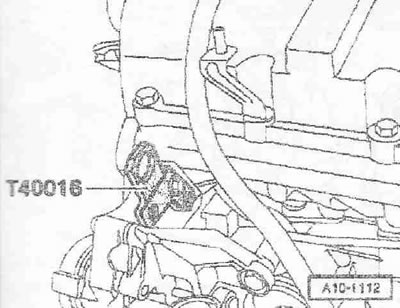
Screw the front right cargo eye "T40016" to the cylinder head.
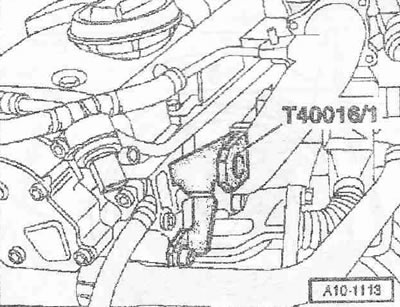
Screw the rear left cargo eye "T40016/1" to the cylinder head.
Install the "10-222 A" crossbar with the "10-222 A/13" adapters on the connecting edges of the wings. The lead screw of the crossbar faces forward.
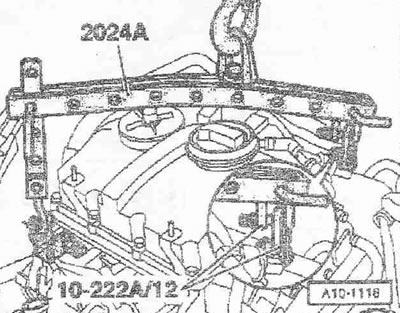
Install 2 "10-222 A/12" earrings on the rear left cargo eye "T40016" on the cylinder head. Secure the "2024 A" hanging device to the engine and to the "10-222 A" crossmember as shown in the figure.
Instructions. To align the center of gravity of the power unit, the hook bars must be inserted as shown in the figure. The hooks and locking pins of the hanging device must be secured with cotter pins.
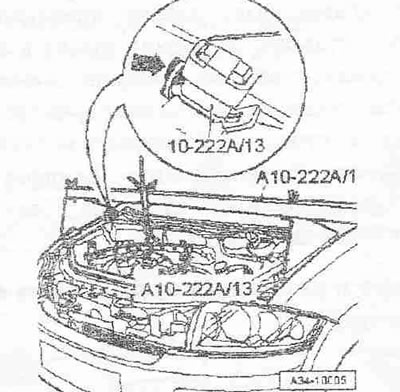
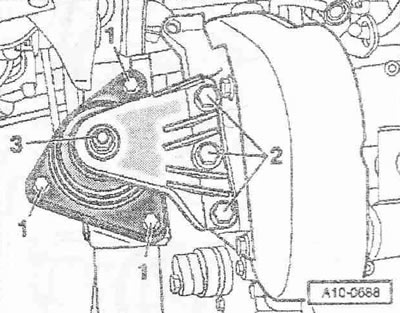
Tighten the engine on the lead screw. Do not lift the engine. Unscrew nut "3" only after replacing the engine mount.
Unscrew bolts "1" and "2" and remove the bracket with the engine mount.
Installation
Installation is in the reverse order, replacing the self-locking nuts and bolts. Replace the bolts tightened to a certain angle. The air booster hoses and pipes must be cleaned of oils and grease before installation. Do not use lubricants under any circumstances. Use clamps of the appropriate series to secure all hose connections. When assembling, install all binders in their original places. Install and adjust the windshield wiper arms.
Tightening torques:
- Engine mount to body: 23 Nm + 90° 1)
- Bracket to engine bracket: 60 Nm + 90° 1)
- To engine mount: 40 Nm + 90° 1)
1) Replace the bolt.
(The original article is posted on the resource: audimanual.ru)