
Table of contents: 3.0L models ↓ 4.2L models ↓
3.0L models
1. Turn off the ignition and remove the upper engine cover (see Section 19 of Chapter 1).
2. When working on cylinders No. 3 and No. 6 of BUG/BUN, CASA/CASB, CATA and CCMA engines, it is necessary to remove the valve actuator of the corresponding intake manifold (see Chapter 4), without separating the connecting rod, and also unscrew the support for fastening the upper engine casing and separate the wiring harness.
3. On SATA and CCMA engines, a combustion chamber pressure sensor is built into the glow plugs of cylinders #2 and #5 (see illustration).
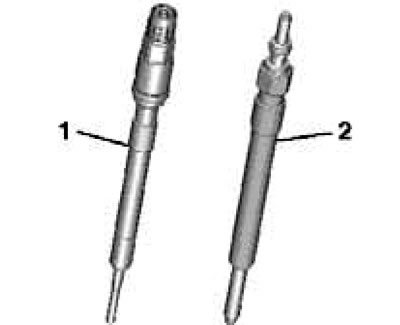
7.3. Glow plugs with pressure sensor (1) and without it (2).
4. Disconnect the glow plug wiring connectors.
5. Clean the glow plug wells with a vacuum, then spray them with brake cleaner and after a short time remove the dirt with compressed air. Clean the wells with a rag.
6. Loosen the spark plugs using an extended socket and a 10mm socket, then carefully unscrew them by hand or with a piece of hose, holding the spark plug straight.
Note: To loosen spark plugs No. 2 and No. 3 on CCMA and SATA engines, use the AF12 VAS6454 insert.
7. Installation is carried out in reverse order. Tighten the spark plugs to 17 Nm.
4.2L models
8. Turn off the ignition and remove the upper engine cover (see Section 19 of Chapter 1).
9. Clean the glow plug wells with a vacuum, then spray them with brake cleaner and after a short time remove the dirt with compressed air. Clean the wells with a rag.
11. On BTR and CCFA engines, to gain access to spark plugs #4 and #8, gently push the left and right intake manifold flap actuators to the side. On a CCFC engine, gently push the right intake manifold flap actuator to the side to gain access to spark plug #4. The activator mounting is shown in the illustration.
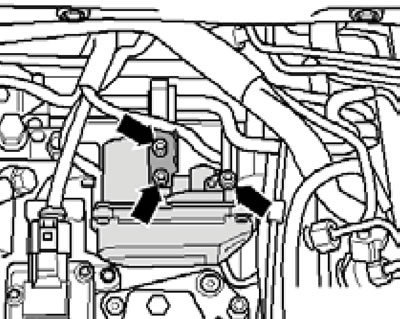
7.11. Fastening of the intake manifold flap actuator.
12. Disconnect the glow plug wiring connectors. Loosen the spark plugs using an extended socket and a 10mm socket, then carefully unscrew them by hand or with a piece of hose, holding the spark plug straight.
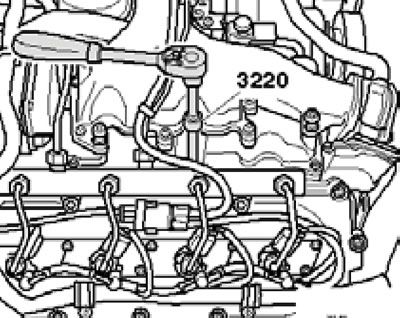
7.12. Removing the glow plug.
13. Installation is carried out in reverse order. Tighten the spark plugs to 17 Nm.
(The text is based on materials from the website: AudiManual.ru)