

Ceiling lining 1. Fastening loops for mesh partition; 2. Rear interior light/reading light; 3. Roof railing; 4. Sun visor; 5. For front interior light; 6. Roof reinforcements. Install on the body; 7. Ceiling panel. The ceiling panel is very sensitive to bending. A bent ceiling panel must be replaced; 8. Rear roof trim
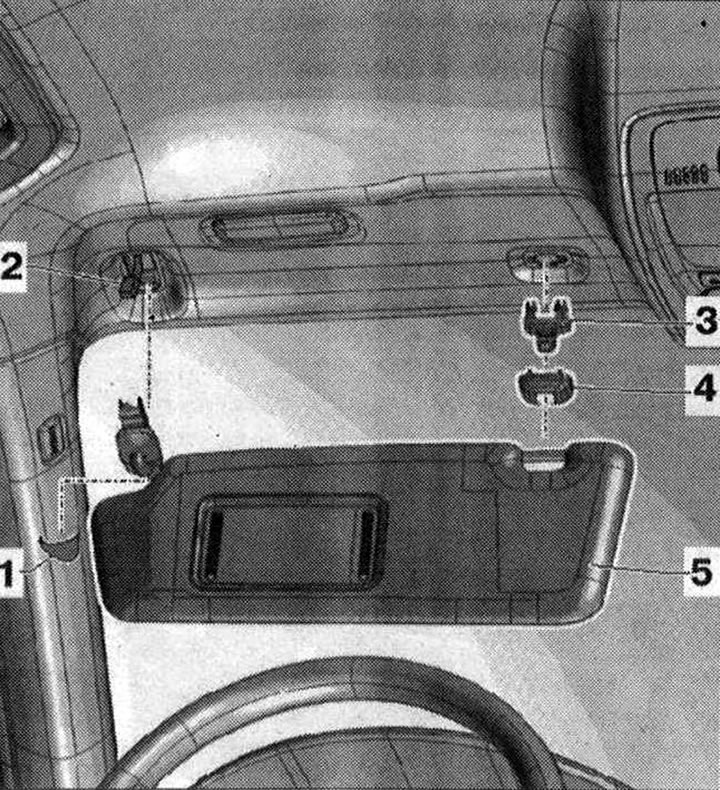
Sun visors 1. The expansion cap is fixed to the sun visor; 2. Electrical connector for lamp backlight of makeup mirror; 3. Sun visor middle support; 4. Cover. Fixed to the middle support of the sun visor; 5. Sun visor.
Removal
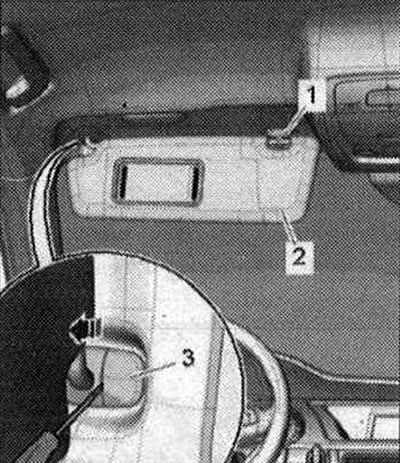
Unfasten the sun visor "2" in the central part of the car on the middle support of the sun visor. Press the spacer cap "3" with a screwdriver. Tilt the support of the sun visor downwards "arrow" and remove.
Option kit with tweeter: disconnect the plug connector and remove the sun visor.
Installation
Reverse installation: Insert the sun visor support lug into the inner ceiling panel slot. Press the sun visor expansion cap until it locks into place.
Removal the middle support of the sun visor
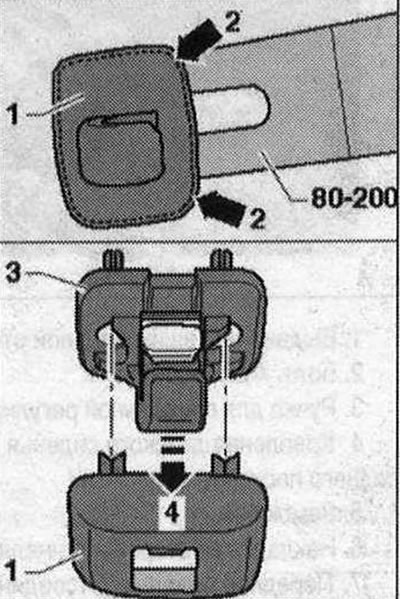
Unfasten the sun visor in the central part of the car from the middle support of the sun visor and fold it to the side. Unfasten the middle support of the sun visor. To do this, insert the release lever "80-200" approx. 1 mm under the plug "arrow 2".
If you insert the release lever "80-200" further, it will be under the middle support of the sun visor. In this case, it is impossible to pry the cover off. Remove the intermediate support of the sun visor "3" "arrow 4"
Installation
When installing the middle support of the sun visor, be careful not to damage the spacer clips. Press in the plug "1" until it clicks into place.