
Verification conditions
The voltage of the vehicle's on-board network must be no lower than 11.5 V.
The engine management system must be in good working order.
Fuses in the circuit supplying voltage to the glow plugs must be in good working order.
Examination
Turn off the ignition.
Disconnect the electrical connector from the coolant temperature sensor. In this state, the engine management system considers the engine to be cold and will preheat it when the ignition is turned on.
Disconnect the electrical wire connectors from the glow plugs.
Connect the voltmeter with the positive terminal to the wire from the glow plugs, the negative terminal to the "ground". Turn on the ignition and make sure that voltage is supplied to the plugs at the appropriate time interval.
At an air temperature of 20°C, the time intervals for supplying voltage to the glow plugs (the control lamp is on) should be 5 sec. The control lamp burn time increases at lower temperatures and decreases at higher temperatures. If voltage is supplied to the glow plugs, the relay and wiring are in good condition.
Checking glow plugs
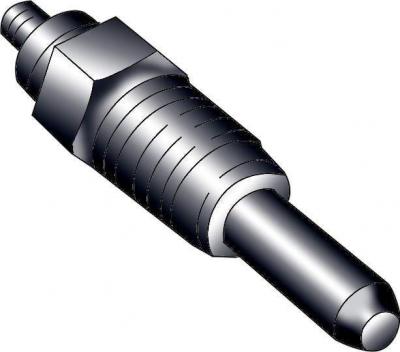
Fig. 5.2–1. Diesel engine glow plug
Check each glow plug (Fig. 5.2–1) for mechanical damage. Burnt or damaged glow plug tips indicate poor fuel atomization by the injector. In this case, check the injectors and replace them if necessary.
If there is no mechanical damage to the glow plugs, check their electrical resistance, which should be less than 1 Ohm.
The performance of glow plugs can be checked by applying 12 V to them. They should heat up evenly over the required time interval. The following precautions must be taken:
1. Hold the glow plug with a special clamp or pliers.
2. The glow plug power supply circuit must have a fuse.
3. After checking, the glow plug should cool for several minutes.
A working glow plug heats up until the lower part of the electrode turns red within 5 seconds. If it heats up longer or heats up not in the lower part but in the middle part, the glow plug is faulty and must be replaced.
Content source: the specified website: AUDIMANUAL