
Table of contents: Removal ↓ Installation ↓
Removal
Remove the engine hood. Remove the poly V-belt.
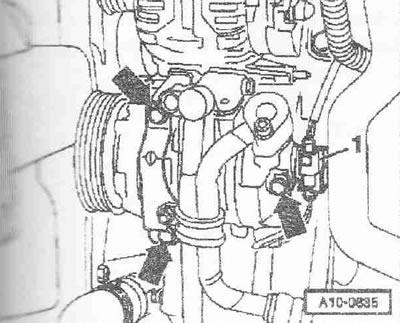
Disconnect connector "1" of the electromagnetic clutch on the air conditioning compressor.
Caution! Do not open the refrigerant circuit of the air conditioning system. Risk of damage to the hoses and lines of the cooling system. Do not twist, bend or deform the refrigerant lines and hoses.
Unscrew the air conditioning compressor "arrow" bolts. Tie the air conditioning compressor with the connected refrigerant hoses to the radiator frame from above. Unscrew the wire for terminal 30/B+ "pos. 1" from the generator. Disconnect connector "2".
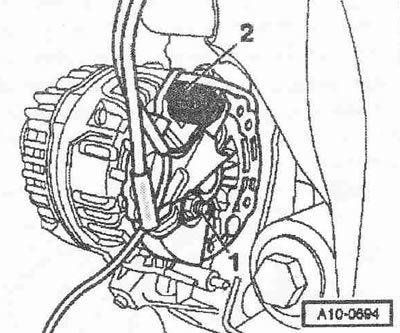
Unscrew the generator bolts "1" and "2". If the generator is jammed in its bracket, screw the bolt back in (up to 2 turns). Carefully tap the flat end of the hammer on the head of the bolt, this will loosen the generator mounting bushings. Remove the generator.
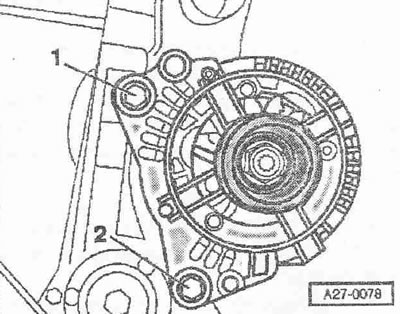
Unscrew the arrow bolts and remove the auxiliary unit bracket.
Installation
Installation is in reverse order, while it is necessary to tighten the bolts of the bracket of additional units. Install the generator. Install the air conditioning compressor.