



Table of contents: Removal ↓ Installation ↓
Removal
Instructions: Before inspection or repair, check all hoses and lines for accuracy of fastening and tightness.
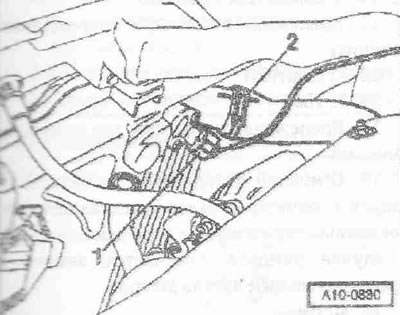
Remove the noise insulation screen. Remove the bumper cover. Remove the engine hood. Remove the engine cover. Remove the noise insulation screen located below, to do this, disconnect the crankcase ventilation hose. Disconnect the plug connector "1" of the intake manifold pressure sensor "G71" and release the wiring. Remove the air hose "2" connecting the intercooler and the intake manifold.
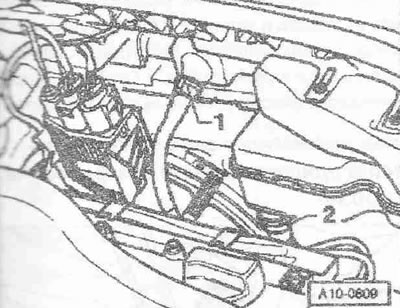
Remove the dipstick from the guide tube. Remove the dipstick guide tube "1". Remove the oil filler tube "2" from the oil tank.
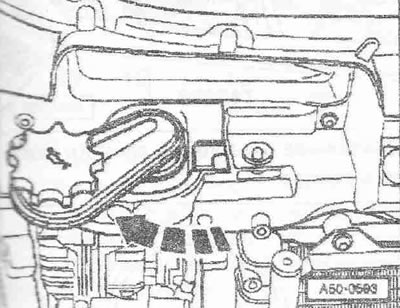
Press the oil filler neck until it stops and turn it to the left "arrow". Remove the oil filler neck.
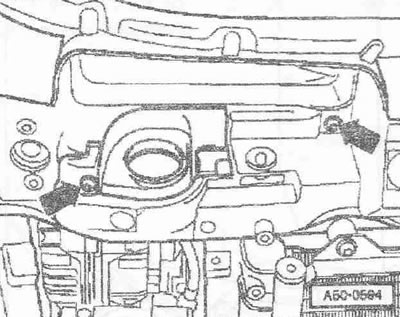
Unscrew the bolts "arrows". Remove the oil tank from the radiator frame.
Remove the "arrow" bolts at the front of the radiator frame.
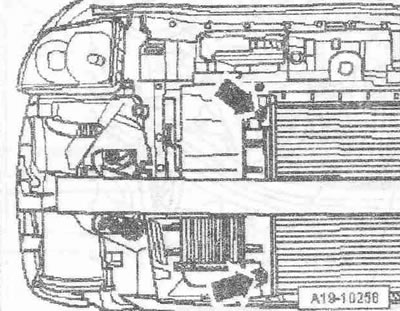
Unscrew the intake manifold pressure sensor -G71 "arrow" from the intercooler.
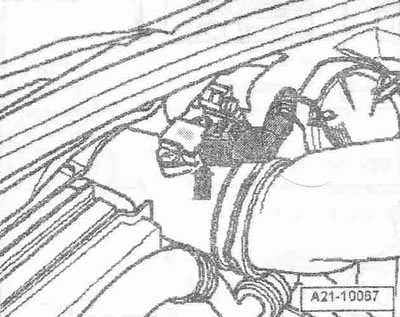
Unscrew bolts "3" and "4" on the back side of the radiator frame.
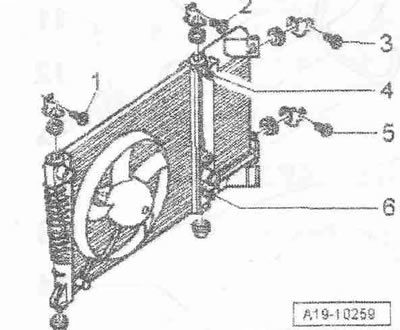
Remove the air duct from the "arrow" intercooler.
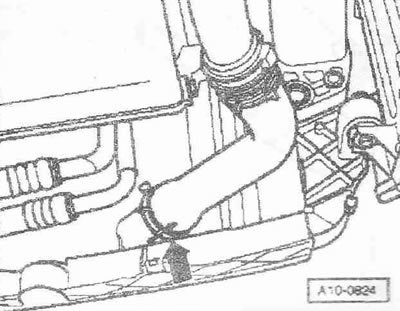
Unscrew bolts "5" and "6" on the back of the radiator frame and remove the intercooler.
Installation
Installation is in the reverse order, taking into account that the supercharging system must be airtight. The hoses and pipes of the air supercharging system must be cleaned of oils and grease before installation. Use clamps of the appropriate series to secure all hose connections. Install the bumper cover.
Tightening torques:
- Intercooler to radiator frame: 6 Nm
- Intercooler to radiator: 6 Nm
- Oil dipstick guide tube to oil filter holder: 10 Nm