



- 1. Coolant temperature indicator
- 2. Tachometer
- 3. Control lights
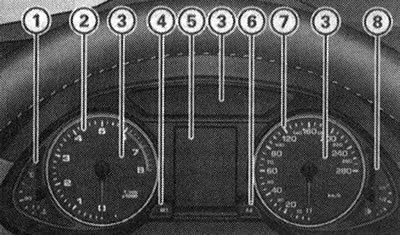
- 4. SET button
- 5. Display: Driver information system, date and time indicator, mileage indicator
- 6. Trip meter reset button
- 7. Speedometer
- 8. Fuel reserve indicator
Note: When the lights are off and the ignition is on, the instrument panel lighting is on (arrows and scales). As the brightness of the outside light decreases, the instrument lighting intensity is automatically reduced. This function is designed to remind the driver to turn on the low beam in a timely manner when the brightness of the outside light decreases.
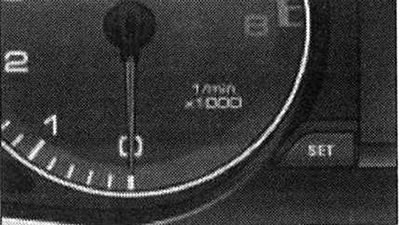
Instrument panel: SET button
By pressing this button you can call up various functions.
Functional purpose of the SET button
Turning on time, date, temperature display and trip meter
The indication appears for approximately 30 seconds if the SET button is pressed with the ignition off.
Starting the verification process (automatic fault monitoring systems)
The automatic fault monitoring system monitors the operation of vehicle components and certain functions. The system operates continuously when the ignition is on and while driving. By pressing the SET button with the ignition on, you can manually start the test process. The functional test can be performed at speeds up to 5 km/h. In addition, the number of keys programmed for the vehicle is displayed. The display L2 3/3 indicates that 3 keys are programmed for the vehicle. This function allows you to make sure that all keys have been received when purchasing a used vehicle. If, for example, only 2 keys are supplied with the vehicle, you should contact an Audi dealer and, presenting the keys you have, block the operation of the missing key. The loss of a key should be reported to the insurance company.
Programming the speed limit alarm
By briefly pressing the SET button while driving, you can program the speed limit 1 for the speed limit alarm. By pressing the SET button for a long time, you reset the programmed warning threshold.
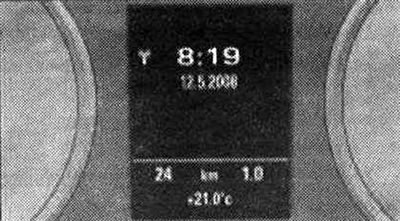
Dashboard: Time and date
Quartz watch
Date, time, time and date display format can be set in the radio or MMI.
Radio clock
In the "Radio Clock" mode, a radio information reception symbol appears in the indicator field (radio tower with diverging waves). In this mode, it is not possible to change the minutes and date indication manually.
Note: The digital clock and trip meter are turned on for approximately 30 seconds when the driver's door is opened. When the ignition is off, the time and date display can be turned on for approximately 30 seconds by pressing the SET button.
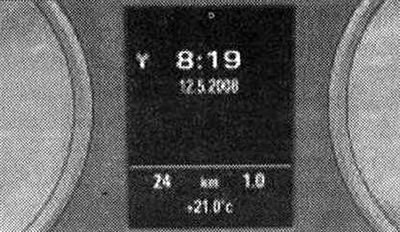
Instrument cluster: trip meter
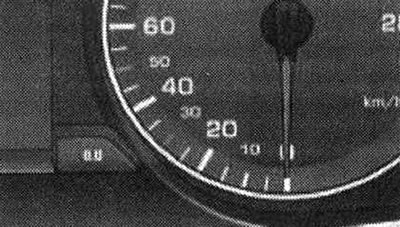
Dashboard: Reset button
The distance traveled is indicated in kilometers "km" or in "miles". Units of measurement (kilometers/miles) can be installed in the radio or MMI using the car's SETUP function key.
Odometer/daily mileage counter
The trip meter shows the total mileage of the vehicle in kilometers or miles. The daily trip meter displays the distance traveled since the last reset. This allows you to measure specific sections of the distance traveled. The last digit of the trip meter counts the distance in 100-meter or 1/10-mile increments. Reset (setting the value to zero) the daily mileage counter is reset by pressing the "0.0" reset button.
Malfunction indication
The presence of a malfunction of the instrument panel is indicated by the dEF symbol displayed in the indicator field of the daily mileage counter. The malfunction should be corrected as soon as possible.
Anti-theft lock
When the ignition is turned on automatically, a request for the car key data is made. When using a non-original ignition key, the SAFE inscription is constantly displayed in the indicator field of the mileage counter (safety). In this case, operation of the vehicle is impossible.
Note: After the ignition is switched off, the date, time and mileage display remain lit for approximately 30 seconds. The digital clock and mileage display are turned on for approximately 30 seconds when the driver's door is opened. When the ignition is switched off, the mileage display can be turned on for approximately 30 seconds by pressing the SET button.